Product Photography Ecommerce Strategy (2026)
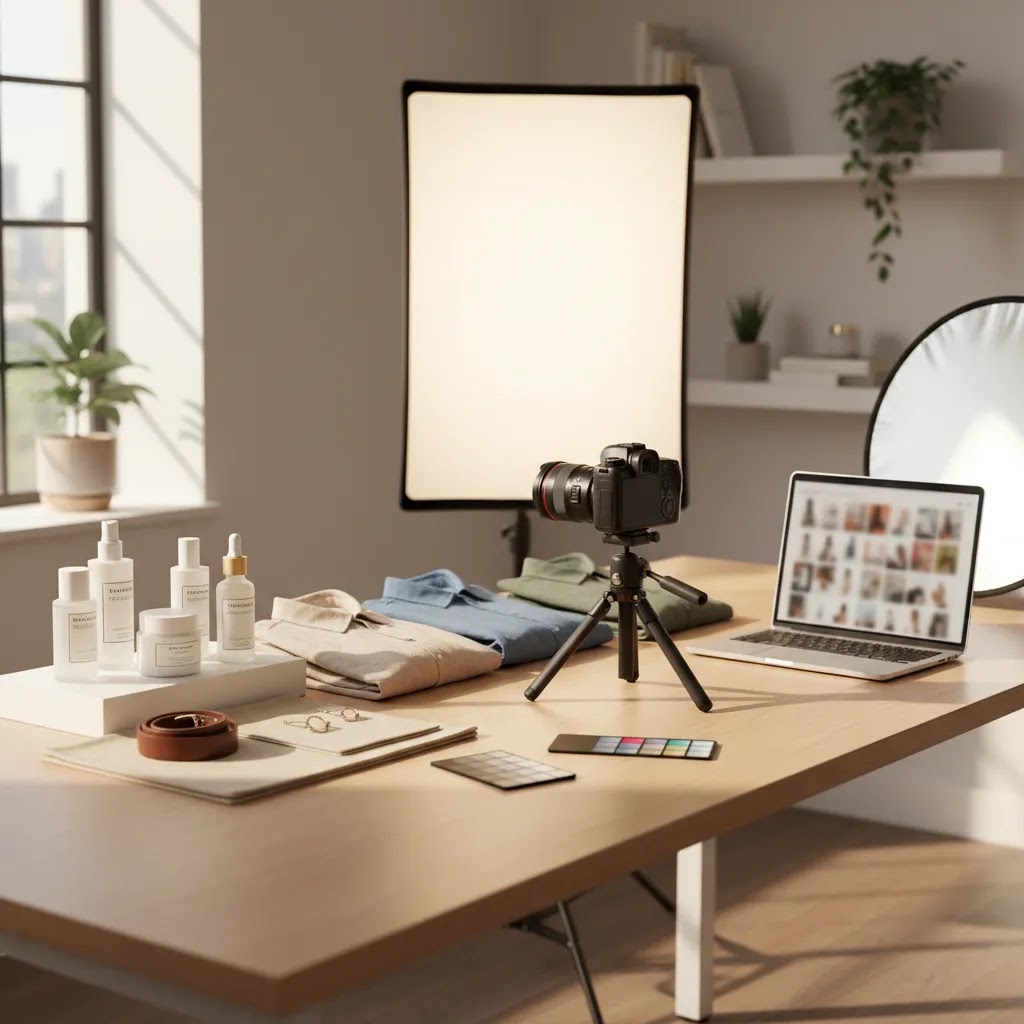
If your store traffic is decent but product pages still feel underpowered, your photography strategy is often the missing piece. In product photography ecommerce workflows, the goal is not just to make items look attractive. It is to reduce hesitation, answer buying questions visually, and keep your brand presentation consistent across product pages, ads, email, and marketplaces. Whether you shoot in-house, work with a studio, or use AI tools to speed up image production, you need a system that fits your catalog, margins, and growth stage. If you are still deciding between DIY and a more structured setup, start by reviewing what a product photography studio actually helps you standardize.
Contents
Why Photography Strategy Matters in Ecommerce
A product image does several jobs at once. It shapes first impression, communicates quality, supports search and ad performance, and helps shoppers picture ownership. That is why the importance of product photography in ecommerce goes well beyond branding.
For a Shopify store owner, photography affects how well your collection pages scan, how product pages convert, and how professionally your brand appears in paid acquisition channels. Clean, repeatable imagery can also simplify merchandising across seasonal launches, bundles, and retargeting creatives.
A good strategy is less about owning expensive gear and more about making smart choices across five areas: shot types, production process, editing standards, publishing requirements, and update cadence. For some stores, that means a small in-house setup. For others, it may mean combining studio shots with an ai photoshoot workflow for faster campaign variations.
If your catalog is growing quickly, strategy becomes even more important. Without clear standards, image quality drifts, product pages feel inconsistent, and customers may lose confidence before they ever read your copy.
The Key Elements of a Workable Strategy
Start with your conversion goals, not your camera. Ask what your images need to accomplish on each page. Hero images should create clarity. Secondary images should answer objections. Lifestyle shots should add context. Close-ups should prove material, texture, finish, or craftsmanship.
For most ecommerce brands, a practical shot list includes:
Next, decide what needs to be photographed traditionally and what can be accelerated through AI-assisted editing. Stores with frequent launches often use professional base photography and then layer in faster workflows for backgrounds, crops, and creative testing. If that is your situation, it is worth reviewing how ai product photography can support production without replacing core product accuracy.
You should also define editing standards early. White background imagery may suit marketplaces and some collection pages. Contextual scenes may work better for ads and landing pages. Tools such as AI Background Generator, Free White Background Generator, and Background Swap Editor can help teams create different asset versions more efficiently, especially when the original packshot is already strong.
Image resolution matters too. Product details that look sharp on desktop but blur on mobile zoom can create doubt. For selected files, tools like Increase Image Resolution may help improve usability, though they should not be treated as a substitute for well-shot source photography.
Finally, build for distribution. Your product photography ecommerce process should specify image dimensions, aspect ratios, file naming, compression, and where each image type gets used. That keeps your Shopify theme, email flows, paid social, and Google shopping assets more consistent over time.
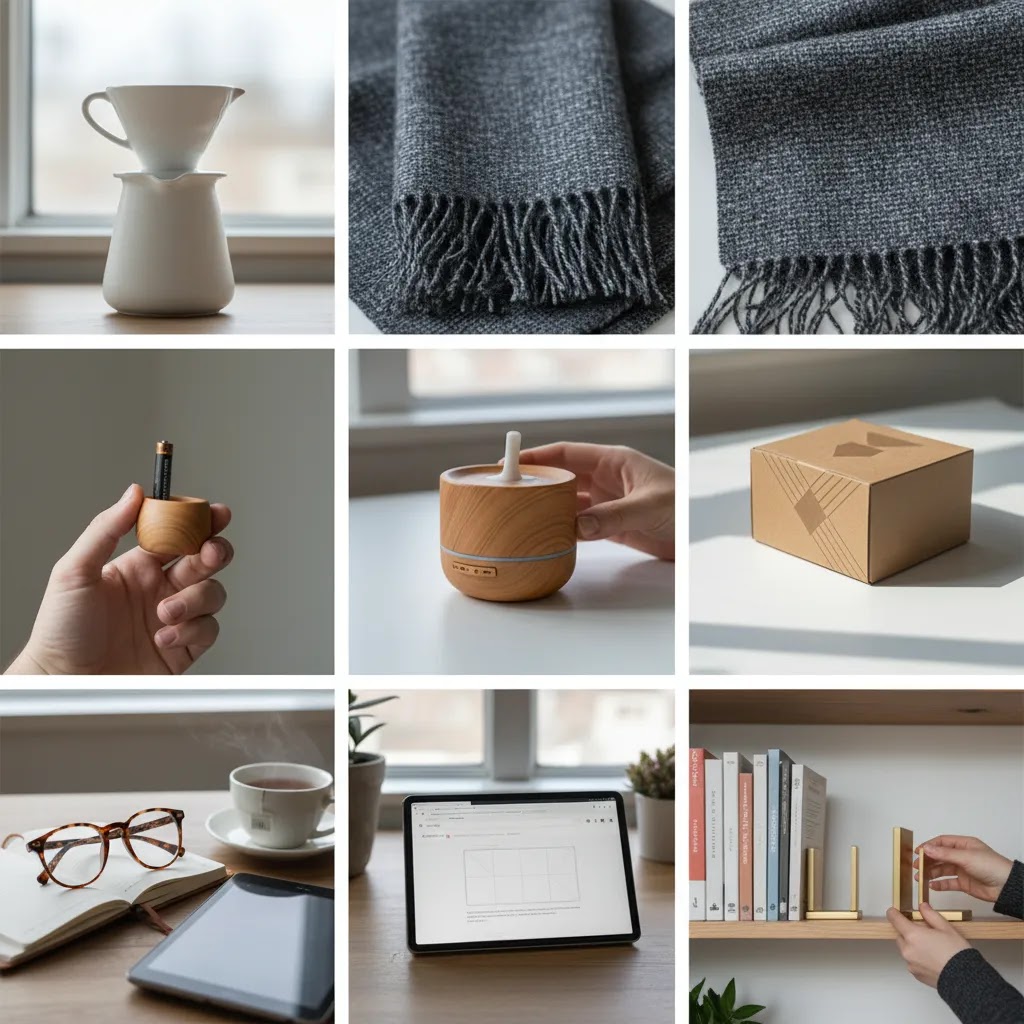
Ecommerce Photography Styles and Shot Types (and When to Use Each)
Here is the thing: “better product photos” is too vague to execute. What you actually need is a set of shot types that map to how people buy in your category, plus style rules that keep your catalog consistent as you add SKUs.
Most Shopify stores end up using a mix of these core styles. The trick is knowing what each one is best at, so you are not shooting expensive lifestyle content when you still have basic product clarity issues.
Packshots on white (or clean neutral)
This is the classic ecommerce packshot, typically centered with consistent cropping. It is best for product page clarity, collection grid consistency, Google Shopping feeds, and marketplaces that prefer neutral backgrounds.
From a practical standpoint, this is usually your baseline. If you only fix one thing in a messy catalog, make your hero images consistent packshots with the same framing, background, and lighting direction.
Lifestyle and in-context photography
Lifestyle shots show the product being used, worn, or placed in a real environment. They are best for ads, landing pages, email hero banners, and higher-consideration products where context helps justify price.
Consider this: lifestyle is often where “brand” shows up, but it should still answer a buying question. Fit, scale, and use-case usually matter more than aesthetics alone.
Flat lay
Flat lays work well for apparel, accessories, bundles, and kits where you want to show what is included. They can also be a clean way to show colorways or sets without a model.
For most Shopify store owners, flat lays are a good middle ground: more editorial than white background, less complex than full lifestyle production.
Ghost mannequin (apparel)
Ghost mannequin photography makes apparel look worn and structured without showing the model. It is particularly useful for tops, dresses, jackets, and anything where drape and shape affect purchase decisions.
The reality is ghost mannequin typically requires more setup and retouching. If apparel is your main category, it can be worth it for consistency, but you should plan for the extra production steps.
360 or spin sets
360 photography can reduce uncertainty for products where shape and construction matter, like shoes, bags, equipment, and premium goods. It can also help reduce “Is this what I think it is?” hesitation when a product is hard to understand from one angle.
That said, 360 adds production and file management overhead. Many stores get most of the benefit by simply shooting more angles first, then deciding if 360 is worth the added complexity.
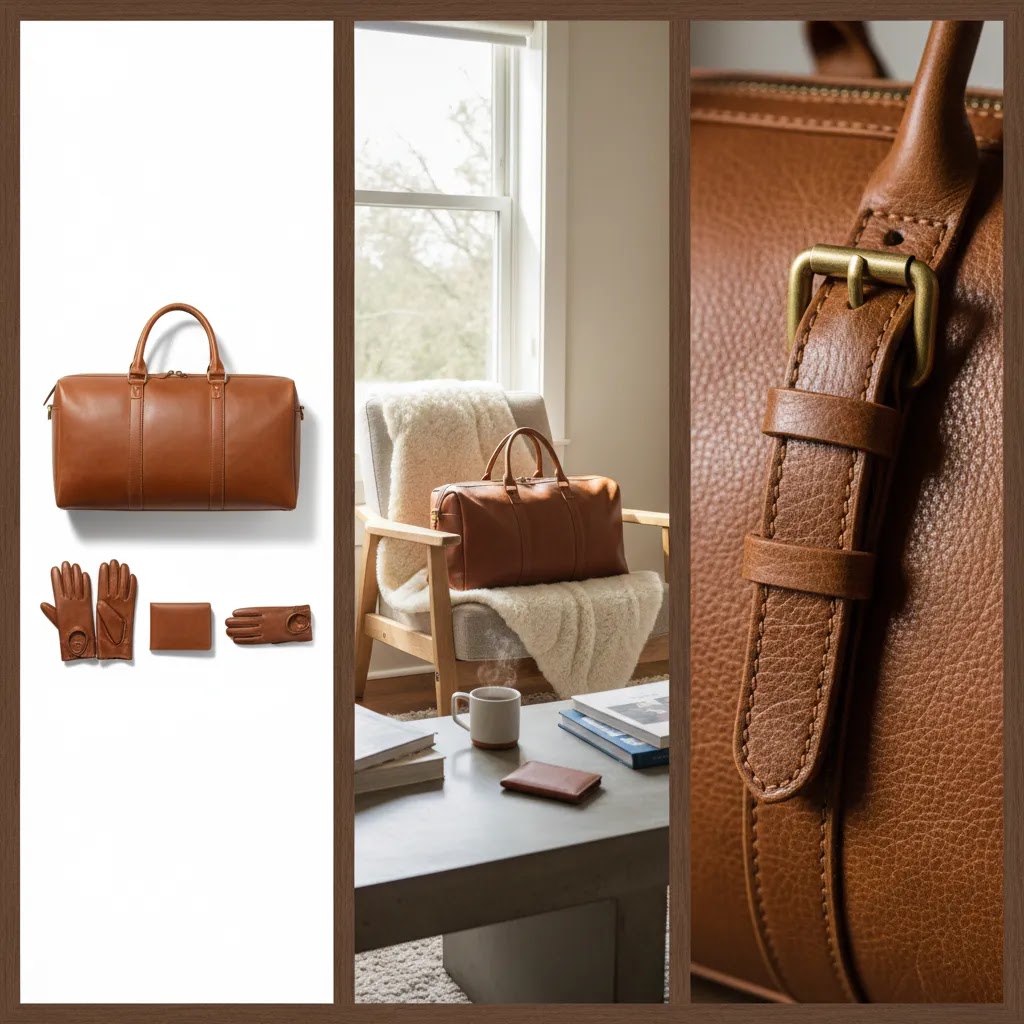
Macro and detail shots
Macro shots prove texture, material, finish, stitching, and quality. They are especially important for jewelry, cosmetics packaging details, leather goods, technical fabrics, and any product where shoppers worry about “cheap-looking” construction.
Think of it this way: a macro shot is your visual evidence. It does not need to be artistic, it needs to be believable.
UGC-style product photography
UGC-style images look like they were created by a real customer. These can work well for social ads, landing pages, and email content because they feel less polished and more “real.”
What many store owners overlook is that UGC-style still needs product truthfulness. If lighting, color, or scale is misleading, it can create the wrong expectations and backfire through returns or support tickets.
A minimum viable image set (by product type)
If you are trying to standardize quickly, start with a minimum viable set that reduces hesitation. You can always add more creative later.
For apparel, a typical baseline is: consistent hero (front view), back view, close-up fabric or key detail (like seam, zipper, or knit), fit or scale reference (on-model or size reference), plus a lifestyle shot for context.
For beauty and cosmetics, focus on: packshot hero, packaging close-ups (labels, shade names, volume), texture or swatch where appropriate, and a scale reference. If shade accuracy is critical, keep lighting and white balance consistent across variants to avoid customer confusion.
For reflective goods like jewelry, watches, polished metal, glass, or glossy plastics: plan for more angles and more detail. Reflections hide flaws but they can also hide product truth, so you need controlled lighting and at least one close-up that shows finish clearly.
For home goods and decor, shoppers typically need scale and context. A clean hero shot plus an in-room lifestyle shot, a detail shot of material or texture, and a dimensions reference usually does more for conversion than extra random angles.
Theme and brand consistency standards (so your catalog does not drift)
Catalog drift happens slowly. One product gets shot warmer, another cooler. One gets cropped tight, another has lots of whitespace. Six months later your collection pages look like a marketplace, not a brand.
To prevent that, set a few standards that you apply to every shoot and every new SKU: background color, lighting direction, camera height, framing rules (how much of the frame the product should fill), and a consistent color temperature. Decide whether shadows are part of your look, and keep them consistent.
If you use props, define which ones are allowed and which ones are not. If you use a surface (marble, wood, paper), lock it in and do not change it mid-catalog. Consistency is not just aesthetics, it helps shoppers scan faster and trust what they are seeing.
Pros and Cons
Strengths
Considerations
Ecommerce Product Photography Prices and Sourcing Options
If you are searching for ecommerce product photography prices, you are probably trying to answer a more practical question: what is this going to cost me, and what is included?
Pricing varies widely, and there is no single “right” number. What you can do is understand the inputs that typically drive cost, then choose a sourcing model that matches your catalog and growth stage.
What typically drives product photography cost
In most cases, pricing moves based on how many products you have, how many final images you need per SKU, and how complex the shoot is. A simple packshot for a non-reflective item is usually less involved than styled lifestyle, ghost mannequin, or reflective product work.
Other common cost drivers include whether you need models, hair and makeup, prop sourcing, sets, and location. Retouching requirements matter too. Ghost mannequin compositing, label cleanup, dust removal on glossy surfaces, and color matching across variants can add meaningful editing time.
Turnaround time is another variable. Rush timelines often cost more because you are buying priority. Usage and licensing can also factor in, especially for model imagery or higher-production lifestyle content. If you plan to use images heavily in paid ads, make sure you understand what rights you are getting for the deliverables you are paying for.
Choosing between freelancers, studios, and agencies
Freelancers can be a strong fit if you have a clear shot list, a consistent style, and you are comfortable managing the process. You may get flexibility and cost control, but the tradeoff is that consistency and capacity can vary if you are scaling quickly.
Studios are often a good middle option when you want reliable output and consistent packshots, especially if you have recurring drops. Many studios have repeatable lighting setups and established workflows for tethered shooting, file delivery, and retouching.
Agencies usually make more sense when you want a broader service scope, like creative direction, styling, model casting, and multi-channel asset planning. The tradeoff is that you are paying for project management and creative overhead, not just images.
Now, when it comes to evaluating quotes, do not just compare a per-image number. Compare what is included: shot list, styling, number of revisions, retouching scope, file formats, turnaround time, and how color accuracy is handled. If you are planning to use AI-assisted editing later, ask for clean, high-quality source files that give you room to crop and repurpose without artifacts.
What to ask for in a quote (so you can compare fairly)
Ask how pricing is structured: per SKU, per final image, per day rate, or per project. Confirm what “retouching” means in their process. Light cleanup is not the same as full compositing. Clarify if they handle product prep, steaming for apparel, lint removal, and label alignment, because those details affect how polished your images look.
Also ask how they keep consistency across time. If you are doing monthly launches, you want a repeatable setup, not a slightly different look every shoot.
How to budget without overspending (catalog tiering)
For most Shopify stores, a tiered approach is the most practical. Invest more in your best sellers, hero collections, and high-traffic product pages. These are the images that appear most often in ads, retargeting, and email flows, and they tend to have the biggest impact on perceived quality.
For long-tail SKUs, you can often use a simpler set: consistent hero, a few angles, and one detail or scale shot. The way this works in practice is you maintain baseline consistency across the catalog, then allocate higher-production lifestyle and model shoots to the products that actually carry revenue and acquisition spend.
Who This Approach Is For
This approach fits ecommerce teams that want better results from product imagery without treating every shoot as a one-off project. It is especially useful for Shopify brands managing growing catalogs, seasonal launches, or paid traffic campaigns where image consistency affects performance.
It also suits merchants weighing professional product photography ecommerce options against newer AI workflows. If you sell products where finish, texture, or color accuracy matters, a hybrid system usually makes more sense than relying on generated images alone. The best fit is often a documented process that combines dependable source photography with selective editing and testing.
AcquireConvert Recommendation
At AcquireConvert, the practical question is not whether photography should be studio-based, AI-assisted, or outsourced. It is which setup gives your store the clearest product presentation and the most manageable workflow for your current stage. Giles Thomas brings a useful lens here as a Shopify Partner and Google Expert, because product imagery affects both on-site conversion and acquisition performance.
If you are evaluating options, explore the broader Catalog Photography hub first, then compare specific workflows like AI-led shoots, classic studio setups, and decision-stage reviews such as PhotoRoom. If you sell beauty or adjacent categories, the visual logic behind an ai makeup generator workflow can also help you think through realism, variation, and brand control in product imagery.
How to Choose the Right Setup
If you are comparing ecommerce product photography agency support, in-house production, or AI-assisted workflows, focus on these criteria.
1. Catalog complexity
A store with ten hero SKUs needs a different setup from one adding fifty new products each month. Simple items with minimal texture variation may be manageable in-house. Apparel, cosmetics, jewelry, and reflective products usually need more specialized lighting, styling, and retouching.
2. Accuracy requirements
If returns are often triggered by color or material mismatch, image realism matters more than creative variety. In these cases, professional photography should anchor your workflow. AI tools can still help with background cleanup, resolution improvements, or campaign variants, but they should not override product truthfulness.
3. Content volume and speed
Brands running paid campaigns, marketplace listings, email launches, and social drops often need more image variations than traditional studios can turn around quickly. That is where a hybrid system may help. Capture reliable core shots first, then use tools such as Magic Photo Editor or Creator Studio to adapt assets for different placements.
4. Team skill and internal capacity
If nobody on your team owns lighting, styling, editing, or file prep, in-house production may cost more time than expected. On the other hand, small brands with a controlled environment and repeatable setup can produce strong ecommerce imagery without a large agency commitment.
5. Channel requirements
Your Shopify product page, Meta ads, Google Shopping creatives, and marketplaces may all need different image treatments. Build your workflow around where images will actually appear. For broader examples and category-specific standards, review AcquireConvert’s E Commerce Product Photography resources.
A simple decision rule: if accuracy is the risk, start with professional source images. If speed is the bottleneck, add AI-assisted editing. If both are issues, document a hybrid workflow and test it on one product family before scaling.
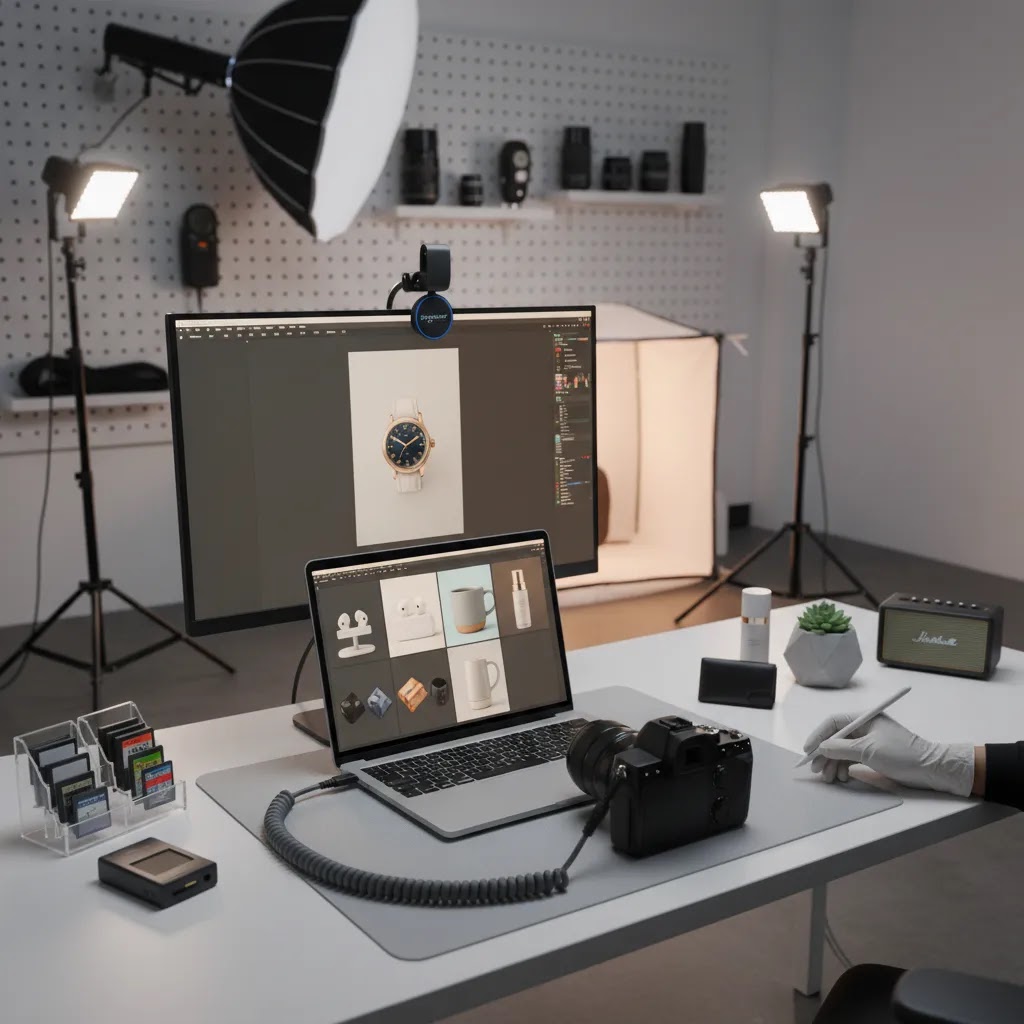
Technical and File Delivery Checklist (Shopify-Ready)
Once you have the right shot list, execution becomes the make-or-break. You do not need a complicated setup, but you do need control: consistent light, repeatable framing, and files that publish cleanly inside Shopify without weird crops or slow load times.
Lighting basics that make ecommerce photos look “real”
Continuous lights are often the simplest starting point for small teams because what you see is what you get. Flash can produce excellent results too, but it adds complexity because you are balancing power, modifiers, and sync. Either can work if you prioritize consistency.
A practical goal is soft, directional light that shows shape without harsh shadows. For packshots, a common approach is to use a large soft source (like a softbox) and then fill shadows with a reflector. For reflective products, you are really photographing reflections, so you may need bigger diffusers and more careful placement to avoid seeing the room, the camera, or harsh hotspots.
If your white background is not truly white, it usually means the background is underlit, or your exposure and editing workflow is inconsistent. If your background is pure white but product edges look blown out, it means you pushed exposure too far. You want separation and detail on the product edges first, then a clean background second.
Camera and shooting setup (simple, repeatable)
A tripod is not optional if you want consistent framing across SKUs and across time. It also helps when you need multiple angles that match. Keep your camera height and distance consistent and mark product placement on the table so every item sits in the same spot.
Lens choice matters less than consistency, but avoid wide-angle distortion for product photography. If your products look slightly stretched at the edges, that can create doubt. From a workflow standpoint, it is usually better to step back and zoom in a bit than to shoot too close with a wide lens.
If color accuracy matters, lock your white balance and do not leave it on auto from shot to shot. Auto settings can shift warmth between products, which is one of the fastest ways to create catalog drift, especially on Shopify collection grids.
Shopify-ready export specs (dimensions, compression, naming, alt text)
Your Shopify theme will dictate how images get cropped and displayed, but you can avoid most headaches by standardizing a few rules: consistent aspect ratio for your hero images, enough resolution for mobile zoom, and sensible compression so pages stay fast.
For many stores, a square (1:1) or portrait (4:5) hero image works well for collection grids. Product pages often benefit from larger images that allow zooming without breaking detail. Ads frequently use multiple aspect ratios, so it is smart to export a master image and then create placement-specific crops.
Use file naming that helps your team, not your ego. Include SKU and view in the filename, so “sku123_front” and “sku123_detail-zipper” is more useful than “img_4928.” Keep naming consistent so you can find and replace images later without confusion.
Alt text is part accessibility, part merchandising. A practical process is to write alt text that describes the product and the view. Keep it human and specific, and avoid stuffing keywords. On Shopify, a consistent alt text process also helps when you have many variants and similar products.
Quick QA before you publish (and when to reshoot)
Before uploading a new set, do a fast QA pass where the images will actually be used. Check the collection page grid and confirm thumbnails crop safely. Then check the product page on mobile and do a zoom test. If details fall apart on zoom, you either need a better source file or a different crop.
Check color consistency across variants too. If your “black” variant looks warm gray in one image and deep black in another, customers notice. If the mismatch is small, you may be able to correct it in editing, but if lighting changed significantly, reshooting is often faster than trying to fix it endlessly.
Finally, decide what you will not “fix in editing.” Dust cleanup and minor background correction are normal. Incorrect proportions, inaccurate colors, and misleading texture are not. If an image misrepresents the product, it is a reshoot, not an editing task, even if AI tools can make it look plausible.
Frequently Asked Questions
Why is product photography so important in ecommerce?
Because shoppers cannot inspect the product physically, images do much of the selling work. Good photography can clarify size, finish, use case, and overall quality. In many stores, strong visuals may reduce hesitation and support better engagement on collection and product pages, but results still depend on pricing, offer strength, traffic quality, and site experience.
How many images should an ecommerce product page have?
There is no perfect number for every store, but most products benefit from a hero image plus several supporting views. A solid starting point is 5 to 8 images covering front, side, detail, scale, and lifestyle context where relevant. Higher-consideration products often need more visual proof than impulse-purchase items.
Should I use white background or lifestyle product photos?
Most stores need both. White background images are useful for clarity, consistency, and marketplaces. Lifestyle images help shoppers understand use, size, and emotional fit. The better choice depends on where the image appears. Collection pages often benefit from consistency, while product pages and ads may benefit from contextual imagery.
Can AI replace professional product photography?
Usually not fully, especially if product accuracy is critical. AI can speed up editing, background changes, and creative variation, but it still works best when built on reliable source photography. For materials, packaging details, reflective surfaces, or regulated products, human-shot images remain the safer foundation for trustworthy merchandising.
What tools can help with AI product photography workflows?
AcquireConvert’s available tool data includes AI Background Generator, Free White Background Generator, Increase Image Resolution, Background Swap Editor, Magic Photo Editor, and Creator Studio. These are most useful for editing and asset production support. They should be evaluated based on your workflow needs rather than assumed to solve every photography challenge.
How do I choose between an agency, studio, and in-house setup?
Look at SKU volume, complexity, speed needs, and internal skill. If your products are hard to light or style, agency or studio support may be worth it. If your catalog is straightforward and repeatable, an in-house setup may be practical. Hybrid workflows often suit growing brands that need both accuracy and volume.
What should Shopify store owners prioritize first?
Start with consistency in hero images, then fix the supporting shots that answer common purchase objections. On Shopify, this usually means improving collection page thumbnails, product page galleries, and mobile image clarity before investing in more advanced creative testing. A cleaner baseline often makes later optimization decisions easier.
How often should I update product photography?
Review your imagery whenever packaging changes, variants expand, branding shifts, or performance drops on high-traffic products. You do not need a full reshoot every quarter. Many stores benefit from updating their best sellers first, then improving underperforming categories based on return reasons, support questions, or merchandising goals.
What are common mistakes in product photography ecommerce strategy?
Common issues include inconsistent framing, poor lighting, weak mobile detail, too few angles, and relying on creative images before basic product clarity is solved. Another frequent mistake is using AI-generated edits without checking that shadows, proportions, colors, or materials still reflect the product accurately.
How to take product photos for e-commerce?
Start with a consistent hero shot, then add angles and detail shots that answer buying questions. Use a tripod, keep your lighting and white balance consistent, and shoot against a background that matches your brand standards, often white or a clean neutral for packshots. After shooting, export Shopify-ready files with consistent aspect ratios for collection grids, enough resolution for mobile zoom, and compression that keeps pages fast. If you use AI editing, review outputs carefully to confirm the product still looks accurate in color, proportions, and texture before publishing.
What is ecommerce product photography?
Ecommerce product photography is the set of images you use to sell a product online, including hero packshots, angles, close-ups, scale references, and lifestyle or in-use scenes. The goal is to reduce uncertainty and help shoppers understand what they are buying, since they cannot touch the product. In practice, it also needs to work across Shopify product pages, collection pages, ads, email, and sometimes marketplaces, which is why specs and consistency matter.
What is the 20 60 20 rule in photography?
The 20 60 20 rule is often used as a simple guideline for planning a balanced image set: roughly 20% straightforward “selling” shots (clear packshots that document the product), 60% supporting shots (angles, details, scale, variant clarity), and 20% creative or lifestyle shots (brand, context, and campaign assets). It is not a strict formula, but it can help you avoid a common mistake where you overinvest in creative images while your product page still lacks basic clarity.
Key Takeaways
Conclusion
A strong product photography ecommerce strategy is really an operations decision as much as a creative one. You are choosing how your store will present products consistently, answer shopper objections visually, and scale image production as the catalog grows. The right mix might be studio photography, in-house shooting, AI-assisted editing, or a hybrid of all three. What matters is that the system matches your products, your channels, and your team capacity. If you want a clearer next step, explore AcquireConvert’s catalog photography resources and product-specific evaluations. Giles Thomas’s Shopify and Google experience gives the advice a practical ecommerce lens, especially for merchants who need photography choices that support both conversion and acquisition.
This content is editorial and intended for educational purposes. It is not a paid endorsement unless explicitly stated otherwise. Pricing, product features, and availability are subject to change, so verify current details directly with the provider. Any performance impact from photography, AI editing, or workflow changes will vary by store, product type, traffic quality, and implementation.

Hi, I'm Giles Thomas.
Founder of AcquireConvert, the place where ecommerce entrepreneurs & marketers go to learn growth. I'm also the founder of Shopify agency Whole Design Studios.