Product Photography for Ecommerce (2026 Guide)
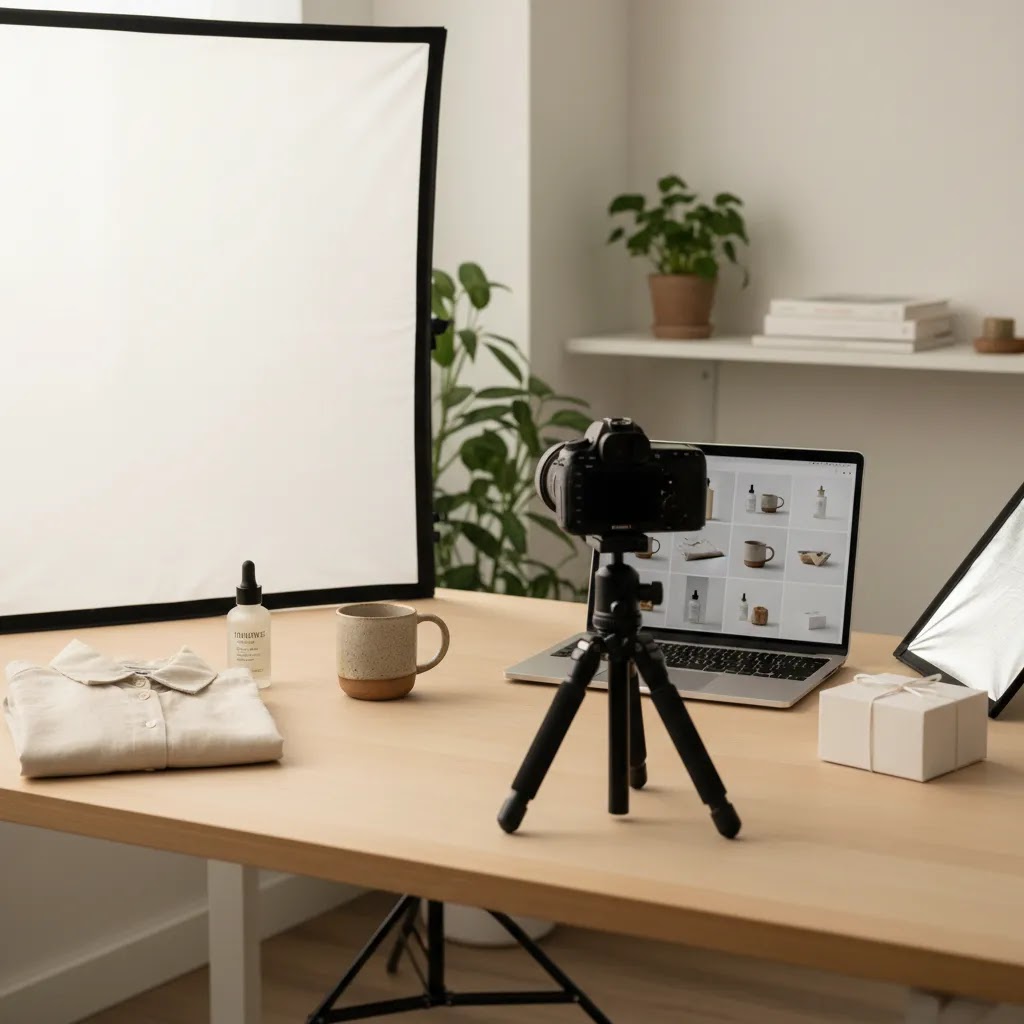
If your store gets traffic but product pages still underperform, your photography is often part of the problem. Good product photography for ecommerce does more than make items look attractive. It reduces hesitation, answers visual objections, and helps shoppers picture quality, scale, texture, and use before they buy. That matters even more on Shopify stores, where image quality can shape both conversion rate and return rate. If you are deciding whether to build an in-house workflow, use AI editing, or hire outside help, start by understanding what high-converting images actually need. For a broader setup and workflow view, see this guide to a product photography studio. This article will help you evaluate what matters, what can be automated, and where human judgment still matters most.
Contents
What Product Photography for Ecommerce Needs to Do
Product photography for ecommerce sits between branding and conversion. Your images need to look polished, but that is not enough on its own. They also need to help a shopper make a buying decision quickly.
For most online stores, that means covering three jobs clearly. First, the main image needs to stop the scroll and present the product cleanly. Second, the gallery needs to answer practical questions around angle, scale, texture, color, and function. Third, the image set needs to match the store's positioning, whether that is premium, playful, minimalist, or utility-focused.
In real ecommerce use, the right image strategy varies by product type. Apparel needs fit, drape, and close-up fabric detail. Beauty products need packaging clarity and clean texture rendering. Home goods usually need scale and lifestyle context. Pet accessories often benefit from in-use shots that show size and function. That is why photography for ecommerce should never be treated as one template across every catalog.
AI also now plays a real role in production speed. If you are exploring ai photoshoot workflows or comparing manual and automated edits, the best approach is usually hybrid. Use automation for repetitive production tasks, then keep human review for brand consistency and merchandising decisions.
Key Components of a Conversion-Focused Setup
1. A clear hero image
Your first image should show the product immediately, usually on a clean white or neutral background. This is especially important for collection pages, search listings, marketplaces, and ad creative. Clarity typically matters more than creativity in the hero slot.
2. Supporting angles and close-ups
Most stores need at least 4 to 7 total images per SKU. That usually includes front, side, back, detail, packaging, scale, and one contextual lifestyle image. This reduces uncertainty and can improve perceived trust.
3. Lighting consistency
One of the biggest issues in product photography tips for ecommerce is inconsistency between shots. If color temperature shifts or shadows vary from image to image, your catalog looks less reliable. A repeatable lighting setup matters more than expensive gear for many smaller stores.
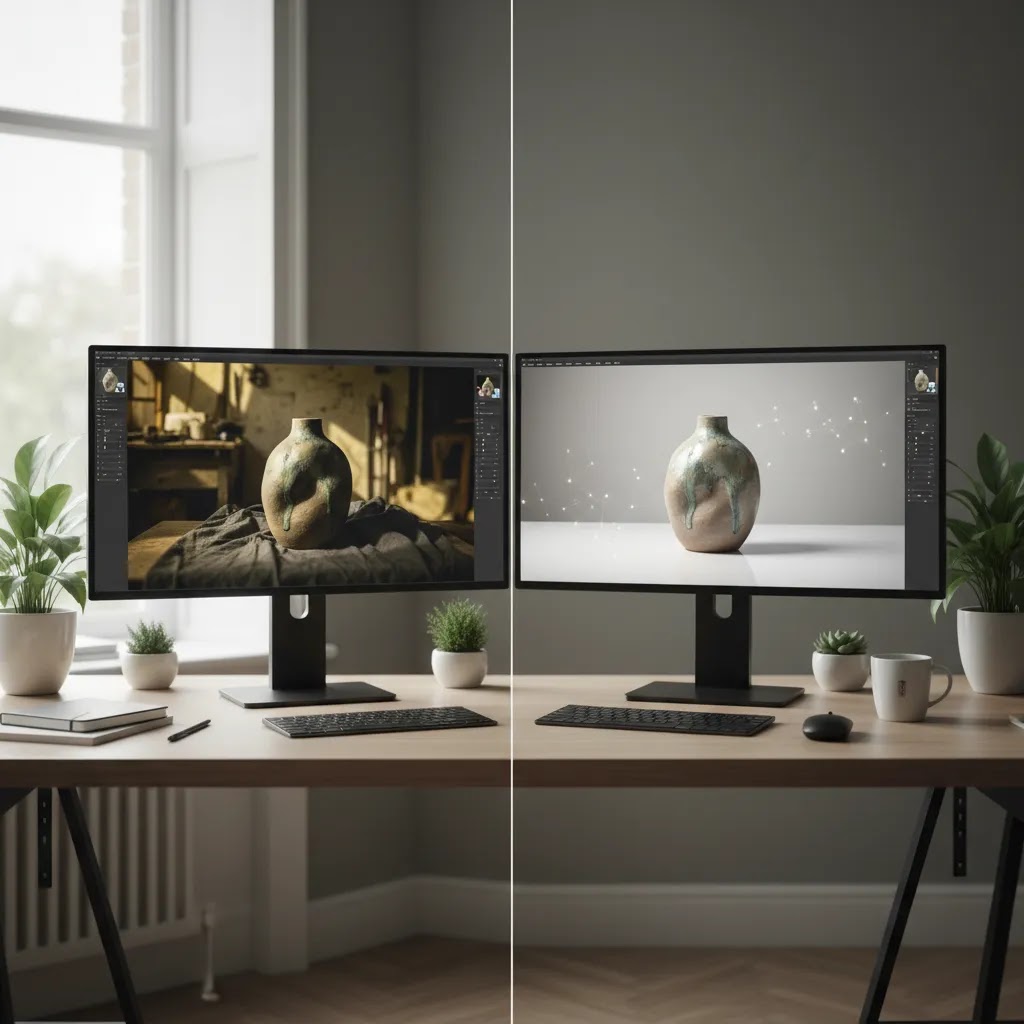
4. Background control and editing
Clean backgrounds are often essential, particularly for marketplaces and high-volume catalogs. For post-production, AI tools can help speed up repetitive edits. Options listed in the available tool data include AI Background Generator, Free White Background Generator, and Background Swap Editor. These can be useful when your team needs alternate scenes, cleaner catalog images, or faster turnaround on large product sets.
5. Resolution and platform readiness
Shopify merchants need images that stay sharp on retina displays, mobile zoom, and product page galleries without slowing page speed too much. Tools such as Increase Image Resolution may help rescue usable assets, but it is still better to start with strong source images when possible.
If you want a broader view of ai product photography, it is worth comparing where AI helps most: background cleanup, scene variation, image enhancement, and creative testing. It is less reliable when exact color accuracy, regulated product presentation, or complex reflective surfaces matter most.
Product Photography Styles and Shot List by Use Case (Studio vs Lifestyle vs 360)
Here is the thing: most Shopify product pages do not fail because the photos are low resolution. They fail because the image set does not match how people decide. Your job is to choose a small set of photo styles that answers the buying questions for that product, on that channel, with your current budget.
The main ecommerce photography styles, and what they are best for
White background catalog images are the conversion workhorse. Use them for your hero image, for collection pages, and for any channel where clarity and consistency matter. They also make your catalog look more organized, which helps trust.
Lifestyle or in-use images are about context. They show scale, how the product is used, and who it is for. These tend to matter most for home goods, apparel, pet products, and giftable items where the buyer is picturing a scenario, not just checking specs.
Detail or macro shots reduce hesitation for tactile products. Think fabric weave, stitching, materials, closures, texture, labels, craftsmanship, and finish. If you sell premium products, these images often do more to justify price than a more dramatic lifestyle photo.
Packaging, unboxing, and what is included shots reduce post-purchase friction. They are especially useful for bundles, kits, cosmetics, supplements, and anything with multiple components. They also cut down on customer support questions like what arrives in the box.
360 or spin sets can help when shape and build quality are hard to judge from a few angles. They can be useful for footwear, bags, and some consumer goods. The tradeoff is production effort and file management, so most independent stores get more mileage from a great 6 to 8 image set before they invest in full 360 coverage.
Minimum viable shot lists by product type (what to prioritize when budgets are tight)
From a practical standpoint, you want a repeatable minimum that covers conversion, then add extras only where they remove real buyer doubt.
Apparel: front on body, back on body, close-up of fabric texture, close-up of key detail (collar, cuff, zipper, logo), and one clean flat lay or mannequin shot for shape. If you can only do three, prioritize front on body, back on body, and fabric close-up.
Beauty and skincare: clean hero of packaging, label close-up (ingredients or key claims where allowed), texture swatch (on clean surface or skin if appropriate), and a scale cue (in hand or next to a common object). If you only do three, prioritize hero, label close-up, and texture.
Home goods: hero on clean background, lifestyle in a real setting for scale, detail of material or finish, and a shot that clarifies size (next to furniture, on a table, or held). If you only do three, prioritize hero, lifestyle with scale, and material detail.
Jewelry: hero on clean background, macro detail (stone setting, clasp, texture), scale shot on model or hand, and a packaging shot if it is giftable. If you only do three, prioritize hero, macro, and on-model scale.
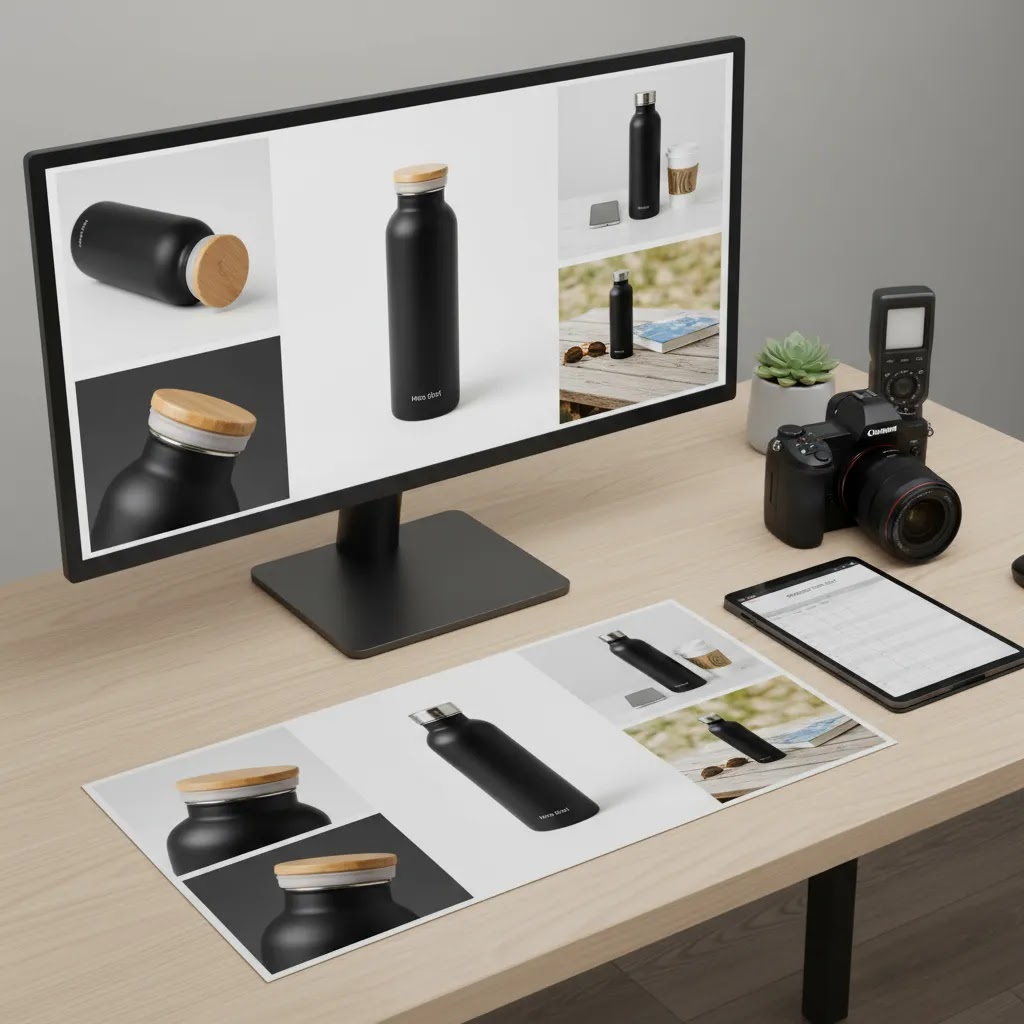
Reflective products (glossy packaging, stainless steel, glass): hero with controlled reflections, angle that shows form without glare, detail shot for finish quality, and packaging or included items. If you only do three, prioritize hero, controlled angle, and finish detail.
Common failure modes that quietly hurt conversion
What many store owners overlook is that the wrong kind of “nice” photo can still be bad for selling.
Beautiful lifestyle shots that hide the product tend to underperform because shoppers cannot evaluate what they are buying. If your product is not clearly visible at a glance, it should not be early in the gallery.
Missing scale cues create returns. Anything that can be mis-sized should have at least one obvious reference, whether that is in hand, on body, or placed in a realistic environment.
Inconsistent angles across variants make a Shopify product grid look messy, and they make comparisons harder. Pick a camera height and angle template, then stick to it across the whole collection.
Over-editing that shifts color creates trust problems fast, especially for apparel and cosmetics. If the product arrives and looks different, your photography becomes a refund generator.
Think of it this way: when you brief a shoot, you are really briefing a decision path. Define your hero style, define the 4 to 7 supporting questions each product type needs to answer, then keep the template consistent across SKUs.
Technical Product Photography Basics (Lighting, Settings, and Workflow)
The reality is you do not need to become a photographer to get better ecommerce images, but you do need a consistent technical baseline. Consistency beats complexity for most Shopify catalogs because it makes products easier to compare and makes your brand feel more reliable.
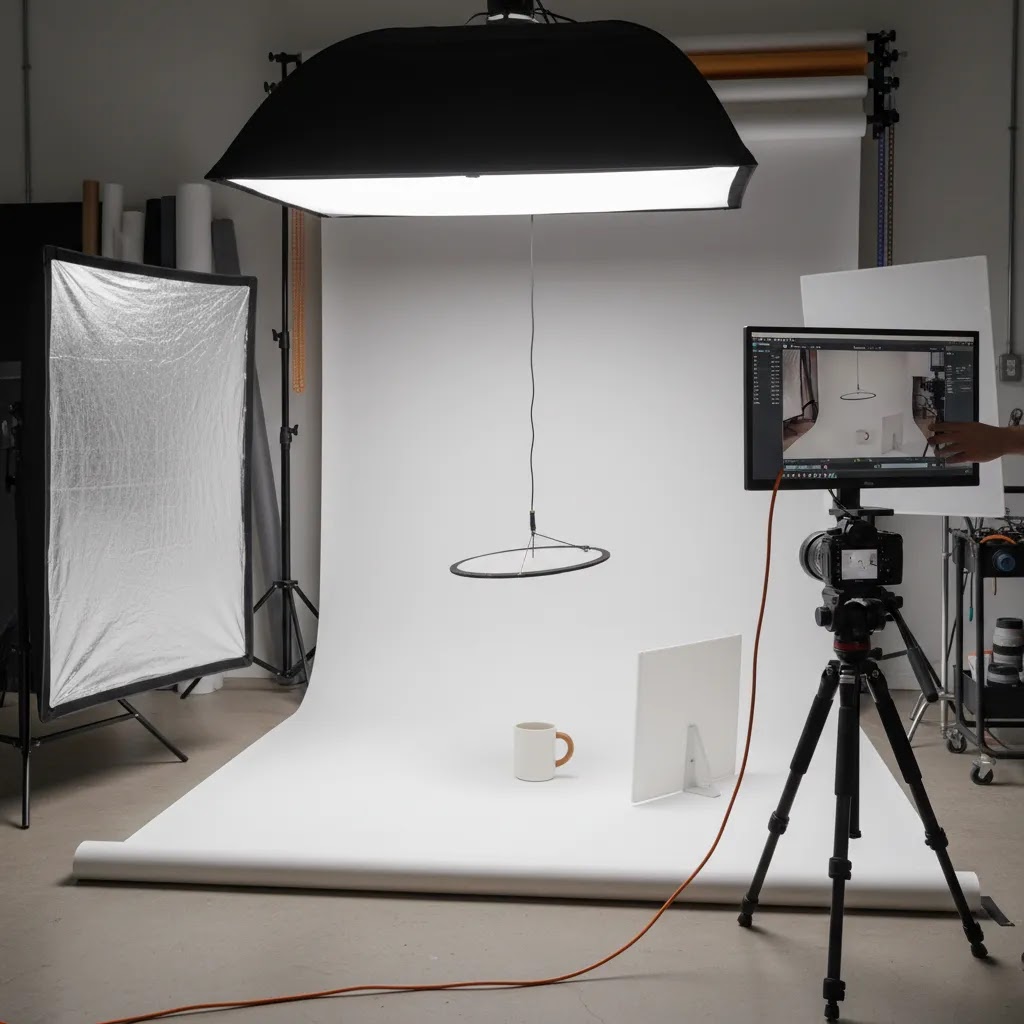
Lighting: continuous vs strobes, and what most stores should choose
Continuous lights are the simplest for beginners because what you see is what you get. They are great for building a repeatable setup for catalogs and for training team members to shoot consistently. If you shoot with a smartphone, continuous light is usually the most straightforward option.
Strobes can produce very clean results and freeze motion well, but they add setup complexity. If you already know how to use them or you are working with a photographer, they can be a strong option. If you are building your first in-house workflow, continuous lighting typically gets you to “good enough” faster.
Light tent vs diffusion: a light tent can be useful for small items and for reducing harsh shadows. Diffusion (softboxes or a large diffused source) is more flexible for larger products and lifestyle scenes. For many products, the goal is soft, even light with controlled shadows, not dramatic contrast.
A basic setup that is hard to mess up
Camera stability matters. Put the camera on a tripod, lock the framing, and keep the product position marked on the table. This is how you avoid the “every SKU looks different” problem that shows up on collection pages.
Control your environment. Mixed lighting is one of the fastest ways to get weird color. If you use artificial lights, turn off overhead room lights and block window light where possible, so you are not mixing color temperatures.
Good enough camera settings for consistent catalog shots
If you are using a camera with manual controls, start with these principles.
Aperture: for most product shots, an aperture in the f/8 to f/11 range is a common “safe zone” for sharpness and depth of field. Small items shot close may need more depth of field, but going too far can soften the image because of diffraction.
ISO: keep ISO as low as you can, often ISO 100 to 400, to avoid noise and muddy detail. This is another reason a tripod helps, because you can use a slower shutter speed without blur.
Focus: use single-point focus and focus on the most important detail, usually the front edge of the product or the label. For products with depth, take a couple of test shots and zoom in to confirm sharpness.
White balance: set it and keep it consistent. Auto white balance tends to drift across a shoot, which is exactly what you do not want in a Shopify catalog.
How to get consistent color and texture (and avoid glare)
Color consistency matters most in categories like apparel, beauty, and home goods where buyers expect an exact match. A simple gray card can help you set consistent white balance and exposure during editing. Even if you do not use a gray card, the key is to avoid mixed lighting and avoid changing your light position mid-shoot.
Glossy packaging and reflective materials are where many DIY setups fall apart. The fix is usually bigger, softer light and more control of reflections. Move the light source larger relative to the product using diffusion, then adjust angles. Sometimes the best improvement is simply rotating the product slightly so the reflection is not pointed straight at the camera.
A repeatable workflow checklist from shoot to export
The way this works in practice is to treat photography like a production line.
For most Shopify store owners, this kind of standardization is what turns “we took some photos” into a system you can scale without quality drifting over time.
Pros and Cons
Strengths
Considerations
Who This Approach Is For
This evaluation is most useful for Shopify store owners, ecommerce teams, and growth-stage brands that want images to do more than fill a gallery. If you sell products where detail affects trust, such as apparel, beauty, pet accessories, supplements, home goods, or handmade items, your photography can influence both conversion quality and post-purchase satisfaction.
It is also relevant if you are deciding between studio photography, AI-assisted editing, or a mixed workflow. Smaller merchants often benefit from a lean in-house setup plus selective AI tools. Larger catalogs may need a more structured content system, especially if multiple people touch image production.
AcquireConvert Recommendation
At AcquireConvert, the practical recommendation is not to ask whether AI or traditional photography is better in the abstract. The better question is which parts of your image workflow should be standardized, automated, or outsourced based on your catalog and conversion goals. Giles Thomas brings a useful perspective here as a Shopify Partner and Google Expert, because ecommerce imagery affects more than onsite merchandising. It also shapes ad click-through rate, Shopping feed performance, and product page clarity.
If you are still comparing setups, start with the broader Catalog Photography section, then review use cases like photoroom for editing-focused workflows. If you sell beauty items or visual-first products, this related look at an ai makeup generator also helps show where AI visuals fit and where product accuracy needs more caution. The most effective path for many stores is still a controlled base image set plus selective AI enhancement where it saves time without weakening trust.
How to Choose the Right Photography Workflow
1. Start with your catalog complexity
If you have 20 evergreen SKUs, a handcrafted studio workflow may be realistic. If you manage hundreds of products, variants, or seasonal launches, you need repeatability first. In those cases, templates, lighting consistency, and AI-assisted editing usually matter more than chasing highly artistic shoots for every SKU.
2. Match the image type to the buying decision
Ask what the shopper needs to see before buying. For commodity products, clean white-background images may be enough. For tactile products, the gallery should show texture and scale. For premium or giftable items, lifestyle photography often carries more weight. This is where many product photography ideas for ecommerce go wrong. They focus on style before they cover the core sales questions.
3. Decide what should be done in-house
In-house works well when your team can build a simple repeatable setup and your products are physically accessible. A smartphone, tripod, basic lighting, and controlled background can be enough for many merchants if the process is disciplined. You do not always need a commercial studio to improve photography for ecommerce.
4. Use AI where it removes production friction
AI is most useful when it shortens editing time. For example, the available tools include Magic Photo Editor, Creator Studio, and Place in Hands. These kinds of tools may help with scene variation, visual testing, or producing supporting ecommerce content faster. They are less suitable when every image must perfectly reflect the delivered physical item.
5. Know when to outsource
Product photography services for ecommerce make the most sense when your brand positioning depends on premium visuals, your products are difficult to shoot, or your team lacks the time to build a process. That said, outsourcing is not automatically the better conversion choice. External photographers may produce beautiful images that still miss key merchandising details unless you brief them clearly.
If you need more examples and benchmarks, the E Commerce Product Photography category is a useful next step for comparing workflows, editing standards, and visual approaches by use case.
Cost and Hiring Guidance (What Services Include and How to Choose)
Now, when it comes to budgeting, the biggest mistake is treating “product photography” as one line item. The cost is driven by your shot list, your consistency requirements, and how much complexity you are asking a photographer or studio to manage per SKU.
What typically drives cost for ecommerce product photography
In many cases, pricing and timelines are influenced by a few predictable factors: number of SKUs, number of angles per SKU, whether models are needed, whether props and set building are involved, and how intensive the retouching is. Reflective products, liquids, and anything that needs careful cleanup usually takes longer.
Turnaround time can also matter. Rush timelines tend to limit revision cycles and increase production pressure, which may affect consistency. Usage and licensing can also affect what you pay and what you receive. You want to be clear whether you are buying images for your Shopify store only, or also for ads, marketplaces, and broader brand use.
How to estimate cost per SKU (in-house vs outsourced)
For an in-house workflow, think in terms of cost per SKU and cost per launch. Your biggest costs are usually time, not gear. Estimate how long it takes to prep, shoot, edit, export, and upload a single SKU, then multiply by the number of products you plan to update each month.
For outsourcing, you can still think in cost per SKU, but define the deliverables first. A quote is only meaningful if you know whether it includes a hero image only, a full gallery, retouching, and alternate crops for ads or marketplaces.
Consider this: many stores use a hybrid approach to keep this manageable. You might shoot simple catalog images in-house for the full range, then outsource only hero images for bestsellers or launches that will be used heavily in paid ads.
What to ask a photographer or studio before you hire
What many store owners overlook is that “beautiful” does not always mean “on-brand and conversion-friendly.” Before you send inventory out or book a shoot, get clear answers on what you will receive.
Lower-cost options and the tradeoffs
If you need to keep spend under control, you still have options that do not require sacrificing consistency.
Batching products is the simplest lever. Shooting 30 SKUs in one controlled session is usually more efficient than shooting 5 at a time across multiple weeks, because you do not rebuild the setup each time.
Templated shoots help too. If every SKU uses the same camera height, same crop rules, and same angle order, you reduce both shoot time and editing time.
Outsource only the hardest parts is another realistic approach. For example, you might keep most catalog shots in-house, then outsource reflective products, model shots, or seasonal campaign content that needs a higher creative bar.
AI-assisted editing can also help reduce post-production time for some stores, but it still needs human review. If you are using AI for background cleanup or scene variations, check edges, check shadows, and confirm the product still looks like what you ship.
Frequently Asked Questions
What is product photography for ecommerce?
It is the process of creating product images specifically for online selling. That includes hero images, detail shots, scale references, and lifestyle photos that help customers evaluate an item without handling it in person. For ecommerce stores, the goal is not just visual appeal. The goal is to support decision-making and reduce uncertainty before purchase.
How many photos should an ecommerce product page have?
Many stores do well with 4 to 7 images per product, though the right number depends on complexity. A simple product may need fewer. Apparel, beauty, and technical products often need more. The key is to cover the questions that matter to buyers, including angle, texture, packaging, dimensions, and real-world use.
Can AI automate product photography for ecommerce?
AI can automate parts of the workflow, especially background removal, scene generation, image enhancement, and content variation. It usually works best as an assistant rather than a full replacement for photography. Most stores still benefit from using real source images as the foundation, then applying AI where it saves time and keeps visual standards consistent.
Is AI product photography for ecommerce good enough for Shopify stores?
Often, yes, for selected use cases. AI can be useful for secondary images, campaign creative, social content, and catalog cleanup. For Shopify product pages, it is most effective when it supports clarity rather than creating unrealistic imagery. If color accuracy, materials, or regulated presentation matter, manual review is still important.
What are the best lenses for ecommerce product photography?
The best lens depends on what you sell. A standard prime or short telephoto lens is often useful for products because it minimizes distortion and keeps images sharp. Macro lenses help with detail shots. For many small merchants, though, lighting and stability matter more than owning specialized lenses right away.
Should I hire product photography services for ecommerce?
Hire a service when premium presentation, difficult materials, or lack of team time makes outsourcing worthwhile. If your catalog changes constantly, a hybrid approach may work better. Many merchants keep simple catalog images in-house and outsource hero campaign shoots or high-priority product launches that need more polished creative direction.
How much does product photography for ecommerce cost?
It depends on the number of SKUs, how many final images you need per SKU, whether you are using models or sets, and how complex the retouching is. Usage rights and turnaround time can also affect cost. The most practical way to budget is to define your shot list first, then compare cost per SKU for in-house production versus outsourcing based on the deliverables you actually need.
What is the best background for ecommerce product photos?
For most stores, a clean white or neutral background is the safest default for hero images because it keeps focus on the product and stays consistent across collections. Lifestyle backgrounds can work well for secondary images when they add context, show scale, or demonstrate use. The key is to keep the product easy to see and to avoid busy scenes that distract from important details.
How do you take product photos for ecommerce at home?
Use a simple controlled setup: a stable tripod, consistent lighting (often continuous lights), and a clean background. Turn off mixed room lighting and avoid combining window light with artificial light, since that can shift color. Mark your product position and keep camera angle consistent so your Shopify product grid looks uniform. Then batch edit to keep exposure and white balance consistent across the set.
Should I use studio product photography or lifestyle photography?
For most Shopify stores, it is not either or. Studio-style images are usually best for hero shots, collections, and marketplaces because they maximize clarity. Lifestyle images are most valuable when they answer a buying question that a studio shot cannot, like scale, fit, or how the product is used. A common approach is to lead with clean studio images, then include one or two strong lifestyle shots later in the gallery.
Does product photography affect Google Shopping and ads?
Yes, it can. Strong images may improve how products attract attention in feeds, ads, and landing pages. As Giles Thomas's Google Expert background suggests, visuals can influence click quality as well as onsite experience. That said, performance also depends on titles, pricing, reviews, and feed quality, not photography alone.
What product photography tips for ecommerce matter most on mobile?
On mobile, clarity matters more than complexity. Use a clean hero image, crop tightly enough to show the product well, and make sure detail shots hold up when zoomed. Avoid overly busy compositions for primary images. Mobile shoppers need to understand the product quickly, especially on collection pages and paid traffic landing pages.
How do I approach pet product photography for ecommerce?
Show size, function, and materials clearly. If the item is worn or used by a pet, include at least one in-use image to make the benefit obvious. Keep the product visible even in lifestyle shots. Pet categories often convert better when shoppers can quickly understand fit, attachment, scale, and durability cues.
Key Takeaways
Conclusion
Product photography for ecommerce works best when you treat it as a selling system, not a creative afterthought. Your images need to help shoppers trust what they are buying, understand the product fast, and move through the page with less friction. That may mean a basic in-house setup, outside photography support, AI-assisted editing, or a mix of all three. The right choice depends on your catalog, your margins, and how much visual accuracy matters in your niche. If you want a practical next step, explore AcquireConvert's guides on catalog photography, AI product visuals, and conversion-focused ecommerce content. Giles Thomas's perspective as a Shopify Partner and Google Expert makes these resources especially useful for merchants who want to improve product pages with clearer, more commercially grounded decisions.
This content is editorial and intended for educational purposes. It is not a paid endorsement unless explicitly stated otherwise. Pricing, features, and tool availability are subject to change, so verify current details directly with the provider. Any ecommerce performance outcomes discussed are not guaranteed and may vary by store, product category, traffic quality, and implementation.

Hi, I'm Giles Thomas.
Founder of AcquireConvert, the place where ecommerce entrepreneurs & marketers go to learn growth. I'm also the founder of Shopify agency Whole Design Studios.