Product Photos: Stunning 3D Images (2026 Guide)
If you sell online, your product photos do more than make a page look polished. They shape trust, reduce uncertainty, and help shoppers understand what they are buying before they commit. That is where 3D imagery becomes useful. For many ecommerce brands, especially on Shopify, 3D visuals can make static listings feel more tangible without requiring every shoot variation to be photographed from scratch. Whether you are improving 360 product photography for a hero SKU or testing AI-assisted image workflows, the goal is the same: clearer visual merchandising that helps customers buy with confidence. This guide walks you through how to create stronger 3D product photos, where AI tools fit, and what store owners should watch for before changing their image production process.
Contents
What 3D product photos actually mean
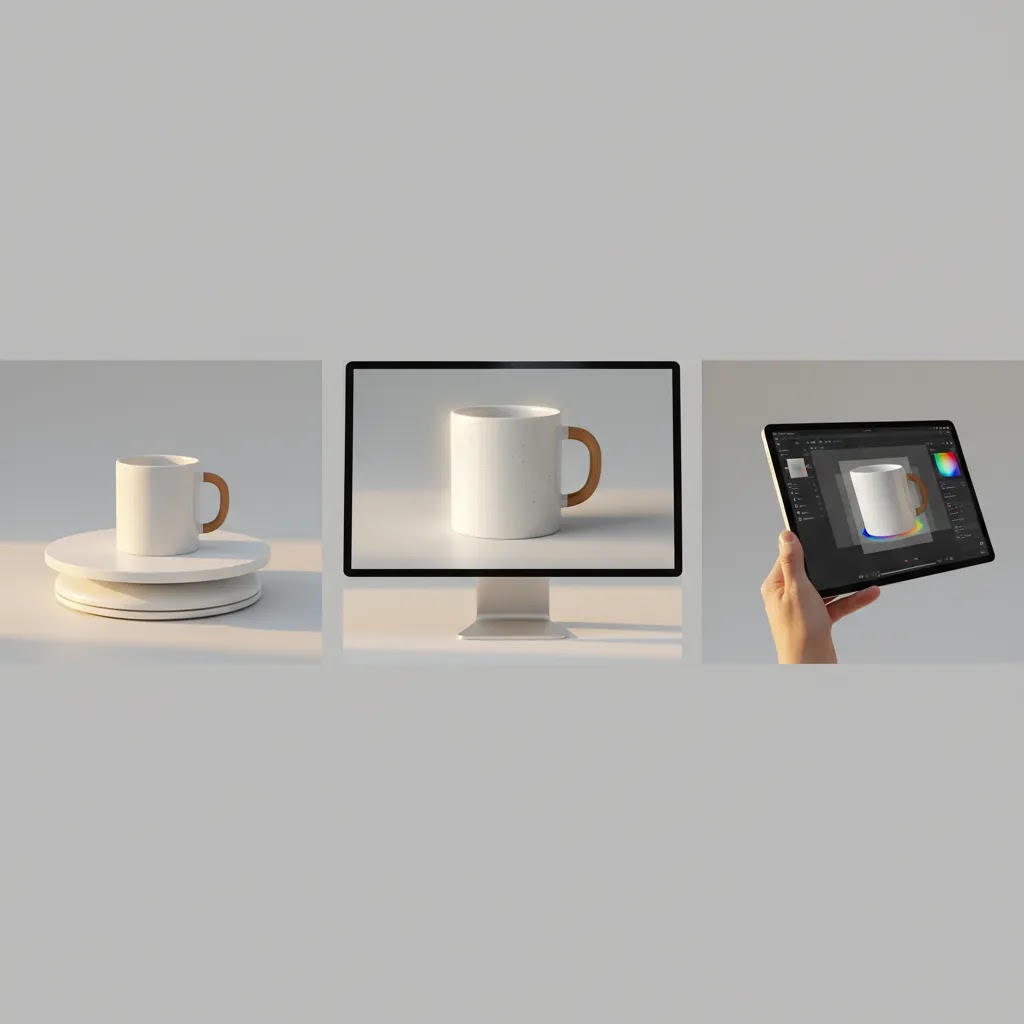
When store owners talk about 3D product photos, they may mean a few different things. Sometimes they mean interactive assets, such as a spin-based 360 view that lets shoppers rotate the product. Sometimes they mean CGI or 3d product rendering created from digital models. In other cases, they mean enhanced product photos that simulate depth, realism, and multiple angles using editing or AI tools.
For ecommerce, the practical question is not which label is most correct. It is which format helps your customer understand the product faster. A skincare brand may need highly accurate packaging, textures, and reflections. An apparel seller may care more about drape, fabric detail, and color consistency. A home goods brand may benefit from realistic in-room placement or product-in-hand context.
Good product photos in 3D form should support selling, not just visual novelty. They should clarify size, shape, finish, and use. If the extra production effort does not improve shopper understanding, it may not be worth it. That is why experienced ecommerce teams usually start with one or two hero products, measure engagement and merchandising value, and then expand the workflow only if the assets genuinely improve the shopping experience.
If you are still building your visual system, it helps to review broader e commerce product photography standards before deciding how much 3D complexity your catalog really needs.
The main ways to create stunning 3D images
There is no single production method that fits every catalog. Most stores use one of four approaches, and many combine them.
1. Traditional multi-angle photography
This is the most straightforward starting point. You photograph a product from several angles in a controlled setup, then present those images as a gallery or sequence. It is often enough for Amazon product photos, Shopify PDPs, and marketplace listings where consistency matters more than interactivity.
If you want to go beyond basic flat shots, a properly planned 360 image sequence can show shape and proportions with far less ambiguity than a front-only hero image.
2. Spin photography and interactive viewers
Spin-based assets are useful for products where form matters, such as electronics, footwear, bottles, beauty tools, or premium packaging. A shopper can rotate the item and inspect details that static galleries may miss. This can be especially helpful for reducing pre-purchase uncertainty on products where angles influence perceived quality.
3. 3D rendering and CGI workflows
If your products are manufactured from CAD files or digital models, rendering may be more efficient than repeatedly photographing every colorway or packaging revision. This approach is common in furniture, consumer goods, and technical products. It may also help when physical samples are not ready but merchandising still needs to move forward.
The trade-off is realism. Rendered assets can look excellent, but only if materials, shadows, proportions, and textures are handled carefully. If not, shoppers may sense the image is artificial, even if they cannot explain why.
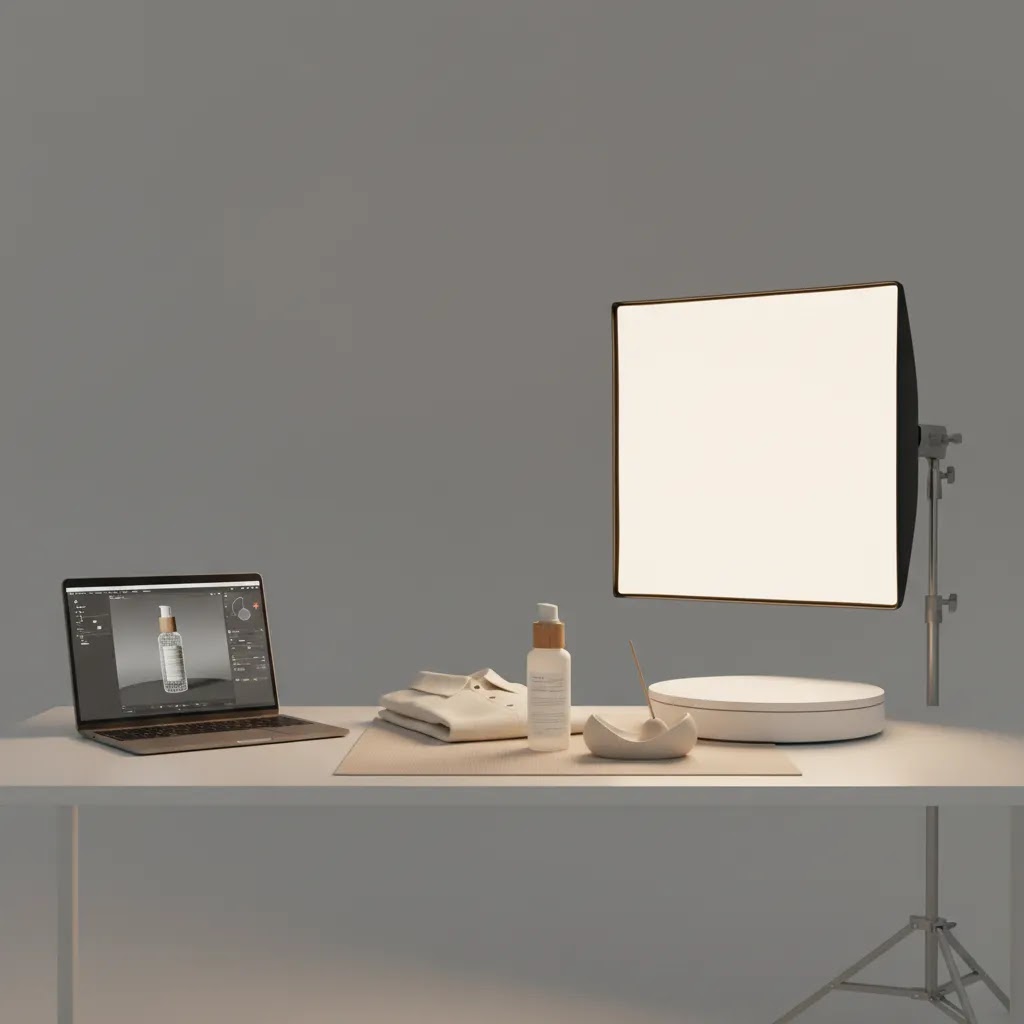
4. AI-assisted photo enhancement and compositing
AI can speed up parts of the process, especially background cleanup, scene variations, and image polishing. Useful examples from the current tool set include AI Background Generator for testing styled scenes, Free White Background Generator for marketplace-ready white backgrounds, and Increase Image Resolution when older catalog images need sharpening for larger displays.
There are also more scenario-specific tools such as Background Swap Editor, Place in Hands, and Magic Photo Editor. These can help you edit product photos for campaigns, social creatives, or quick merchandising tests without organizing a full reshoot.
For store owners, the best use of AI for product photos is usually workflow support, not blind replacement of careful art direction. AI generated product photos can save time, but you still need human review for brand accuracy, packaging details, label text, and color fidelity.
Using AI product photo tools responsibly (quality control + brand and platform requirements)
Here is the thing about product photos AI tools. They are often excellent at cleaning up the boring parts of production, and unreliable at the exact details that shoppers use to decide whether they trust you. Use AI where it supports your workflow, then run a quality check that treats accuracy as non-negotiable.
In practice, AI tends to perform well for background cleanup, removing dust or small distractions, resizing and extending canvases, and upscaling images so older photography holds up on modern Shopify themes. It can also be useful for minor retouching, like smoothing wrinkles in a backdrop or normalizing exposure across a set.
Where AI commonly creates problems is predictable: logos, label text, fine patterns, and reflective surfaces. Bottles, glossy packaging, metallic products, and anything with tight typography can come back with warped lettering, altered symbols, or unrealistic reflections. That may not be obvious at thumbnail size, but customers notice once they zoom, and it can create friction if the delivered product does not match the photo.
Before you publish AI-assisted edits to Shopify, run a quick QA pass that mirrors how a customer shops. Compare the image to the real item or a verified source image, check color matching across variants, confirm text legibility and packaging accuracy, and look for inconsistent shadows or reflections that make the product feel pasted in. If you sell sets or bundles, confirm the count and included accessories are represented correctly.
Now, when it comes to channel requirements, keep your standards even tighter. Marketplaces often have strict rules for main images, especially around white backgrounds, props, and what can be shown. Ad platforms can also be sensitive to misleading representation, and policies change over time, so it is worth verifying current guidelines before you scale a new workflow. The safest pattern is to keep a clear link to the real product: use AI for cleanup and presentation, not to invent details that do not exist.
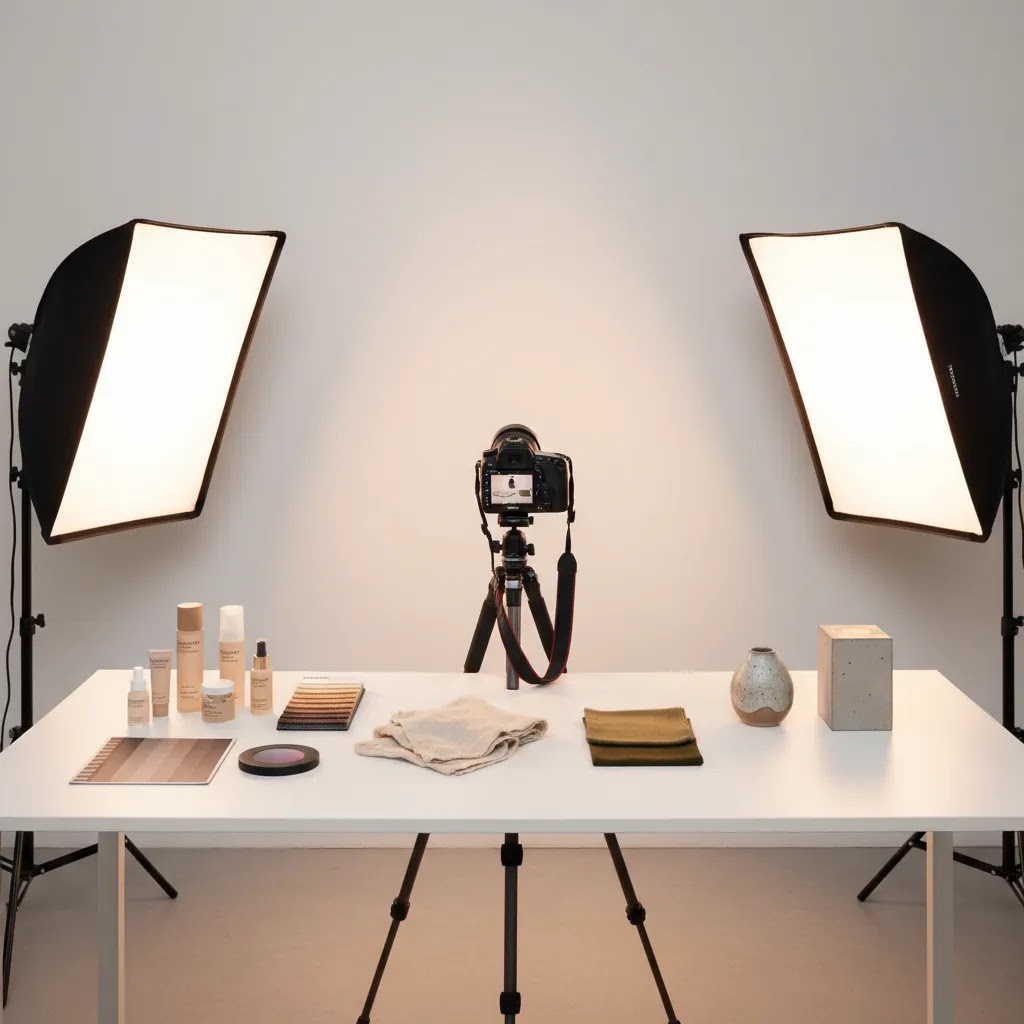
How to set up product photos for consistent ecommerce results
What many store owners overlook is that “better product photos” is usually not about buying a new camera or adding a 3D viewer. It is about setting standards your team can repeat every time. That is how you get consistent Shopify product pages, faster editing product photos, and fewer last-minute reshoots.
A practical shot list for Shopify product pages
If you want a simple starting template, build a shot list that covers how people actually evaluate a product on a PDP. For many stores, this set is enough to answer the majority of customer questions.
Consider this when you are deciding between 360 and more angles. 360 works best when shape is the buying decision, and the product looks meaningfully different as it rotates. If your product is mostly flat, or the key selling details are on one side, you may get more value from two extra detail angles than from a full spin sequence.
Consistency standards that make photos look “professional”
Professional product photos look professional because they follow rules. You do not need a 30-page brand book, but you do need clear standards.
From a practical standpoint, this reduces the slowest part of photo work: decision-making. Your editor is not reinventing the look for every SKU, and your product pages feel cohesive, even if the catalog was shot over months.
A simple workflow your team can repeat
The way this works in practice is a four-step loop: capture, select, edit, QA, then export channel variants.
Capture should follow the shot list, with lighting locked, and with notes on any tricky surfaces like gloss or metal. Selection is where you choose the cleanest frames and reject anything that will cost hours in retouching. Editing is where you apply the same baseline adjustments, background rules, and shadow treatment across the set.
Quality control is where you catch the expensive mistakes. Check label accuracy, confirm the correct variant is shown, verify color fidelity against a reference, and look for reflections that reveal the studio or distort the product. Once the set passes, export Shopify-ready files, then create separate exports for marketplaces and ads as needed. That keeps your Shopify catalog consistent, while still giving marketing the flexibility to test different crops and creative formats.
Pros and Cons
Strengths
Considerations
Cost and resourcing: what product photos typically cost
Most store owners ask about cost after they see better product photos from competitors. The tricky part is that pricing is driven less by “photos” and more by production decisions: how many SKUs, how many angles, how perfect the retouching needs to be, and how much coordination is involved.
Here are typical ranges you may see, depending on approach. Pricing varies by market, complexity, and deliverables, so treat these as planning ranges, not quotes.
The main cost drivers are consistent across almost every catalog. More SKUs, more angles, more complex props, model fees, deeper retouching, and more revision rounds all increase the price. Even small decisions, like needing perfectly matched shadows across 12 angles, can shift a project from “quick cleanup” to “high-touch post-production.”
For most Shopify store owners, budgeting is easier if you roll out in phases. Start with hero SKUs first, meaning your bestsellers, highest-margin items, or products with the most customer questions. Build a repeatable standard, then expand to the long tail once you know the workflow is actually sustainable.
Think of it this way. 3D and CGI tend to make the most sense when your product structure stays the same, but variations change, such as colors, labels, finishes, or packaging iterations. If your products are highly unique, or if realism is mission-critical, strong traditional photography plus disciplined editing may be the lowest-risk path.
If you want a simple decision framework, estimate three things: internal time to shoot and edit, the tooling you need to maintain consistency, and the opportunity cost of your team doing production instead of marketing and merchandising. Then choose the smallest upgrade that removes your biggest image bottleneck. For some stores, that is a tighter DIY setup. For others, it is outsourcing capture while keeping simple edits in-house. The goal is not perfection. It is consistent, trustworthy assets you can scale.
Who should use 3D product photos
3D product photos are a strong fit for brands that rely on visual detail to sell. That usually includes premium DTC brands, products with interesting shape or packaging, and catalogs where shoppers want reassurance before buying. If your return reasons often include “looked different than expected,” richer imagery may help close the gap.
They are also useful for growth-stage Shopify stores that want a more polished presentation but cannot justify endless custom photography. In those cases, combining studio originals with AI-assisted editing can be practical. If you sell cosmetics or visually nuanced packaging, related workflows such as an ai makeup generator may also be relevant for campaign testing and concept development.
If your current setup is inconsistent, start by tightening your core studio process before investing in advanced effects. A clean product photography studio workflow will usually improve results more than adding fancy outputs to weak source images.
AcquireConvert recommendation
For most ecommerce brands, the smart path is not choosing between traditional product photos and 3D imagery as if they are opposites. It is building a layered workflow. Start with accurate base photography, add 3D or spin assets where they remove real buying friction, and use AI editing where it saves production time without compromising trust. That is the practical approach many experienced operators take.
AcquireConvert focuses on this kind of real-world decision-making for store owners. Guided by Giles Thomas's experience as a Shopify Partner and Google Expert, the advice here is built around merchandising clarity, catalog efficiency, and conversion-focused presentation rather than visual hype. If you are evaluating how 3D assets fit into your store, explore the broader 3D Product Photography topic cluster and compare it with your current image production process before making bigger workflow changes.
How to choose the right 3D image workflow
If you are deciding whether to invest in 3D product photos, use these criteria.
1. Start with product complexity
Ask whether your product needs more than standard photography to sell well. Bottles, jars, footwear, electronics, and textured materials often benefit from additional angles or interactive presentation. Basic commodity items may not. Your best product photos are the ones that answer customer questions clearly, not the ones with the most production layers.
2. Look at the role of accuracy
If tiny visual details affect trust, be cautious with heavy AI generation. This matters for skincare product photos, supplements, cosmetics, and regulated categories where labels and packaging must be exact. In these cases, AI can still help with cleanup and editing product photos, but original source capture should stay tightly controlled.
3. Match the workflow to catalog size
Large catalogs usually need repeatable systems. If you have dozens or hundreds of SKUs, a mix of studio photography plus editing templates may be more realistic than fully custom renders for every item. Tools such as Creator Studio can help organize production experimentation, but your process still needs naming conventions, lighting rules, and export standards.
4. Consider channel requirements
Amazon product photos, Shopify PDPs, paid social creatives, and email banners do not always need the same image treatment. White background compliance may matter on marketplaces, while branded lifestyle or 3D-enhanced visuals may work better on your store. Choose a workflow that supports your main sales channels without forcing you to remake assets constantly.
5. Protect site speed and usability
Interactive media should help customers, not slow them down. Before rolling out advanced viewers, test image weight, mobile behavior, and theme compatibility. On Shopify especially, media-heavy pages can affect user experience if assets are poorly compressed or loaded without planning.
6. Prioritize source quality before advanced editing
If you are currently taking product photos with inconsistent lighting, shadows, or framing, solve that first. Retouch product photos only after the basics are strong. AI cannot reliably fix every weak input. The fastest gains usually come from better lighting, cleaner backgrounds, stronger angle planning, and a repeatable shot list.
7. Test on hero SKUs first
Do not overhaul your full catalog on day one. Pick a few bestsellers or high-margin products, create enhanced image sets, and compare customer engagement, merchandising flexibility, and internal production effort. That gives you a realistic sense of whether 3D visuals are worth expanding.

Frequently Asked Questions
What are 3D product photos?
3D product photos usually refer to visuals that show a product with greater depth, multiple angles, or interactive movement. That can include spin photography, CGI renders, or edited image sets designed to simulate depth. For ecommerce, the value is helping shoppers understand the product more clearly before purchase.
What are product photos?
Product photos are the images you use to show an item for sale online. That includes your main product page gallery images, detail close-ups, scale references, and lifestyle shots. In ecommerce, product photos are part merchandising and part trust building. They help shoppers understand what the product is, what it looks like in real life, and whether it matches their expectations.
Are 3D product photos better than professional product photos?
Not automatically. Professional product photos are still the foundation for most stores. 3D assets work best when they build on strong source imagery or accurate digital models. If your base photos are weak, adding 3D effects rarely fixes the core issue. Start with clarity, then add advanced formats where they genuinely help.
Can AI create product photos for my Shopify store?
AI can help create or enhance product photos for Shopify, especially for backgrounds, scene variations, and image cleanup. It can be useful for concept development and merchandising speed. You still need to review outputs carefully for brand accuracy, packaging details, and visual consistency across your catalog.
Is AI for product photos safe to use for regulated categories?
It can be used cautiously, but regulated or detail-sensitive categories need extra review. If you sell cosmetics, supplements, or skincare, packaging text, ingredient references, and color accuracy matter. AI is often best used for support tasks like cleanup or background generation rather than replacing exact product representation.
How many angles should a product page have?
That depends on the product. Many stores do well with a hero image, side angle, detail close-up, scale reference, and one lifestyle or context shot. Products with shape-driven buying decisions may benefit from more angles or an interactive 360 format. The right number is the one that answers likely shopper objections.
How to set up product photos?
Start by defining a repeatable shot list and consistency rules, then build a simple workflow your team can follow. For most Shopify stores, that means a hero image, at least one alternate angle, a detail close-up, a scale reference, packaging or included items, and one in-use context photo. Lock your lighting and camera position, keep crops consistent, then run a QA check for label accuracy and color consistency before exporting variants for Shopify and other channels.
Do 3D images help with Amazon product photos?
They can support content strategy, but Amazon has specific image rules, especially for main images. In most cases, clean white-background images remain essential for compliance. 3D-like or enhanced visuals may be more appropriate for secondary images, A+ content, or your own DTC store where merchandising flexibility is higher.
Should I edit product photos myself or hire a studio?
If your catalog is small and your standards are controlled, self-editing can work well. If consistency is poor or output volume is high, a stronger studio process may be the better investment. Many brands combine both by using studio originals and then handling minor in-house edits for channel variations and campaigns.
How much does a product photo shoot cost?
A product photo shoot can range from a few hundred dollars for a small DIY setup to a few thousand dollars per day for a professional photographer, and higher for studio productions with styling, models, and heavier retouching. The final cost depends on how many SKUs you are shooting, how many angles you need, how complex the styling is, and how polished the final images need to be.
How much do product photos cost?
Product photos may be priced per image, per SKU, or as a full project fee. Costs can be lower for simple white-background sets and higher for lifestyle scenes, models, complex surfaces, or deep retouching. A practical way to budget is to start with hero SKUs, define the exact shot list and standards, and get pricing based on those deliverables rather than trying to estimate from a general per-photo number.
What is the difference between a 360 view and a 3D render?
A 360 view is usually created from a sequence of real photos taken around the product and displayed as a rotating asset. A 3D render is generated from a digital model. The first is photo-based. The second is computer-generated. Both can be effective, but they differ in production cost, realism, and flexibility.
How do I get good product photos without a full rebrand shoot?
Start with your most important SKUs. Improve lighting, standardize backgrounds, tighten your shot list, and use editing tools selectively for cleanup or scene extensions. In many cases, you can raise image quality meaningfully without rebuilding your whole brand system at once. A phased workflow is usually more practical.
Key Takeaways
Conclusion
Stunning product photos are not just about visual polish. They are about reducing hesitation and helping customers feel certain enough to buy. For some stores, that means better lighting and cleaner editing. For others, it means adding 360 assets, selective rendering, or AI-assisted production to support scale. The right answer depends on your products, sales channels, and how much visual detail your shoppers need before purchasing. If you want a practical next step, review your current bestsellers and identify where stronger depth, angle coverage, or consistency would matter most. Then explore AcquireConvert’s related guides on 3D product photography and image production workflows for a more informed rollout grounded in how real Shopify merchants build visual systems that support conversion.
This article is editorial content created for ecommerce education. It is not a paid endorsement unless explicitly stated otherwise. Pricing and product availability for any third-party tools are subject to change, and you should verify current details directly with the provider. Any performance outcomes discussed are not guaranteed and will vary based on product type, store setup, traffic quality, and execution.

Hi, I'm Giles Thomas.
Founder of AcquireConvert, the place where ecommerce entrepreneurs & marketers go to learn growth. I'm also the founder of Shopify agency Whole Design Studios.