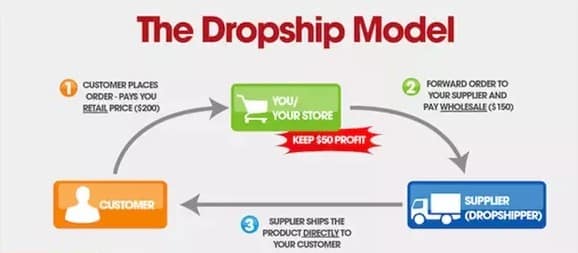
What is drop shipping?
Drop shipping is a business model that allows a company to run an online retail business without actually owning, stocking, or shipping the products it sells to its customers. In other words, drop shipping businesses accept product orders at their online retail store, while an entirely separate entity (the drop shipping supplier) maintains and warehouses the inventory, and then packages and ships orders directly to the customer.
So, what are the pros and cons of operating a drop shipping business?
What are the advantages of drop shipping?
Because dropshippers need only a computer and internet connection to run their retail store, there are several benefits to using this business model for your ecommerce business.
Low start-up costs
One of the main advantages to running a drop shipping business is the low start-up cost. Because dropship retailers neither buy nor own the products they sell, the dropship model eliminates the high cost traditionally associated with buying and storing inventory. Dropship businesses therefore need only pay for the setup and maintenance of their website.
Low overhead costs
The dropship model also sidesteps the high overhead costs of operating a physical storefront or warehouse. Without a brick-and-mortar space, overhead costs such as rent, utilities, security, equipment, packaging, and inventory tracking and management are avoided. Your monthly costs are simply the fixed costs of running your website, which often amount to less than $100 a month.
Low risk
A dropship business only buys a product once it’s been purchased and paid for by the customer, so there’s very little risk involved if a business fails to sell products off its site. This model offers business owners the low-pressure flexibility to experiment with selling new products or tapping into new markets.
Location-independent
Running a dropship business requires only a computer and internet connection, making this business model an especially attractive option for entrepreneurs interested in travel, or those seeking to maximize their profits by relocating to a city with a low cost of living.
Wide product selection
Another advantage of the dropship model is the wide array of products available for sale. By now, you can find a dropship supplier for almost anything, and this variety gives you flexibility as you develop and grow your business. For example, you may choose to sell a wide selection of products, or you can instead choose to attract a niche market with your store. Either way, if you can imagine the product, you can almost certainly find a dropship supplier who stocks it.
Easily scalable
With traditional retail businesses, more orders equates to higher profits, but it also means more work: more time spent filling, packaging, and shipping orders. This time spent fulfilling orders necessarily means time diverted from the management and growth of your business.
Under the dropship model, more orders means higher profits, but without the attendant time commitment. Instead of managing the time-consuming operations of order fulfilment, you can relegate these tasks to your dropship supplier, meaning that the increased workload associated with your growing business is borne by someone else. Relegating these tasks to your supplier means that you’ll have more time to focus on customer service, marketing, sales, and scaling your business.
What are the disadvantages of drop shipping?
At this point, running a drop shipping business probably seems like an attractive option. But be aware that there are also disadvantages to this business model that you should consider before getting started.
Highly competitive
A low barrier to entry means high competition. It is precisely because of the advantages of the drop shipping model that competition is high: because virtually anyone with a laptop and wifi connection can operate an online drop shipping store at a very low cost, this has become a popular option for online retailers, causing many markets to become oversaturated with merchants offering very low-priced products. The best way to avoid this problem, especially for new businesses, is to conduct adequate market research to better understand which niche markets and segments are less crowded, and therefore afford you an opportunity to establish and distinguish yourself without getting lost in a sea of competitors.
Low profit margins
The profit you make as a drop shipping business is the difference between what your customer pays you for a product and what you pay your drop shipping supplier to ship that product to your customer. Because drop shipping is such a competitive industry, this profit margin can often be pretty small, especially if you sell high-end niche items that are expensive to buy from suppliers.
While it’s unlikely you’ll ever make a 100% profit using the drop shipping model, you can best maximize your profit margins by choosing a market segment that is well-suited for the dropship model and finding suppliers with fair prices.
Minimal brand control
In the ecommerce world, where businesses are already somewhat estranged from their customers, the personalized details of an order can make a huge difference in building customer satisfaction and brand loyalty. Unfortunately, however, when you entrust a drop shipping supplier with the task of filling, packaging, and shipping your orders, you lose control over product presentation. Because drop shipping suppliers are filling huge numbers of orders from multiple sources daily, there simply isn’t the time or incentive to include personalized packaging or customized notes with customer orders. Those suppliers that are willing to package orders with your logo will charge a pretty penny for that service. The benefit of offloading order fulfilment onto someone else comes at the cost of entrusting your brand’s reputation to a third party. (Yet another reason to choose your suppliers wisely; more on this below.)
If your main goal is to build your reputation and grow brand recognition, then drop shipping is probably not the best business model for you.
Retailer liability for supplier errors
Another downside to being a dropship retailer relates to liability for supplier errors. Under the dropship model, the customer buys directly from the retailer without ever interacting with the supplier. As far as the customer is concerned, the entire transaction occurs on the retailer’s website, meaning that the retailer will always bear complete responsibility and necessarily accept fault for any packaging or shipping errors on the part of the supplier. Because it will always be the retailer’s reputation at stake, it’s crucial that as a retailer, you work exclusively with experienced and high-quality suppliers.
Inventory management issues
Building on the last point, it’s worth discussing the complications of inventory management, which can sometimes create huge headaches for retailers. As a dropship retailer, you neither own nor stock the items that you sell. Because you’re sourcing these products from a variety of suppliers, who themselves are fulfilling orders for a variety of other retailers, you can expect supplier inventory to fluctuate daily, and tracking these changes can be very difficult.
While software does exist to monitor the warehouse stock of your suppliers, this technology is expensive, not always accurate, and in some cases not supported by your supplier of choice. System errors or miscommunications can give rise to problems that force you to cancel an order or place it on backorder. Again, as the retailer, you will bear full liability for these mishaps.
Is drop shipping viable?
So, exactly how profitable is the drop shipping business model?
As we’ve discussed so far, drop shipping is not the golden egg of ecommerce. While it certainly has many advantages that make it an attractive option for new entrepreneurs looking to whet their appetite for new online business opportunities, it is also comes with its share of complexities and practical difficulties that are worth considering upfront.
According to our friends at A Better Lemonade Stand, the average profit margin for a standard drop shipping business ranges from 15% to 45%, with profit margins soaring up to 100% for businesses selling luxury items and consumer durables. The keys to success are finding your niche within a less competitive market and sourcing from a reliable, experienced supplier. Of course, if you can work directly with the product manufacturer, you can cut out the supplier and thereby increase your profit margins.
If you’re still not sure whether drop shipping is right for you, check out Richard Lazazzera’s comprehensive drop shipping 101 Guide and read more about what type of entrepreneurs drop shipping is and isn’t for.
The drop shipping supply chain
Understanding the players in the drop shipping supply chain will help you conceptualize how a product changes hands on its way to your customer, and will give you a better understanding of your options for buying and reselling products.
Who’s who in the drop shipping supply chain?
Manufacturers
The manufacturer is the entity responsible for producing the actual product, and the large majority of manufacturers do only this: produce goods. They do not also sell these goods to the public. Rather, they sell the products they create to wholesalers/suppliers and/or retailers.
The best way to increase your profit margins as a dropship retailer is to buy directly from the manufacturer, thereby cutting out the middleman supplier. However, manufacturers often have minimum purchase requirements, meaning that you’ll need to buy in bulk, store the products, and ship them yourself to customers. Buying directly from a manufacturer in many ways undermines the key benefit of the drop shipping model–the fact that you can operate your business without the expense and risk of buying and stocking inventory.
Some manufacturers do have drop shipping programs, and if you can find one operating within your niche market, you’re in luck!
Wholesalers/suppliers
Wholesalers and suppliers are interchangeable terms indicating the party within the drop shipping model who purchases one type of product in bulk from the manufacturer, and then packages and ships that product directly to the retailer’s customers for a marked up price which is charged to the retailer. For the purposes of this article, we’ll refer to this entity as the dropship supplier.
The supplier is the middleman between the manufacturer and retailer and therefore stocks products from a large number of manufacturers. Suppliers usually operate within a specific niche industry, and rarely sell their products directly to the public; instead, they sell their products to the retailer, who then resells those products to the customer (though under the drop shipping model, the retailer never actually handles the product).
Aggregators
A dropship aggregator is a type of supplier who purchases a variety of products from several different manufacturers in order to give a retailer an array of products to sell to its customers. Aggregators are the golden children of the drop shipping world because they help retailers avoid the problems that typically arise when dealing with multiple suppliers. For example, using an aggregator eliminates the problem of paying and managing several different suppliers’ shipping costs. It also helps streamline the order fulfillment process because retailers need only work with a single supplier. Do note that the convenience of using a dropship aggregator comes at a higher cost, meaning lower profit margins for retailers.
Retailers
Retailers sell products directly to the public at a marked up price. If you plan on running an ecommerce website through which you sell products to customers via a drop shipping supplier, than you’re the retailer.
What does the order fulfillment process look like?
Now that you understand the roles of each of the parties in the supply chain, let’s quickly outline the order fulfillment process, from start to finish. We’ll use the fictitious example of a customer, Jane, who is buying a hair straightener from the company Locks’R’Us. Locks’R’Us runs an online retail store selling hair styling accessories. The wholesale supplier that Locks’R’Us uses to supply its hair straighteners is Solely Straighteners.
Step 1: Customer purchases product from retailer’s website
Jane has had curly hair her whole life and wants to try straightening it. She shops around and finds Locks’R’Us’s website, which sells, among many other hair styling products, the hair straightener she has been looking for.
Jane places an order via Locks’R’Us’s online store. Once she completes the purchase and the order is approved, Jane is automatically sent an email from Locks’R’Us confirming her order of one hair straightener. The purchase price of the hair straightener that Jane ordered is $120, and this amount automatically deposited into Locks’R’Us’s bank account.
Step 2: Retailer places order for product with supplier
After receiving Jane’s order, Locks’R’Us forwards the order confirmation email to its contact person at its hair straightener supplier, Solely Straighteners. In most cases, this email is forwarded to a specific sale representative at Solely Straighteners that is assigned to Locks’R’Us’s account. Solely Straighteners has a credit card on file for Locks’R’Us, and upon receiving the order confirmation email, Solely Straighteners bills Locks’R’Us’s credit card for the wholesale amount of the straightener ($80), plus any shipping and processing fees ($5).
Step 3: Supplier ships product to customer
There’s always a risk that a supplier’s item is out of stock, but assuming this is not the case here, Solely Straighteners packages the straightener and ships it directly to Jane. Even though this package is boxed and sent by Solely Straighteners, it includes an invoice with Locks’R’Us’s name, address, and logo.
Once the package is out for shipment, Solely Straighteners sends an email to Locks’R’Us including an invoice and tracking number for Jane’s package.
Step 4: Retailer contacts customer to confirm shipment of product
Once Locks’R’Us receives Solely Straightener’s email with the tracking number for Jane’s package, it emails Jane directly to alert her that her package has been shipped and to provide her with a tracking number to track her order.
This completes the order fulfillment process. Locks’R’Us has made a profit of $35 on the sale of the hair straightener to Jane.
Choosing your products
So, you’ve decided to start a drop shipping business. But what should you sell? If you haven’t already gathered this from the discussion above, it’s worth reiterating: product choice is vital! In fact, it is perhaps the most important question to consider when starting your business.
What products should you sell?
Finding the right products to sell is not necessarily a simple or straightforward task. Choosing the right niche and products for your drop shipping business requires in-depth market research into product trends and consumer demand. To get you started, we’ve included some criteria you should consider when determining the best products to sell.
Retail price
As a dropship retailer, the wholesale and retail prices of your products are essential considerations, because the profitability of your business will depend on how well you strike a balance between profit margins and customer expectations. While low prices may drive sales on your site, lower-priced items will also generate smaller profits for you. On the flipside, selling more expensive products, though more profitable, may lead to fewer sales, and might also require more pre-sale customer support for people wary of paying big bucks to an unfamiliar online retailer for a product they’ve never purchased from. Our trusted friends at Shopify recommend setting prices to at least 20% profit margin on top of variable costs to get the most out of the product.
MAP pricing
MAP stands for minimum advertising price. MAP prices are set by manufacturers and function as price floors for certain products being re-sold by retailers. MAP pricing serves to eliminate the type of fierce competition within an oversaturated industry that typically prevents retailers from making a reasonable profit on the products they dropship to customers. Because MAP pricing ensures that all retail competitors sell the manufacturer’s product at the same minimum price, retailers can focus on generating sales by building an information-rich website, rather than engaging in price wars and losing business to low-quality competitors.
Size and weight
Smaller, lighter items mean cheaper shipping costs, which for you, means higher profit margins. At least to start, choose products that are can be packaged and shipped easily and economically. In 2021, many consumers have come to expect free shipping, so choose products that can be shipped at a low enough cost that you are willing to absorb it in order to offer free shipping to your customers. Even if you do decide to charge for shipping, make sure that your that shipping costs are not so high that they are prohibitive, thus driving customers away. The best way to keep shipping costs low is to sell products that are small, light, and easy to package.
Shelf-life
If your products have a short shelf-life or require regular replenishment, your customers are more likely to reorder them, and this will not only increase sales, but also help you build a loyal customer base. Retailers who sell renewable or disposable products often create discount subscription services for their customers, which not only guarantees repeat orders, but incentivizes customers to continue buying from their site.
Related products
Consider choosing products that you can sell as a set. By cross-selling related products, you will drive sales, maximize your revenue, and provide your customer with the convenience of buying several related products in one place. For example, if your site dropships hair straighteners, you should sell hair brushes, styling gel, and hair clips and accessories as well. When it comes to cross-selling products, put thought into how to price these items so that you can profit while also offering great value to your customer. Some retailers achieve this by selling their main product at a lower markup, while making a higher profit margin on the related items.
Turnover rate
Product turnover rate is the rate at which a product is modified, updated, or discounted. As with all ecommerce business, the quality of your dropship website will drive sales. Because your site’s photos and copy are the content with which the customer is interacting, it is crucial that your content is both high-quality and up-to-date. Content creation is a time-consuming, arduous process, so by choosing to sell products with a low turnover rate, you will minimize the time and expense involved in updating your website content to reflect product changes.
Local availability
Choose products that are not readily available at local brick-and-mortar shops. If a customer can run down the street to find a product, they’re not likely to buy it online and wait for it to be shipped. On the flip side, if a customer is looking for a more obscure product, they’re likely to turn to Google to find it. By selling hard-to-find, niche items, you will therefore increase your likelihood of success as an dropshipper.
Product trends in 2024
The last factor to consider when choosing which products to dropship is current trends. Product trends are always changing, but luckily the folks at Printful have written a great blog highlighting 2024 product trends.
Who is buying your products?
Once you’ve chosen the right product to dropship, it’s necessary to learn more about your target market. This understanding can only be gained by conducting thorough and adequate market research into both your target market and niche industry. There are several things you can do to familiarize yourself your target market. Put in the time to do this work: it is absolutely crucial to your success as a drop shipping business.
Product demand
What is the current demand for your product? One way to measure product demand is by using the keyword research tool KWFinder. This tool will tell you how many people are searching for your product each month by giving you information about how your product’s keyword ranks. Monthly keyword searches in the thousands are what you’re looking for here; if your product’s keyword was searched less frequently than that, you probably won’t have much success selling it online.
Seasonality
Is your product a seasonal commodity? How would you even know? Using Google Trends to determine whether there are high or low search seasons for a product will help you answer this question. Predicting your customers’ purchase patterns is one of the best ways to understand your market and plan for changes in sales.
Demographic
Understanding the demographics of your target audience is crucial. Where in the world are your customers located? What is their income bracket? What language do they speak? Is your audience predominantly male, female, or a mix of both genders? Answering these questions will help you answer additional questions about the pricing and shipment of your goods.
Age
People of different ages have different spending patterns. What is the age range of your audience? This is an important question to answer not just for pricing purposes, but when considering the viability of your drop shipping business. If you plan on selling a product typically bought by seniors, you’ll probably have difficulty selling it online, as people over 60 are far less likely to shop online. Similarly, if your products target students, you should consider that they are typically not willing nor able to pay for expensive goods.
Who else is selling your products?
Observing how your competitors operate within the market is essential to building any business, but understanding competitor behavior is especially important in the drop shipping world, where competition is steep.
Visit your competitors’ websites
How much traffic do your competitors’ websites get? Online tools like SEMrush will tell you how your competitors’ websites rank, simply by entering the site URL. You should also peruse and order from your competitors’ websites, to identify their strengths and weaknesses. A little web surfing can go a long way in helping you recognize gaps in service and how to meet unmet customer needs.
Track your competitors’ social media channels
Visit your competitors’ social media platforms to observe how they engage with their followers and market their products. What types of posts receive the most interaction? Do they run giveaways? Do they use influencers to drive sales? What other accounts are their followers engaging with?
Analyze your competitors’ marketplace presence
Pay particular attention to how your competition engages with customers within online marketplaces like eBay and Amazon. How often do customers leave product reviews? What do the reviews say? How well is the product rated? What are sources of customer satisfaction and dissatisfaction? Answering these questions will help you identify where there is room for improvement so that you can fill those gaps and gain an important advantage over your competition.
Choosing your supplier: What makes a top-notch drop shipping supplier?
The importance of finding the right dropship supplier is second only to choosing the right product. As discussed above, dropship retailers bear full liability for supplier mistakes, so choosing an experienced, reliable, and high-quality supplier is essential to building and maintaining a positive reputation as an online retailer. There are several factors to consider when choosing which supplier/s to work with.
Experience
In the world of drop shipping, experience is key. Find a dropship supplier with experience in your industry, who is knowledgeable about different products, knows the ins and outs of the drop shipping process, and is willing to speak with you about common industry pitfalls. More experienced suppliers are generally more adept at handling problems that come up, which will help your business run smoothly and bring you peace of mind.
Availability of sales representatives
A stellar dropship supplier will provide you with access to a sales representative responsible for answering your specific questions and walking you through any issues that arise. Having a direct line to a sales representative will help you resolve problems quickly and easily. This key benefit is often overlooked, but truly invaluable.
High product quality
A few times now, we’ve mentioned the risk of entrusting your brand’s reputation to a supplier. The best way to minimize this risk is to choose a supplier who provides high-quality products. High-quality products are less likely to be returned, and more likely to meet your customers’ expectations and generate positive product reviews. To ensure that the quality of your supplier’s products is up to snuff, you should always order product samples from your supplier before making a commitment to work together.
Tech savviness
This may not be immediately obvious, but finding a technologically-savvy supplier will make your life as a dropship retailer much easier. The types of technological capabilities you’re looking for are: real-time inventory tracking, online access to a searchable order history, customizable data feeds, and a complete online catalog of products.
Centrally located
Faster shipping times mean happier customers. If the majority of your customers live in a large country like the United States, Canada, or China, it can take upwards of a week for them to receive a product shipped from one coast to another. By choosing a centrally-located supplier, you can cut shipping times down by days. This will not only leave your customers satisfied, but will also minimize the shipping costs you pay as the retailer.
Timely shipping processes
Finding a centrally-located supplier won’t mean much if the supplier takes days to fulfil and ship the order. Look for suppliers who are prompt with their shipping processes and can promise to ship orders within 48 hours. Make sure you place a test order with potential suppliers before working together, to assure that products are shipped in a timely manner.
What questions should you ask potential suppliers?
The best way to vett potential suppliers is to ask specific questions that will indicate whether they’re a good match for your business. We’ve borrowed the following list from Richard Lazazzera of A Better Lemonade Stand, who suggests sending an email with only the first three questions, to start:
- Do you manufacture customized items if required?
- What are your pricing terms and are they negotiable?
- Are there any other additional costs besides the direct costs? (Always check for hidden costs.)
- Do you have a return policy?
- Are you also a retailer/direct seller?
- What kind of profit margin can I expect?
- Will the prices ever fluctuate?
- Do the products come with a warranty or guarantee?
- Do you have a dedicated representative that will answer my questions that may arise?
- Do you have and use a data feed?
Sending your supplier an email will also help you gauge the responsiveness of their sales representatives.
How can you find a drop shipping supplier?
Google is a great starting point for your research into dropship suppliers. A simple Google search will yield several results, many of which will link you to directories of dropship suppliers that are contactable using the information provided. We’ve included links to our favorite directories below, but feel free to search around for suppliers in your niche industry.
Attend a trade show
Attending a trade show is a great way to network and connect with both manufacturers and suppliers within your industry. Face-to-face interactions will give you access to knowledgeable players in the field, and provide you with prompt answer to any questions you may have. This will also fast-track the process of researching new and emerging products in your niche market.
Use a supplier directory
As discussed above, supplier directories are a quick and efficient way to search for dropship suppliers operating in your niche industry. Shopify, AutoDS, and Bigcommerce have all compiled lists of recommended dropship suppliers, and provide a great place to start your research.
Avoiding fraudulent suppliers
The boom of drop shipping businesses has unfortunately opened the door to several scams and “fake” suppliers who try to take advantage of naive and unknowing retailers. Be cautious as you search for a supplier, and always do your research: check the age of the domain to ensure it’s not a new site; check supplier reviews to see if anyone has reported a scam; and ensure that the supplier has a registered business with a commercial address. Finally, pay attention to the following red flags that may indicate a scam.
Recurring fees
Legitimate suppliers don’t charge ongoing membership or service fees to the retailers they work with. If a supplier asks for any such fee, be wary.
Note however, that there are some fees that are legitimately part of doing business as a dropship retailer.
Directory fees
Sites that compile and manage supplier directories will often charge a fee (sometimes even an ongoing fee) for access. This fee is completely normal; in fact, it is buying you access to a list of vetted and legitimate suppliers.
Minimum order sizes
Some suppliers have a minimum order size for retailers making their first order. This fee can sometimes feel prohibitive, especially if it is several times the amount you expect your average order to be. In this case, offer to pre-pay the supplier the minimum order amount to build a credit, which can then be applied against future drop shipping orders. In this way, you’ve met the minimum order size without placing a large order before you’ve built your customer base.
Per-order shipping fees
Per-order shipping fees are standard for many suppliers. These fees are typically under $5, but may be higher if the product is large or bulky. This fee covers the costs of packaging and shipping one-off orders, which is always more expensive than the cost of shipping in bulk.
Sales to the public
If a potential supplier sells products to the general public at a “wholesale price,” this is just a retailer in disguise. Wholesale prices are only offered to legitimate retail businesses who have set up an account with a supplier.
Running your drop shipping business
Now that you’ve chosen your products and supplier, it is time to get to the fun part: running and operating your drop shipping business!
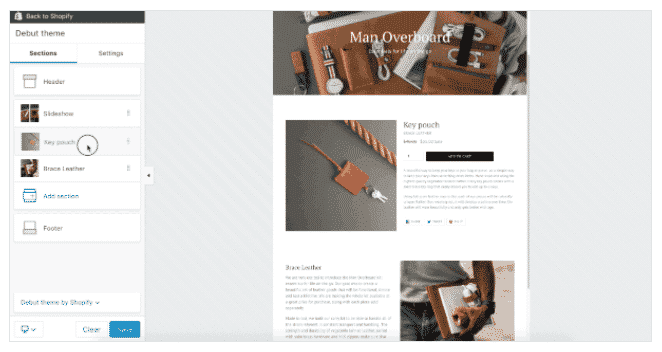
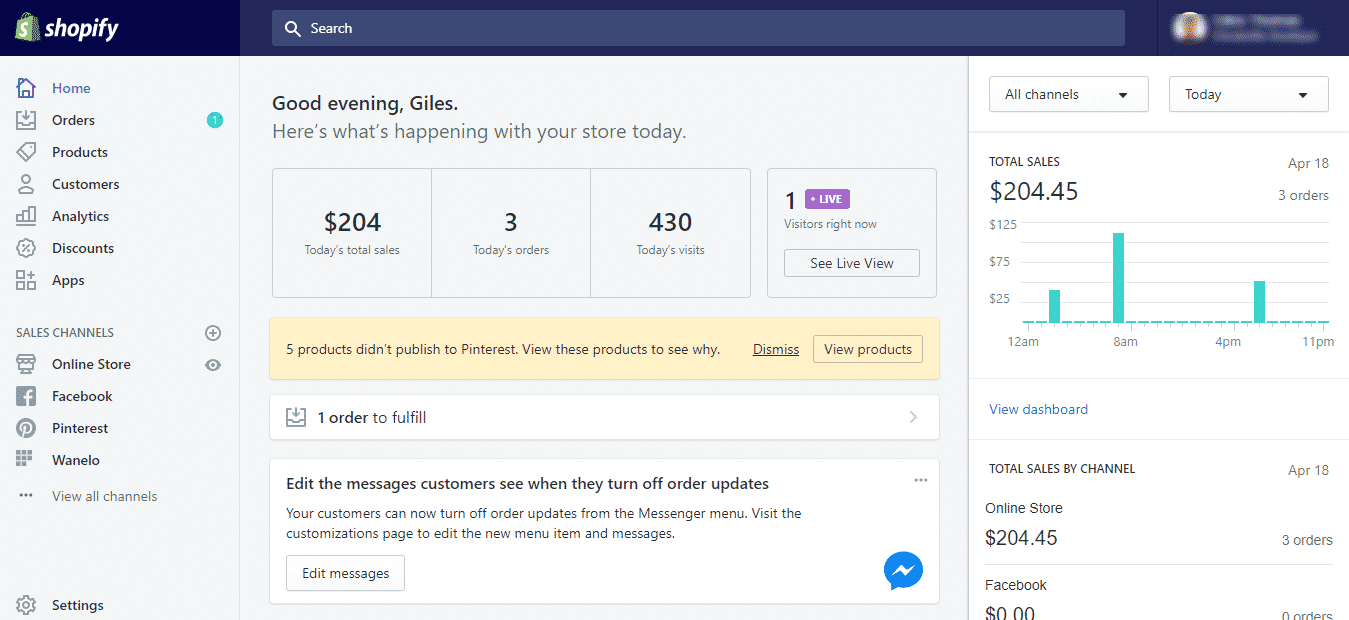
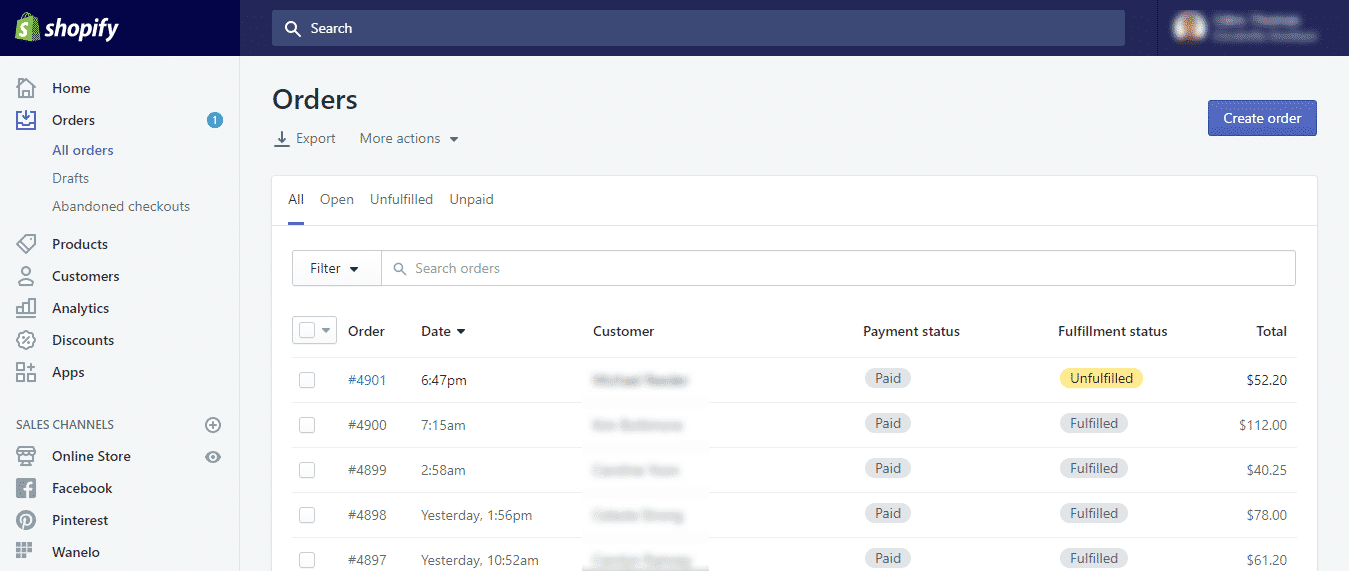
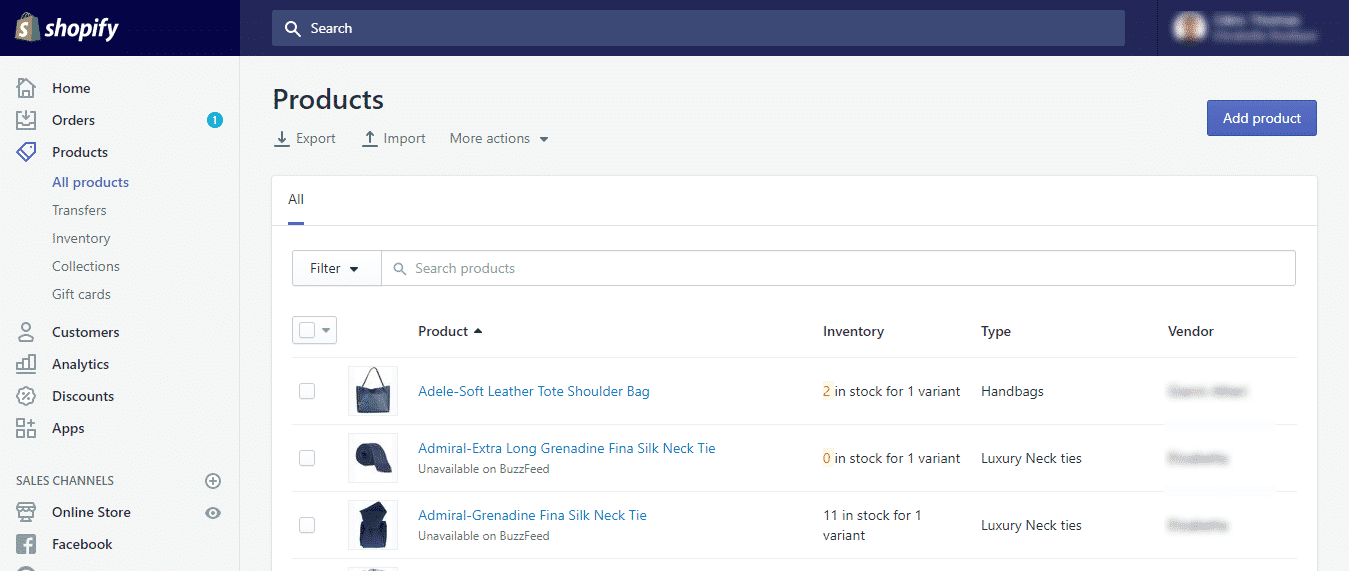
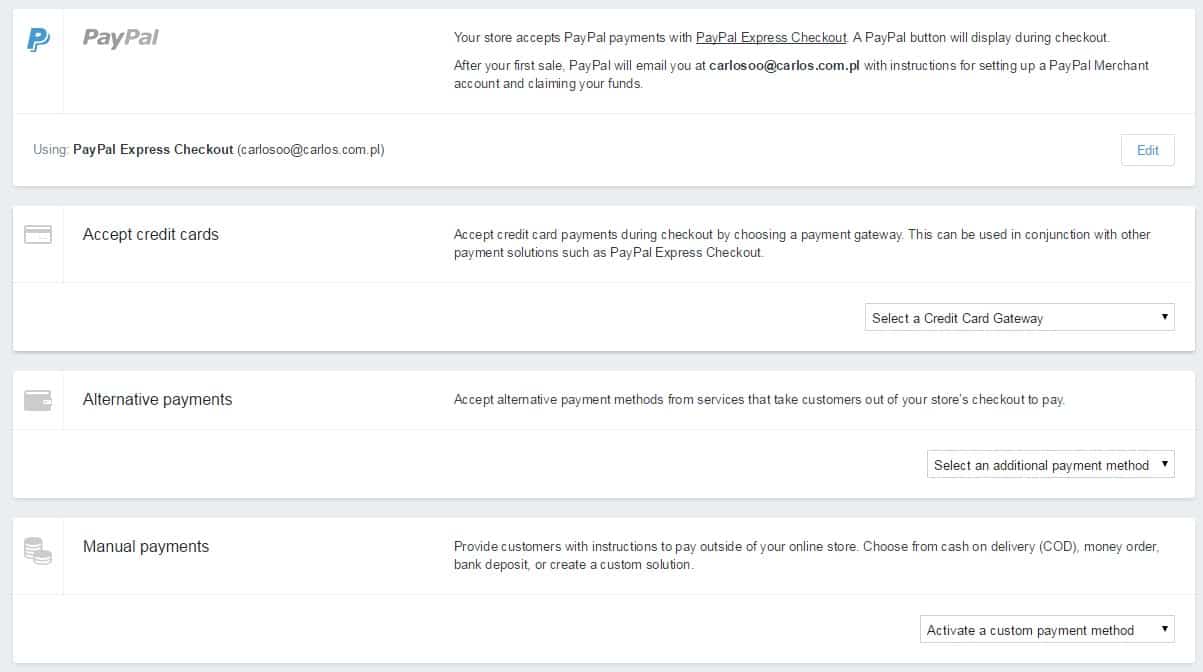
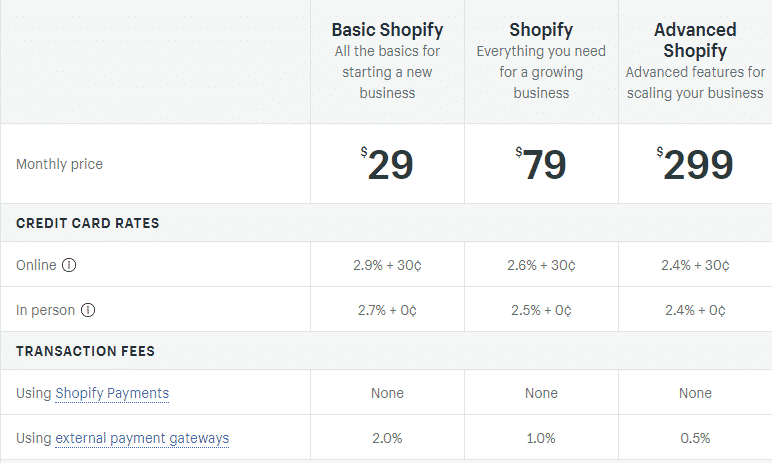
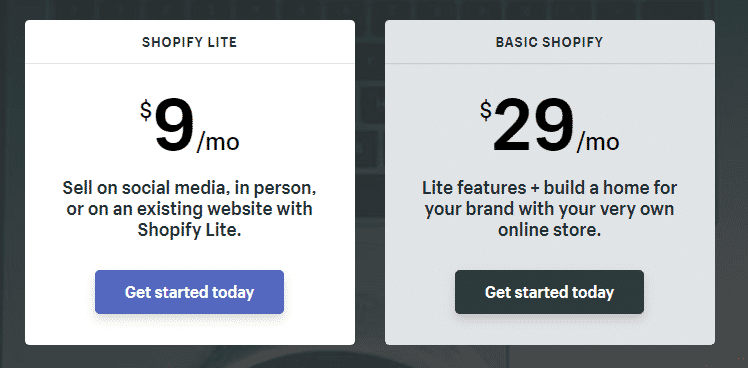
What platform should you choose?
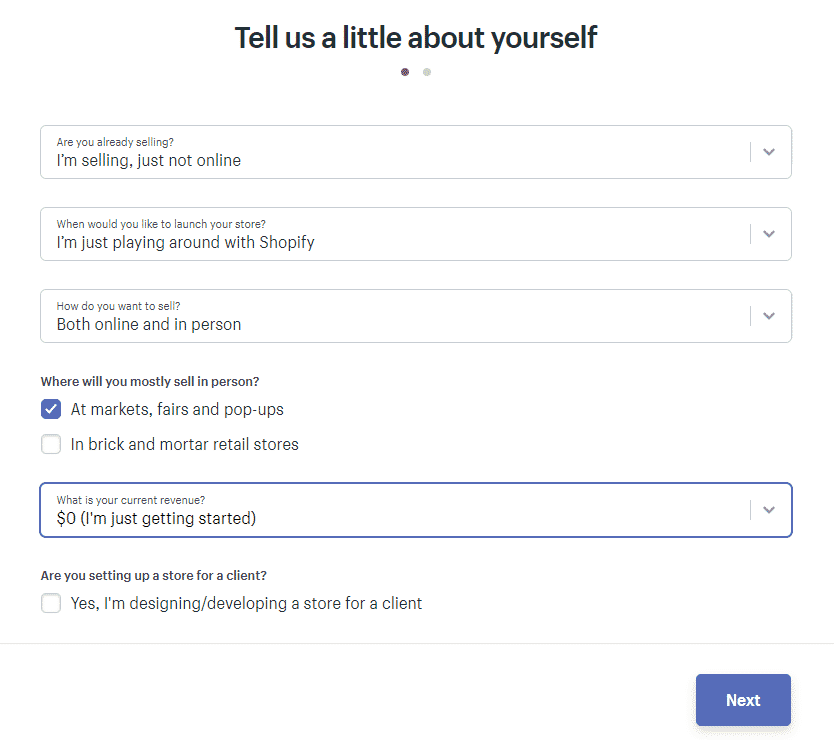
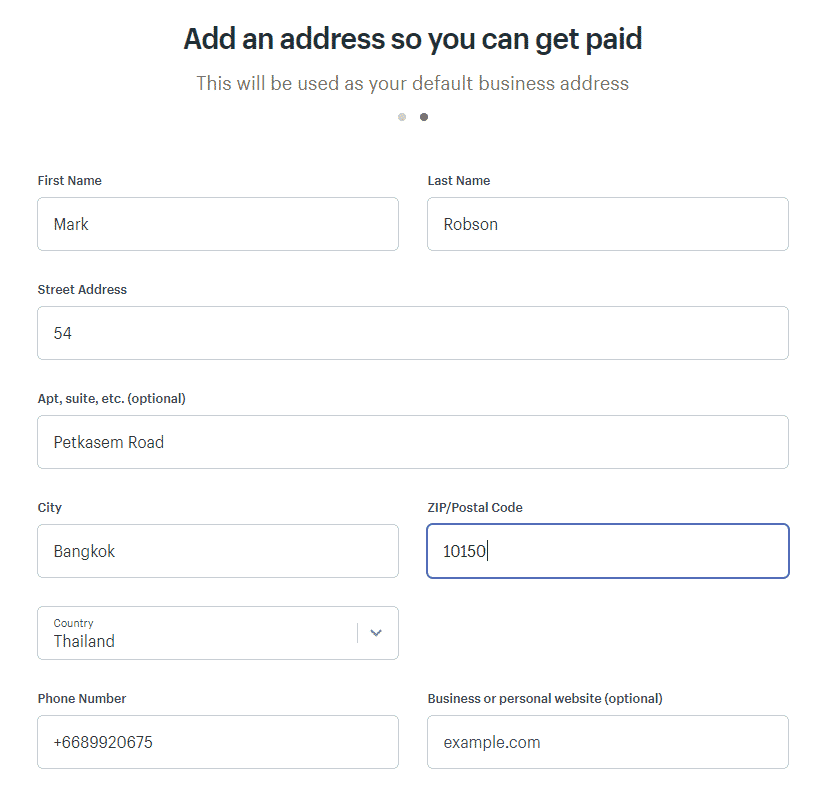
There are a few platforms on which you can run your drop shipping business, but as the leading ecommerce platform, we’d be remiss not to recommend using Shopify. Shopify’s site is simple, straightforward, and easy to navigate, even for those without a technical background. For those new to the drop shipping world, Shopify offers a hassle-free way to get started, so that you can spend less time setting up your website and more time marketing your brand.
How should you market your drop shipping business?
There are several different marketing strategies you can use to market your drop shipping business. Marketing is an important aspect of your growth as an online business because it will garner trust in your brand. Especially if you are just getting started as an entrepreneur, building confidence in your brand will be a key factor in selling your products.
Email marketing
Email marketing is a simple and effective way to keep customers in the know about new products, price changes, sales, and developments within the industry. There is no shortage of software to help you automate and streamline your email marketing tactics, but Klaviyo is an easy place to start.
Social media marketing
Social media marketing is an indispensable piece of any business plan. For a drop shipping business, running dynamic social media accounts will put your customers in touch with an additional “face” of your brand, beyond your website. By creating engaging content, you can potentially reach a huge audience, to whom you can advertise your products and convert into loyal customers.
If you’re interested in how to successfully market your ecommerce business on Instagram, or many of the other social media platforms out there, check out our friends at Whole Design Studios.
Pay-per-click (PPC) ads
Many popular social media channels allow PPC advertising, which is a a digital marketing model in which advertisers pay a fee each time one of their ads is clicked. With PPC ads, it’s important to do your research to ensure that the ads you are paying for are in fact driving traffic to your site. Facebook ads and Google AdWords are popular platforms for PPC advertising, though almost every social media channel will offer PPC ads.
Customer reviews
When was the last time you made an online purchase without first reading customer reviews? Customer reviews happen to be especially strong deal-makers and deal-breakers in the drop shipping business model, because where the competition is intense, customers can easily find your product elsewhere. For this reason, it is essential to consider the ways in which you will build customer satisfaction through your business practices: Do you offer reliable and helpful customer service? Are your shipping times quick? Do you offer upgrades for out-of-stock items? Beyond these standard procedures, considering following up with customers after they’ve received their purchase to ensure their satisfaction.
Growth hacking
Finally, growth hacking is another cost-effective and efficient way to creatively market yourself online. Some ways to growth hack would be to guest post on a popular blog within your niche industry or use influencers marketing strategies to grow your business.
How do you manage refunds, returns, and replacements?
Return process
The return process for dropshipped goods is more complicated than that which accompanies traditional businesses, but as long as the customer’s return is covered by the supplier’s return policy, it should be fairly straightforward. There are four steps to returns for dropshipped goods:
- First, the customer will call or email your retail business to apply for a refund.
- Second, you contact the supplier to request a return merchandise authorization number.
- Next, and only once the customer has mailed the product back to the supplier, the supplier refunds the wholesale price to your account.
- Finally, you initiate a refund in the amount of the retail price to the customer.
Note that some suppliers may charge a restocking fee, the payment of which is the responsibility of the retailer. When choosing a supplier, be sure to ask questions about their returns and refund policy so that you can communicate these terms to your customers and so that you are not surprised with hidden costs down the line.
Defective products
Product defects are likely the result of a manufacturing error. Because neither the supplier nor the retailer–and certainly not the customer–is responsible for the defect, the question of who will bear the cost of returning the product is an important one. This should be discussed with your supplier in the contract negotiation phase, and if it does fall on you, you may just need to look at it as the cost of doing business.
If the defective item is inexpensive, consider shipping you customer a replacement product without requiring that they return the defective product; this will really wow your customers and boost customer satisfaction.
Supplier errors
If you operate your drop shipping business for long enough, you are bound to run into a problem where your supplier botches an order. In most cases, suppliers will either reimburse the customer or replace the product at no cost. This is another practicality that should be discussed with your supplier upfront and confirmed in writing.
Because your customer doesn’t even know that your supplier exists, it will always be your brand reputation on the line, regardless of the fact that the error was the supplier’s fault. This means that you need to own the mistake. The best thing you can do in this circumstance is apologize to the customer and offer to remedy the problem, and maybe even offer an additional bonus, such as a refund of the shipping costs or store credit.
On the backend, you should seek reimbursement from the supplier for its error. Ideally, you and your supplier will have already negotiated how to manage such situations, so the transaction should be straightforward.
How do you manage inventory?
There’s nothing worse than needing to contact a customer to tell her that the product she ordered is out of stock, yet this is one of the most common challenges for drop shipping retailers: inventory management across several suppliers. Because supplier inventory is constantly changing, even the best technological tools may fail to accurately track inventory, especially if your supplier lacks real-time data feeds.
We’ve included below some of the best ways to track and manage your suppliers’ inventory so that you can limit the number of out-of-stock items sold to customers.
Multiple suppliers
Using multiple suppliers with overlapping products is a great way to avoid the problem of out-of-stock items. If one supplier doesn’t have the item you’re looking for, you can simply call on the next.
Generic items
If you can ensure that the products offered by each of your suppliers are similar enough that a generic product description on your website will accurately describe them both, then you needn’t worry about which supplier you use to fulfil an order. This is an especially useful practice where the products you sell are accessories and add-ons. It should go without saying that you should never dropship a a generic product as a substitution for a well-known name brand item.
Out-of-stock products
Even with multiple suppliers, you will almost certainly run into cases when a customer has purchased an item that is out of stock. In this scenario, communication is key. Simply explain to your customer that you’re unable to fulfil the order at this time, and offer them the option of waiting until the product is restocked, refunding the purchase, or if you’re really interested in boosting customer satisfaction, sending a similar but upgraded product.
Drop shipping in 2024
If you’ve read this far, then consider yourself well-equipped to start, run, and grow your drop shipping business. By following the steps and tips above, and with some time and dedication to keeping up-to-date with market research, you will be well on your way to running a successful drop shipping business.
One of the main benefits of the drop shipping business model is the low risk, meaning that if at first you don’t succeed, experiment! Consider changing your market, selling different products, and testing alternative marketing approaches. With enough motivation and virtually no expense, you can build a business from scratch and join the thousands of other entrepreneurs who have grown their brands using this model!