3D Model Photography for Ecommerce (2026 Guide)
3d model photography can help ecommerce brands turn static product images into reusable digital assets for product pages, ads, marketplaces, and interactive shopping experiences. If you sell products that benefit from multiple angles, customization, or detailed material presentation, this approach may be worth evaluating. It is especially relevant for Shopify merchants who want more flexibility than a standard photo shoot can offer. Still, it is not the right fit for every catalog. Some stores will get more value from traditional product photos, while others may benefit from a hybrid workflow. In this guide, you will see where 3d model photography works best, what it costs in time and production effort, how AI fits into the workflow, and how to decide whether it makes commercial sense for your store.
Contents
What 3D model photography actually means
In ecommerce, 3d model photography usually refers to product visuals created from a 3D digital model rather than from a camera-only photo shoot. That digital model can be rendered into still images, rotated into interactive experiences, repurposed for ads, or adapted for marketplaces and product detail pages.
For a store owner, the real question is not whether 3D looks impressive. It is whether it improves your production workflow and gives shoppers a clearer view of what they are buying. That matters most for products with shape, finish, texture variation, assembly details, or multiple configuration options.
It also sits alongside adjacent formats. If you are comparing it to interactive rotation, our guide to 360 product photography is a useful next read. If you are weighing how much movement shoppers actually need on a PDP, it also helps to understand the difference between 3D assets and a simple 360 view.
For many Shopify stores, 3d model photography works best as a selective asset strategy rather than a catalog-wide replacement for studio photography. High-value SKUs, customizable products, hero products, and launch campaigns are the most common starting points.
How to capture photos for 3D modeling (photogrammetry basics for ecommerce)
What many store owners overlook is that “photo to 3D” usually means photogrammetry. You take a series of overlapping photos from many angles, then software reconstructs a 3D mesh and textures from that photo set. In other words, the model quality depends heavily on capture quality. If the photos are inconsistent, the model typically looks inconsistent too.
From a practical standpoint, photogrammetry is usually the right production method when you need to digitize a real object as it exists, including small dents, fabric weave, or subtle surface variation. Manual 3D modeling is often a better fit when the product is extremely glossy, highly reflective, transparent, or very thin, or when you need perfect geometry (for example, tight tolerances on a technical component). Many ecommerce teams end up with a hybrid workflow: photogrammetry for the base shape and textures, followed by manual cleanup so the asset is web-ready and visually trustworthy.
A practical capture checklist for ecommerce photogrammetry
The way this works in practice is simple: you want the object to look the same in every frame, except for the angle. That means you are trying to eliminate anything that changes between shots, especially lighting shifts and motion blur.
Consider this: you are not shooting for Instagram. You are shooting for reconstruction. That means consistency beats creativity every time.
Common failure points (and what to do instead)
Photogrammetry can struggle with certain ecommerce realities:
Now, when it comes to fixing these, you have a few realistic options. You can change capture conditions (more diffuse light, different background, adding temporary surface detail in non-damaging ways), you can switch methods (manual modeling), or you can use a hybrid approach. In ecommerce, hybrid is often the most efficient: capture what photogrammetry can do well, then do manual cleanup to restore crisp edges, correct holes, and improve material realism.

Key features and ecommerce use cases
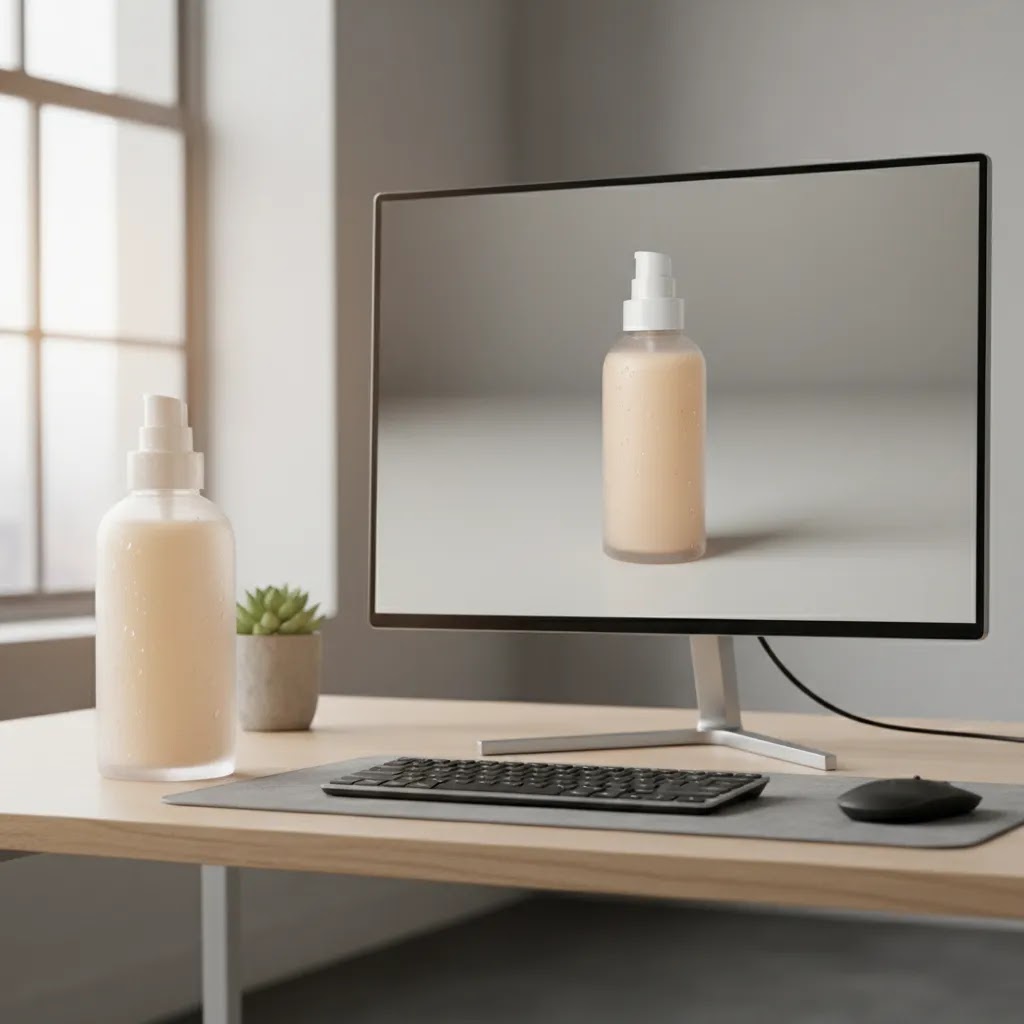
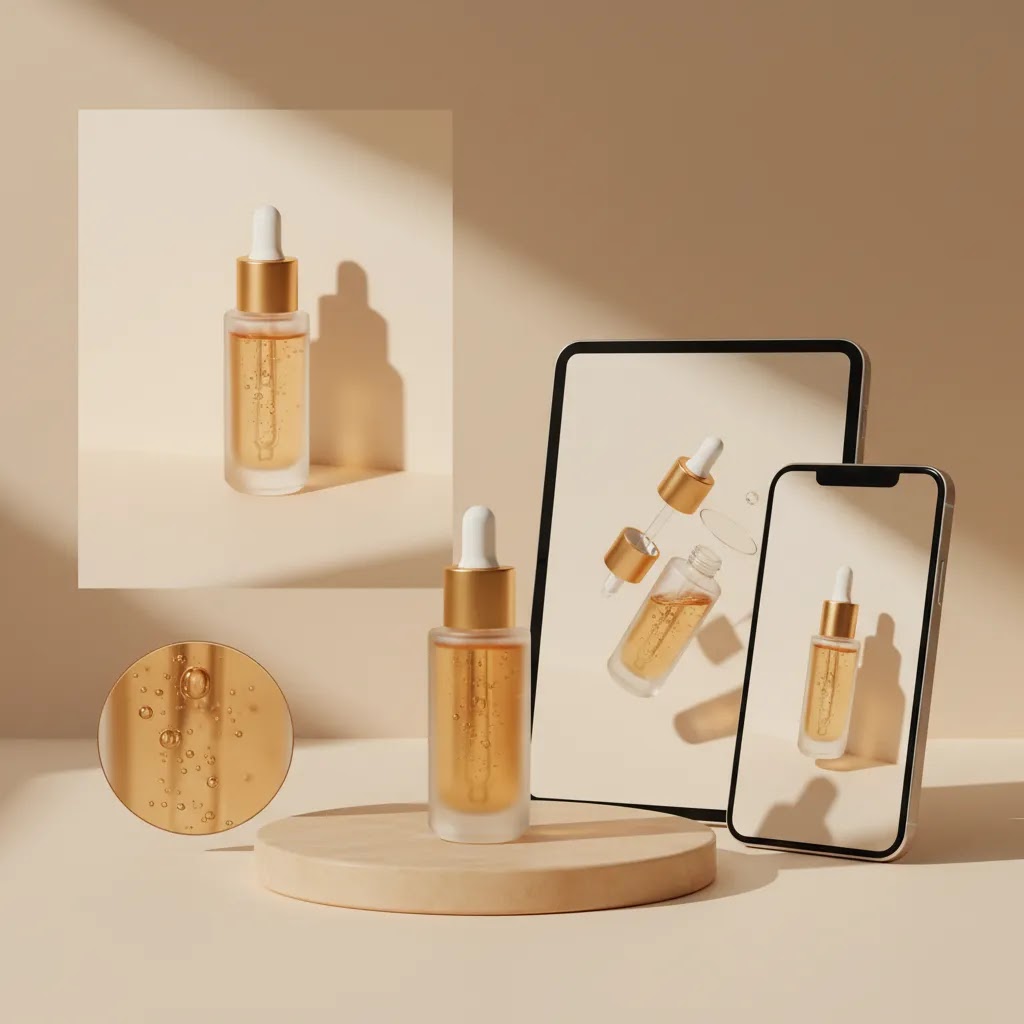
The biggest advantage of 3d model photography is asset flexibility. Once a product is modeled well, you can render it in different angles, lighting setups, backgrounds, and compositions without repeating a physical shoot each time. That can be helpful if your team frequently needs fresh creatives for PDPs, paid social, email campaigns, or seasonal merchandising.
Another strong use case is product variation management. If your store sells items in multiple colors, finishes, or bundle combinations, 3D assets may reduce the need to physically shoot every single version. This is often where product photography 3d model workflows become commercially attractive, especially for furniture, accessories, cosmetics packaging, jewelry, and configurable consumer goods.
3D also supports richer on-site interaction. It can feed augmented or interactive experiences that help shoppers inspect a product from more angles. If this is part of your roadmap, the broader 3D Product Photography category and AcquireConvert’s AR Product Visualization resources can help you map that next step.
AI now plays a growing role around the edges of this workflow. It can assist with editing, compositing, or presentation tasks after core product visuals are created. For example, tools such as AI Background Generator, Free White Background Generator, and Increase Image Resolution may help stores adapt visuals for different channels. These are support tools, not a substitute for a well-built 3D asset pipeline.
That is an important distinction. AI model photography, ai product model photography, and related workflows may help brands create lifestyle-style outputs faster, but accuracy still matters. If the product shape, size, reflectivity, or packaging details are off, the visual may create friction rather than confidence. For conversion-focused merchants, the standard should always be commercial usefulness, not novelty.
Photo-to-3D tools and software options (what to use, and what each is best for)
Here is the thing: when people search “3d model photography,” they are often looking for a practical way to turn photos or video into a usable 3D asset. There are a few common tool categories, and the best choice depends less on features and more on what you are trying to ship to your Shopify store.
1) Mobile capture apps (fastest start, mixed consistency)
Mobile capture apps are typically built for speed. You capture a product using a guided workflow, then the app processes the model either on-device or in the cloud. This is usually best for early testing, content teams that need quick iteration, or stores that want to validate whether interactive 3D is worth operational effort.
The tradeoff is consistency. Phone cameras can produce great results, but they can also introduce blur, aggressive HDR, and lighting drift. For ecommerce, that matters because a model that looks fine in a demo can still feel “off” on a PDP next to your real photos.
2) Browser upload tools (simple workflow, quality depends on inputs)
Browser-based tools typically let you upload a set of images (or sometimes a video), then generate a model automatically. These can work well if you already have a controlled capture process and you want a repeatable pipeline without building a full 3D production stack.
Think of it this way: the tool can only reconstruct what your photos communicate. If your photo set has inconsistent lighting, low overlap, or lots of reflections, no software setting will fully rescue the output. In many cases, stores succeed with these tools by standardizing capture and then doing light cleanup before publishing.
3) Pro 3D pipelines (highest control, more skill required)
Professional pipelines usually involve dedicated photogrammetry software, manual 3D cleanup, and export optimization for web. This is best for premium products, high visibility hero SKUs, and teams that need predictable quality. It is also the most realistic route if you plan to reuse the same asset across PDPs, marketplaces, and future AR initiatives.
The reality is that “good enough” 3D for a product page often needs optimization. A raw scan can be heavy, messy, and difficult to load smoothly. Cleanup is where the asset becomes commercially usable.
What Shopify merchants should care about in outputs
Before you pick tools, get clear about outputs and where they will live. For most Shopify store owners, four things matter more than the tool brand name:
How to choose tools without getting stuck
Selection criteria go beyond a feature checklist. Accuracy requirements, internal skill level, and turnaround time typically determine what is viable for your store.
A practical approach is to run a one-SKU pilot before committing. Pick a hero product that is representative of your catalog’s hardest materials or shapes. Produce the model end to end, then test it in your real merchandising flow: export, load performance, approvals, and how it looks next to your existing photography. That gives you a real answer fast, without turning your entire catalog into a production experiment.
Pros and Cons
Strengths
Considerations
Cost and resourcing: what 3D model photography typically costs (and what drives it)
Cost is where most ecommerce teams get surprised. Not because 3D is automatically expensive, but because the cost drivers are different from a normal shoot. You are paying for capture, processing, cleanup, and approval cycles, not just “time in a studio.”
The cost drivers that matter most
If you are budgeting for photo-to-3D work, these variables tend to do the heavy lifting:
For most Shopify store owners, the best mindset is to treat 3D as a production pipeline, not a one-off deliverable. The pipeline is what determines whether you can scale.
A practical budgeting model for ecommerce catalogs
A common budgeting mistake is trying to price “the whole catalog” too early. A more reliable approach is to fund a hero SKU pilot first, then decide whether it is worth scaling.
Costs can rise unexpectedly when revisions stack up. Common causes include stakeholder approvals, last-minute packaging updates, “it looks slightly off” material tweaks, or trying to force photogrammetry to handle products it is not well suited for. If your product has frequent design changes, you also need to account for ongoing updates, not just initial creation.
How to estimate ROI without overpromising
3D can pay back in a few realistic ways, but it depends on how you use it. In many cases, the value is operational:
At the same time, 3D can add overhead. Someone still needs to manage files, approve outputs, ensure models load fast on mobile, and keep assets aligned with product changes. The most commercial way to evaluate ROI is to compare the total workflow cost against the alternatives you actually use today, such as repeated photo shoots, constant retouching, or variant photography that is hard to keep consistent.
Who it is for
3d model photography is usually best for ecommerce teams that already have some sales traction and need more content efficiency or more flexible product presentation. That includes Shopify stores with larger SKU ranges, configurable items, premium products, or a clear visual brand standard.
It is especially relevant for categories where product detail influences conversion, such as home goods, beauty packaging, accessories, jewelry, and technical products. In beauty and cosmetics, for example, cosmetic model photography and makeup model photography may still be needed for human context, but packaging shots and digital product renders can work well together.
If your brand is still validating product-market fit or operating with a lean catalog, a traditional product photography studio workflow may be the more practical place to start.
How AcquireConvert recommends evaluating it
AcquireConvert’s approach is practical: assess 3d model photography based on merchandising value, operational fit, and shopper clarity, not visual trend appeal. Giles Thomas’s experience as a Shopify Partner and Google Expert is relevant here because the asset decision affects more than your PDP. It can influence feed quality, ad creative production, landing page testing, and how efficiently your team launches campaigns.
For most stores, the best process is to test 3D on a narrow set of commercially important products first. Pick SKUs with strong margins, multiple variants, or a clear need for more visual explanation. Compare the result against your current imagery stack, including static photos, lifestyle images, and interactive formats. If you are still weighing rotational content, review our guide to 360 photo software as a practical decision step. For store owners working through broader image strategy questions, AcquireConvert’s 3D and catalog photography resources are a useful next stop.

How to choose the right approach
If you are deciding whether to invest in 3d model photography, use these five filters.
1. Start with product complexity
The more your product benefits from angle control, exploded views, variant display, or material detail, the stronger the case for 3D. If the item is visually simple and usually purchased on price or urgency, standard ecommerce model photography may be enough.
2. Check how often you refresh creative
Brands running frequent launches, promotions, or channel-specific campaigns may get more value from reusable digital assets. If you rarely update product visuals, the production investment may take longer to justify.
3. Match the format to the buying journey
Not every shopper needs a cinematic render. Some just need clearer product understanding. For certain categories, still renders plus one interactive module outperform large volumes of media. For others, a 360 view or studio photo set may be enough. Think about your PDP, collection pages, ads, and post-click landing pages as one system.
4. Be realistic about internal workflow
3D works best when your team can manage files, variants, approvals, and publishing standards consistently. If your process is still informal, start smaller. Many stores benefit from using 3D on launch products while keeping the rest of the catalog on conventional photography.
5. Separate AI assistance from core asset quality
Terms like ai model photography, model photography ai, ai photography model, and ai model photography technology cover a wide range of tools and outputs. Some are useful for post-production support or concept generation. Others are less reliable for exact ecommerce representation. Use AI where it improves speed or adaptation, but keep your bar high for accuracy. Shoppers notice when proportions, color, or reflections feel wrong.
A sensible rollout for many Shopify merchants looks like this:
The goal is not more media. It is clearer merchandising and a production system your team can sustain.
Frequently Asked Questions
What is 3d model photography in ecommerce?
It is the creation of product visuals from a 3D digital model rather than relying only on a traditional camera shoot. Those visuals can include still renders, variant images, close-up detail shots, and interactive product experiences. For ecommerce stores, the value usually comes from asset reuse and more flexible merchandising.
Is 3d model photography better than standard product photography?
Not always. It is better for some use cases, especially configurable or detail-heavy products. Standard photography is often still the best choice for natural texture, human context, and lower production complexity. Many brands get the best result from a hybrid setup that uses both.
Can Shopify stores use 3D assets on product pages?
Yes, many Shopify merchants can incorporate 3D or related interactive assets, depending on theme setup, media support, and implementation choices. The right setup depends on how much interactivity you want and whether the file and rendering workflow fits your store’s operational capacity.
How does AI fit into model photography workflows?
AI can help with editing, background generation, resolution improvements, and concept support. It may also help brands test ai product photography model ideas more quickly. Still, AI should support the workflow, not define product truth. Accuracy matters more than speed for conversion-focused ecommerce visuals.
Is 3d model photography useful for beauty brands?
Yes, especially for packaging, bottle shapes, jars, and product line consistency. Beauty model photography and cosmetic model photography still matter when skin contact, shade demonstration, or human usage context is important. Many beauty brands combine model imagery with 3D product assets rather than choosing one format only.
Does 3D help with product variants?
It often can. If your product comes in multiple finishes, colors, or configurations, a high-quality 3D model may make it easier to generate consistent visuals across the range. That can save time compared with repeatedly arranging and shooting physical variants, though setup quality still matters.
Should small stores invest in 3d model photography?
Sometimes, but only selectively. If you are early-stage and validating demand, conventional photography is often the more practical starting point. If a few key SKUs drive most revenue or need stronger visual explanation, testing 3D on those products may be a sensible middle ground.
What is the difference between 3D and 360 product photography?
360 product photography usually captures a physical item rotating through a sequence of photos. 3D uses a digital model that can be rendered from any angle. They can look similar to a shopper, but the production method, flexibility, and downstream uses are different.
Can 3d model photography improve conversion rates?
It may help when it gives shoppers a clearer understanding of fit, shape, details, or options. Results vary by category, implementation quality, and shopper intent. It should be treated as one part of your merchandising and conversion strategy, not as a guaranteed fix.
How to make a 3D model photo?
In most ecommerce workflows, you start by creating or generating a 3D model of the product, then you render it into still images that match your brand’s product photo style. Those renders can be exported in the angles and crops you use on your product pages, and you can also create additional renders for ads and email creative. The key is aligning lighting, materials, and color so the render looks consistent next to your real photography.
How to take photos for 3D modeling?
The most common method is photogrammetry: take a series of sharp, evenly lit, overlapping photos all around the product, including higher and lower angles. Keep the product still, move the camera around it, and aim for consistent exposure and focus. Many products need dozens of images, and reflective or transparent items often require extra care or a different approach.
How much does photo to 3D modeling cost?
It varies based on product complexity, materials (especially glossy or transparent surfaces), how much cleanup is needed, and what deliverables you need for web and marketing. A single hero SKU pilot is often the most practical way to understand real cost for your catalog, because it reveals capture time, processing, revisions, and optimization work that is hard to estimate from a quote alone.
What is 3D photography called?
People use a few terms depending on the method. If you are creating a model from many photos, it is commonly called photogrammetry. If you are photographing a product on a turntable to create an interactive spin, it is usually called 360 product photography. “3D model photography” in ecommerce typically refers to using a 3D digital model to produce renders and interactive assets.
Key Takeaways
Conclusion
3d model photography can be a smart ecommerce investment if your products need better visual explanation, your team produces creative across multiple channels, or your catalog includes variants that are expensive to shoot repeatedly. It is not automatically the best choice for every store, and that is exactly why a structured evaluation matters. The strongest operators usually test it on a narrow commercial use case first, then expand based on workflow fit and shopper response. If you want a practical next step, explore AcquireConvert’s related guides on 3D product visuals, 360 imagery, and studio production options. Giles Thomas brings a Shopify Partner and Google Expert perspective to these decisions, which makes the advice especially useful for merchants balancing content quality, conversion clarity, and efficient store growth.
This article is editorial content and not a paid endorsement unless explicitly stated otherwise. Pricing and product availability for any third-party tools referenced are subject to change, so verify current details directly with the provider. Any performance or conversion impact discussed is illustrative only and not guaranteed. AI-assisted image tools should be evaluated carefully for ecommerce accuracy before use on live product pages or ads.

Hi, I'm Giles Thomas.
Founder of AcquireConvert, the place where ecommerce entrepreneurs & marketers go to learn growth. I'm also the founder of Shopify agency Whole Design Studios.