3D Product Images for Your Store (2026 Guide)
If you sell online, your product visuals do a lot of the conversion work before a shopper reads a single line of copy. That is why more store owners are exploring 3d product images, not just traditional photos. Done well, 3D visuals can help you show shape, materials, angles, and product detail in a way that feels more interactive and informative. They can also support configurators, spin views, and richer merchandising across Shopify product pages. Still, 3D is not automatically the right choice for every catalog. The best workflow depends on your product type, margin, launch speed, and how often designs change. If you are still comparing formats, start with this guide to product photos so you can evaluate 3D against the broader mix of imagery your store actually needs.
Contents
What 3D product images are and where they fit
3D product images are digitally created visuals built from a 3D model rather than captured only through a camera lens. For ecommerce, that usually means still renders, spin animations, configurable color or material variations, or interactive views that let shoppers inspect a product from multiple angles.
For many catalogs, 3D works best as part of a mixed asset strategy. You might use photography for hero shots, lifestyle images for merchandising, and 3D for technical views, variant changes, or products that are expensive to reshoot every season. Furniture, footwear, electronics, jewelry, and customizable products are common candidates.
There is also an important distinction between true 3D renders and 360 product photography. A 360 set is usually created by photographing a real item from many angles, then stitching those frames into a spin view. A rendered 3D image starts from digital geometry, materials, and lighting. Both can improve product understanding, but they serve different workflows, budgets, and production timelines.
If your goal is fewer shopper doubts around size, texture, fit, or finish, 3D could be a strong addition. If your goal is brand storytelling with real-world context, traditional photography may still carry more weight on key landing pages.
How to create 3D product images
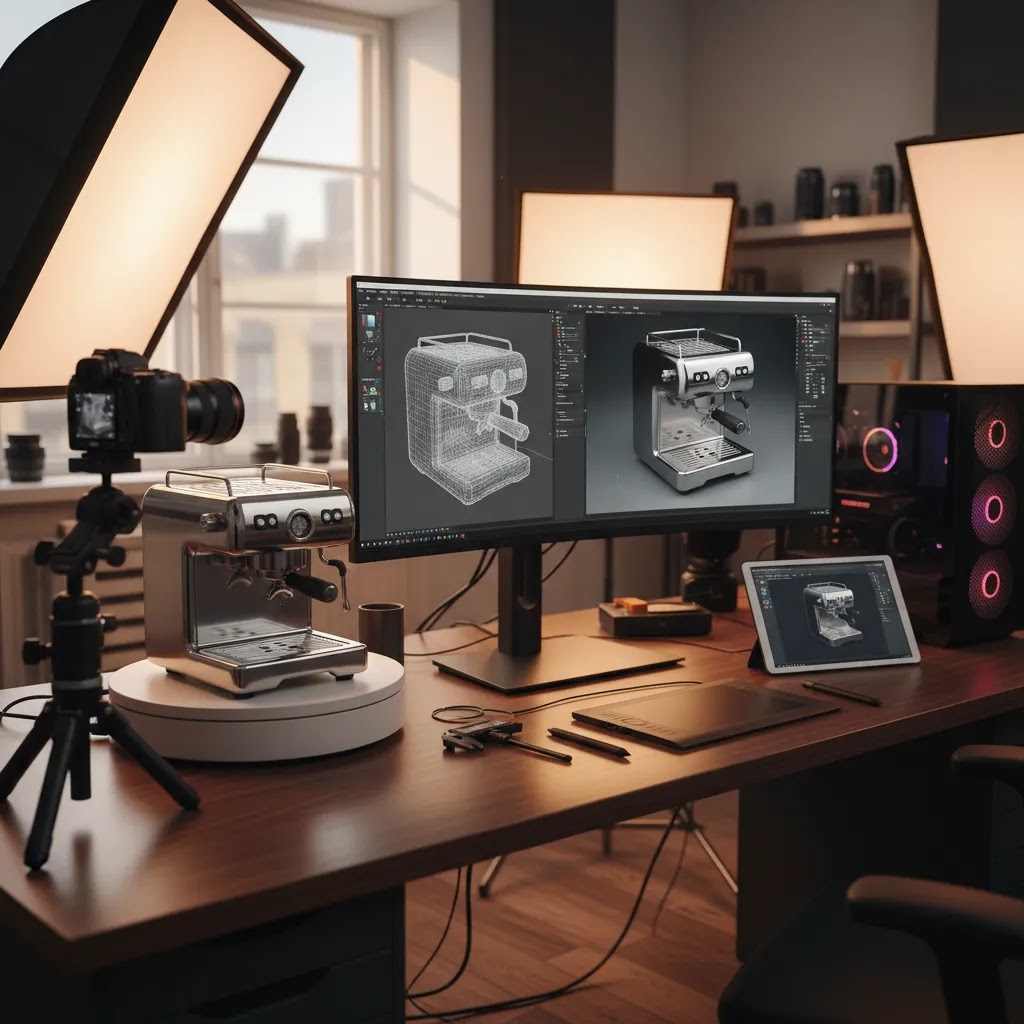
There are three practical ways most store owners create 3d product images.
A typical 3D production workflow looks like this:
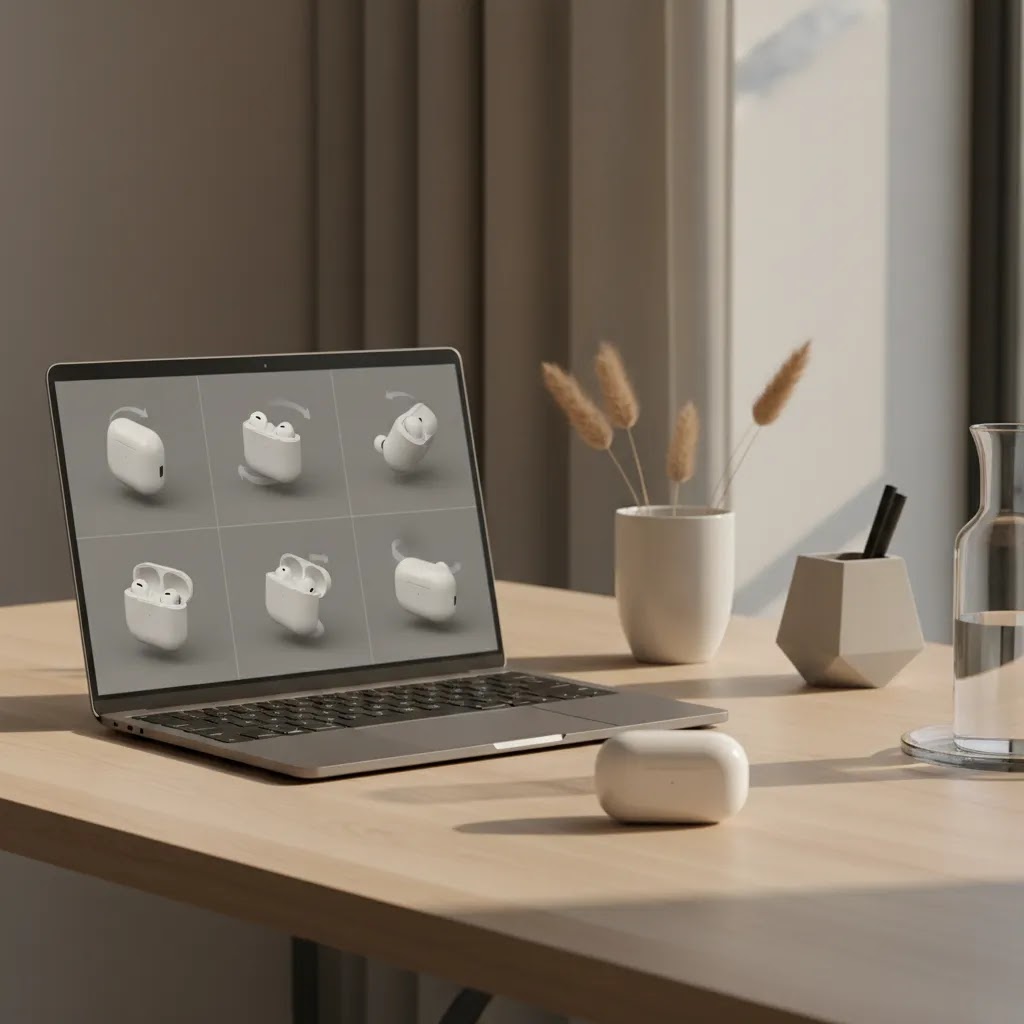
If you want interactivity, you can also create a 360 view or move into AR so shoppers can inspect products more closely before purchase.
Tools and workflow options
Not every store needs a full studio-grade 3D stack. In practice, there are two broad paths.
The first is a dedicated 3D workflow using modeling and rendering software or outsourced specialists. This is usually the right choice for premium products, configurable catalogs, or brands that need consistent angles across many SKUs.
The second is a lighter workflow that improves product visuals and mockups using AI-assisted editing tools. These do not replace true 3D rendering, but they can help when you need cleaner product images for website use, better merchandising, or faster variant presentation.
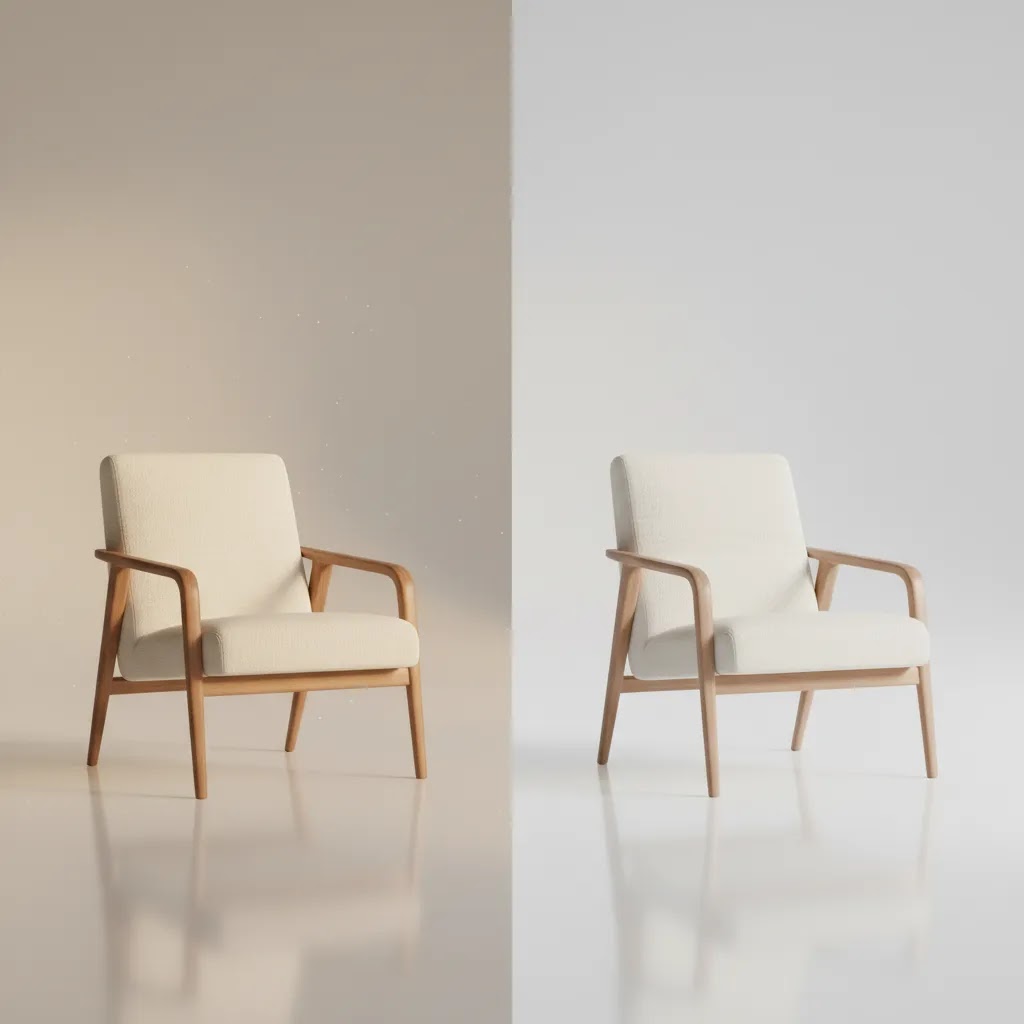
From the current product data available, useful supporting tools include AI Background Generator, Free White Background Generator, Increase Image Resolution, and Background Swap Editor. These are most useful after you already have a base image and want to improve consistency, sharpen presentation, or test new merchandising styles without a full reshoot.
There are trade-offs, though. AI background and editing tools may help create cleaner online store product images, but they will not automatically solve dimensional accuracy, reflective materials, or realistic shadows at the same level as a carefully built 3D model. For many merchants, the practical answer is a hybrid workflow: use photography or 3D for the core asset, then use editing tools to prepare channel-specific variants.
How to generate 3D product images from a single photo (AI 3D generators)
Here is the thing: a lot of store owners hear “AI 3D” and assume you can upload one product photo and get a production-ready model with perfect accuracy. In practice, “photo to 3D” tools can be useful, but you need to be clear on what you are actually generating.
Most photo-to-3D workflows fall into two buckets:
What it typically cannot do reliably from one image is nail dimensional accuracy, perfect geometry on complex edges, or material behavior for tricky surfaces. Glass, chrome, transparent plastics, high-gloss finishes, and fine fabric texture are common failure points. You can sometimes improve outputs by feeding the tool multiple angles, but you should still expect cleanup and human review before anything goes live.
From a practical standpoint, photo-to-3D can make sense for Shopify stores in a few scenarios:
It is riskier when accuracy is essential. Fit-sensitive products, regulated categories, or anything where shoppers will judge you harshly for tiny detail mismatches should lean toward photography, CAD-based modeling, or a properly managed 3D pipeline.
If you do experiment with AI-generated 3D assets, evaluate them like you would any conversion-critical media. Before publishing, check:
Think of AI 3D generators as a speed tool, not a quality guarantee. Used carefully, they can help you get to market faster. Used carelessly, they can create avoidable doubt right where you need trust most, on the product page.
Pros and Cons
Strengths
Considerations
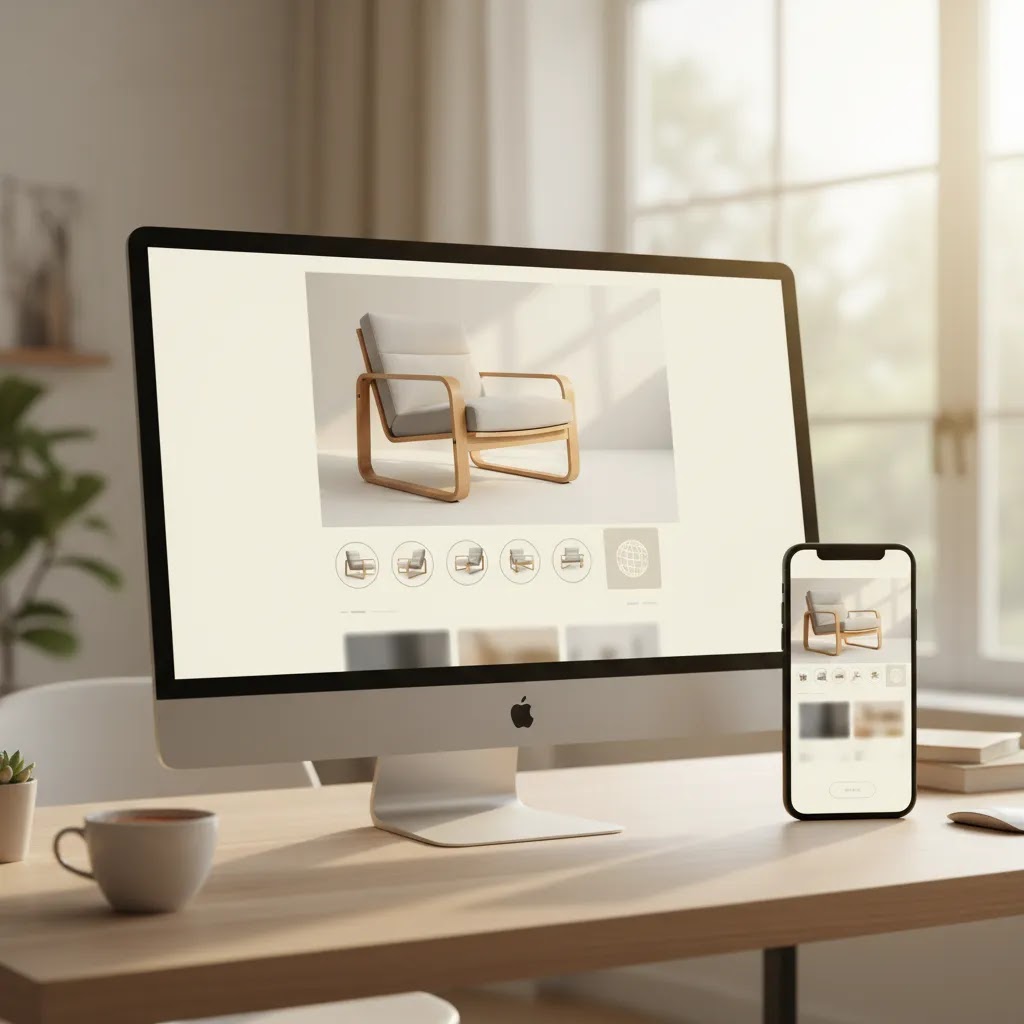
Shopify implementation basics: formats, performance, and product page placement
What many store owners overlook is that creating the 3D asset is only half the job. The other half is implementing it on Shopify in a way that supports conversion instead of slowing the buy path.
Where 3D fits best on the product page
In many cases, 3D works best as secondary media in your product gallery, not as the first thing a shopper sees above the fold. Your primary images still need to do the heavy lifting fast: clear product, clear angle, clear value. Then you use 3D to answer deeper questions for high-intent shoppers who want to inspect details.
Consider this placement logic:
File formats and what “web-ready” really means
For interactive 3D and AR, you will usually be dealing with formats like GLB and USDZ. For Shopify stores, the practical point is not the format label, it is the shopper experience: does it load quickly, does it behave well on mobile, and does it look accurate enough to build trust?
From a QA standpoint, check for these issues before you publish:
Performance testing and rollout
The reality is that interactive media can help, but it can also distract. So treat 3D like any other conversion feature: test it. Start with a small set of SKUs, typically your highest-value products or the ones that generate the most pre-purchase questions.
A simple rollout plan looks like this:
If you are running paid traffic, keep an eye on bounce rate and on-page behavior from your highest-spend campaigns. As a Google Expert and Shopify Partner, Giles Thomas’s lens here is simple: your visuals have to support both acquisition and conversion. If your product pages slow down and users abandon, it does not matter how good the 3D looks.
Who should use 3D product images
3D product images are usually a strong fit for stores selling products with clear geometry, repeatable finishes, and higher average order value. Think furniture, home goods, eyewear, electronics, packaging, kitchenware, or customizable products where shoppers want to inspect options before buying.
They also make sense for brands that launch collections before inventory arrives or need a scalable system for colorways and variations. If you are running Shopify and want consistency across large collections, 3D can simplify asset creation once the workflow is established.
They may be less suitable for highly organic, handmade, or texture-led products where real-life imperfections are part of the appeal. In those cases, a product photography studio setup, even a simple one, may produce more trustworthy results for shoppers.
AcquireConvert recommendation
If you are weighing 3D against standard photography, the best next step is not to choose based on trend alone. Choose based on what your shoppers need to see to feel confident buying. That is the practical lens AcquireConvert brings to image strategy. Giles Thomas is a Shopify Partner and Google Expert, so the advice here is grounded in how visuals affect real store performance, merchandising, and acquisition channels, not just design preference.
For many Shopify merchants, a phased rollout works best. Start with your highest-value products or the SKUs that generate the most pre-purchase questions. Test 3D stills or spins there first. Then compare shopper engagement, support queries, and on-page behavior against your standard image set. You can also explore the broader 3D Product Photography category and related guidance on AR Product Visualization if you are planning a richer visual experience.
How to choose the right approach
Here are the criteria I would use if I were deciding whether to create 3d product images for a store.
1. Product complexity
Ask whether shoppers need to inspect form, scale, assembly, or hidden details before they buy. If yes, 3D may add real value. If the product sells mainly through aesthetic styling or brand emotion, traditional photography might remain your lead asset.
2. Catalog change frequency
If you release many variations, seasonal finishes, or custom options, 3D can become efficient over time. If every item is unique, handcrafted, or visually irregular, photographing the actual product may be more honest and practical.
3. Asset use beyond the product page
Think beyond your website. Will you use these visuals for ads, marketplaces, email, social, print, or future AR features? A flexible 3D asset library may justify the setup effort if you need output across multiple channels.
4. Production resources
Be realistic about whether you have in-house skills, agency support, or a freelance 3D pipeline. If not, a hybrid approach can be smarter. Use strong source photography, optimize it with editing tools, and reserve true 3D for products where the payoff is clearest. If interactive spins are your main priority, review your options for 360 photo software before investing in full 3D production.
5. Shopper trust and merchandising style
Always ask one simple question: will this image format help customers trust what they are buying? In some categories, polished renders work beautifully. In others, they can feel too perfect. Many stores perform best with a mix of rendered detail views, real white-background product images, and lifestyle photography.
If you are still deciding between rendered assets and conventional image capture, compare them against your wider product page needs, including zoom, mobile display, variant switching, and file size. The goal is not just prettier assets. It is clearer merchandising that helps shoppers move toward purchase with fewer doubts.
Getting 3D product images on a budget (sources, licensing, and “free” options)
If you want 3D product images but you are not ready to invest in building everything from scratch, you still have options. The key is to source assets intelligently and control where you spend for realism, accuracy, and uniqueness.
Low-cost sources most Shopify stores should check first
Start with whatever already exists upstream in your supply chain. Many brands can get surprisingly far by asking a few specific questions.
Where “free” 3D assets usually fit, and where they do not
Free 3D libraries can be useful, but usually not for your hero product representation. They tend to be better for generic props or scene-building elements rather than the exact product someone is paying for.
What you typically see with free assets is a limited selection and non-exclusive licensing, sometimes with attribution requirements or usage restrictions. That does not mean you should never use them. It just means you should read the license carefully and avoid using a free model as the “source of truth” for a product where accuracy and brand differentiation matter.
A simple framework to control costs without damaging trust
For most Shopify store owners, cost control comes down to being selective and consistent.
Think of it this way: the goal is not to “have 3D.” The goal is to remove doubt, improve merchandising consistency, and support acquisition with stronger creative. Done with discipline, you can get there without treating every SKU like a cinematic render project.
Frequently Asked Questions
How do I create 3d product images if I do not have design files?
You can still create them, but the process usually starts with reference photography, dimensions, and material notes. A 3D artist can model from those inputs. Accuracy matters, so gather precise measurements and multiple angles. If that feels too heavy for your current stage, start with strong product photography and improve presentation through editing tools first.
Are 3D product images better than standard product photos?
Not always. They are better for some use cases, especially configurable products, technical detail, or consistent variant presentation. Standard product photos are often better for storytelling, authenticity, and tactile categories. Many ecommerce stores benefit from using both rather than treating this as an either-or decision.
What is the difference between 3D product images and 360 degree product images?
3D product images are rendered from a digital model. 360 degree product images are commonly made from multiple photos of a real object captured around a turntable. Both can create interactive experiences, but the production method is different. The right choice depends on whether you need digital flexibility or real-object realism.
Can I create product images with AI instead of using 3D software?
AI can help create mockups, edit backgrounds, upscale files, and prepare cleaner product assets. It can be useful for faster merchandising. But for accurate geometry, material behavior, and repeatable technical angles, full 3D tools or specialists are usually more dependable. AI is helpful, but it is not a complete substitute for every 3D use case.
Do 3D product images work well on Shopify stores?
Yes, they can work well on Shopify if you manage file size, mobile performance, and page layout carefully. The key is implementation discipline. Interactive media that slows product pages can hurt the experience. Start with a few high-impact SKUs, test engagement, and make sure the assets support conversion rather than distracting from the buy path.
When should I choose 360 photography instead of 3D rendering?
If realism is your top priority and you already have physical samples, 360 photography is often a strong option. It can show the actual product from all sides while staying closer to conventional photo workflows. If you need rapid variant generation, digital configurability, or pre-production assets, 3D rendering may be more practical.
What products benefit most from 3D images?
Products with structure, detail, and variation usually benefit most. Furniture, electronics, home goods, packaging, eyewear, and configurable items are common examples. Categories that rely heavily on texture, handcrafted uniqueness, or emotional lifestyle context may still need traditional photography to do the heavy lifting.
Can I use AI tools to improve existing product images for website use?
Yes. Tools like background generators, white-background editors, resolution enhancers, and swap editors can help clean up and standardize product visuals. They are especially useful for marketplaces, comparison grids, and collection pages. Just make sure edited assets still represent the product honestly and match shopper expectations.
Do I need AR if I already have 3D product images?
Not necessarily. AR can add value for categories where size and spatial context matter, such as furniture or decor. But it is not mandatory. Many stores get solid value from 3D stills, spins, and variant views alone. Treat AR as a next-step layer if it supports how your customers actually shop.
How to create a 3D image of a product?
You create a 3D product image by starting with a 3D model, then rendering it into a still image or a spin. The model can be built from scratch by a 3D artist, adapted from CAD files, or in some cases generated with AI from photos. After that, you apply materials and lighting, then export web-ready images and test them on your product pages for load speed and accuracy.
Where can I get 3D images for free?
You can sometimes find free 3D assets in public libraries and community marketplaces, but the selection is usually limited and the licensing terms vary. In many cases they are better suited for generic props than for a true-to-life representation of your exact product. Always verify usage rights, attribution requirements, and whether the asset can be used commercially before publishing it on a Shopify store.
Can ChatGPT create a 3D model?
ChatGPT cannot directly output a production-ready 3D model file of your product on its own. What it can do is help with the workflow around 3D, for example writing a requirements brief for a 3D artist, creating a QA checklist, or generating prompts and instructions you use with other tools. If you are using AI to generate 3D, you will typically need a dedicated photo-to-3D tool and you should still review results carefully for accuracy.
Where can I generate 3D images?
You can generate 3D images by rendering from a 3D model in dedicated 3D software, by working with a freelancer or agency that produces ecommerce renders, or by using AI-assisted tools that attempt to convert photos into 3D-like outputs. The right option depends on whether you need true-to-life accuracy, how fast you need assets, and how sensitive your category is to visual detail.
Key Takeaways
Conclusion
Creating 3d product images for your store can be a smart move if your products benefit from clearer detail, interactive views, or scalable variant presentation. But the right decision depends on your category, production workflow, and how your customers evaluate products before they buy. For many merchants, the most effective setup is not 3D instead of photography. It is 3D where it improves clarity, paired with real product imagery where trust and context matter most. If you want a practical next step, explore AcquireConvert’s related guides on product imagery, 360 workflows, and AR. Giles Thomas brings a Shopify Partner and Google Expert perspective to these decisions, which is useful when you need visuals that support both conversion and acquisition, not just appearance.
This content is editorial and intended for educational purposes. It is not a paid endorsement unless explicitly stated otherwise. Pricing, product availability, and tool features are subject to change, so verify current details directly with the provider. Any performance outcomes discussed are illustrative only and are not guaranteed.

Hi, I'm Giles Thomas.
Founder of AcquireConvert, the place where ecommerce entrepreneurs & marketers go to learn growth. I'm also the founder of Shopify agency Whole Design Studios.