3D Scanner for Product Photography (2026)
A 3d scanner for product photography can be a smart investment, but it is not automatically the right first purchase for every ecommerce brand. For most Shopify store owners, the better question is whether you need full 3D capture, a turntable-based 360 workflow, or AI-assisted image editing to improve product presentation. If you sell products where shape, texture, fit, or technical detail strongly affect buying decisions, 3D capture may help shoppers inspect items more confidently. If you mainly need cleaner catalog visuals, alternative tools may get you there faster and at a lower cost. This guide breaks down the equipment categories, practical setup choices, and AI image tools that matter most, so you can decide what fits your store, your margins, and your content workflow.
Contents
Overview
If you are researching a 3d scanner for product photography, you are usually trying to solve one of three ecommerce problems. First, you want shoppers to inspect products from more angles. Second, you need more premium product visuals for your website or paid ads. Third, you want reusable 3D assets for richer experiences such as spin views or AR.
That does not always mean buying a scanner is the best next move. Many stores start with product photos and then move into 360 product photography before taking on full 3D capture. A scanner is most useful when dimensions, contours, or surface details materially affect purchase decisions, such as jewelry, footwear, furniture, collectibles, beauty packaging, or technical products.
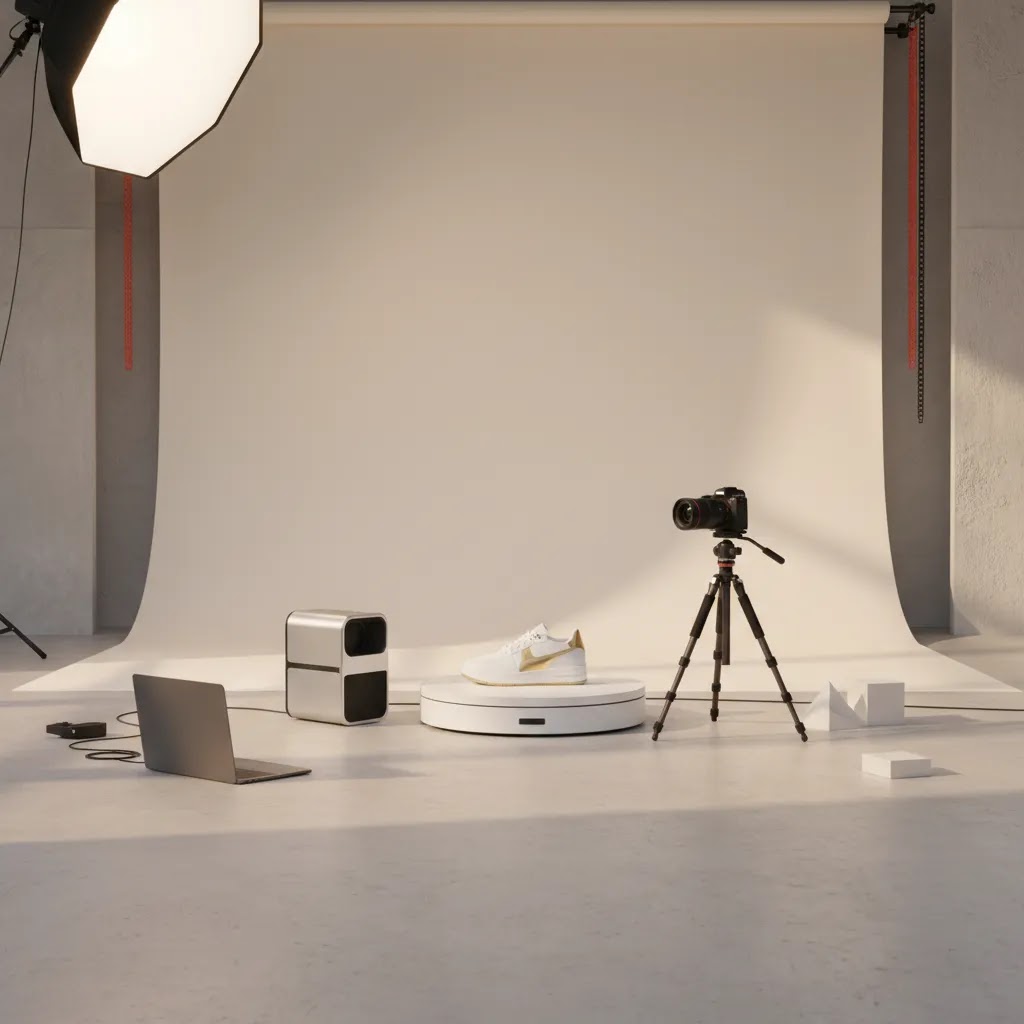
For lean teams, a turntable, controlled lighting, and good post-production may be enough. If you are trying to build interactive spins rather than true 3D models, a 360 view workflow can be simpler to produce and easier to manage on a Shopify storefront.
AI can also reduce workload around cleanup and consistency. From the available product data, AcquireConvert currently tracks ProductAI tools such as AI Background Generator, Free White Background Generator, Increase Image Resolution, and Background Swap Editor. These are not 3D scanners, but they can support a product imaging stack where speed and visual consistency matter.
Key Features to Evaluate
The right setup depends on what output you actually need. Before you buy hardware, assess these criteria.
Capture method: Structured-light scanners, photogrammetry workflows, and turntable image capture all serve different goals. If your main need is spin imagery, a turntable for product photography plus editing software may be more practical than a true 3D scanner. If you need 3D geometry for AR or visualization, scanner quality and mesh accuracy matter more.
Object size and surface compatibility: Reflective, transparent, black, or very small products are harder to scan accurately. Fashion accessories, cosmetics, and glossy packaging often need prep work, diffuse lighting, and retouching.
Lighting control: Even excellent scanners struggle when lighting is inconsistent. Your image workflow still depends on proper lights for product photography, especially if you are combining scans with standard ecommerce images.
Output flexibility: Ask whether you need stills, spins, 3D models, or all three. If your goal is storefront presentation, pair capture with software that can export assets your store can actually use. That is why many merchants compare scanner hardware with 360 photo software before making a purchase.
Post-production support: Most ecommerce teams still need background cleanup, white background versions, or alternate scene styling. Tools like ProductAI's Magic Photo Editor and Creator Studio may help teams produce supplementary product photography for website use without reshooting everything.
Workflow speed: A setup that takes 40 minutes per SKU can become a bottleneck fast. For larger catalogs, repeatability usually matters more than perfect technical depth.
3D Scanner Types for Product Photography
Here is the thing: when store owners say they want a “3D scanner,” they are often mixing together a few different capture approaches. The differences matter, because they change what kind of products scan well, how much cleanup you will do, and what the final files look like on a product page.
Handheld structured light scanners
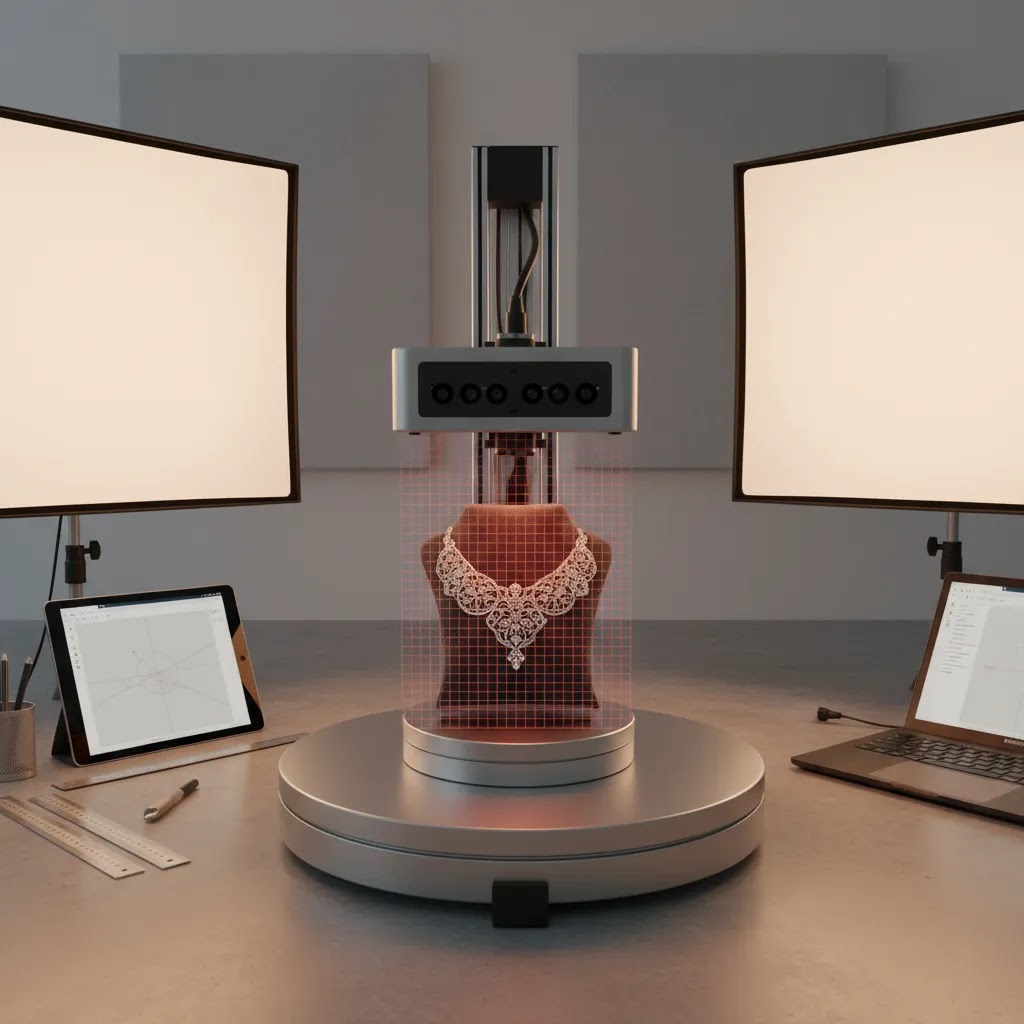
Structured light scanners project a light pattern and read how it deforms across the surface. In an ecommerce workflow, they are often chosen because they can be relatively fast for everyday objects and can do a decent job on shape capture for product visualization.
They tend to work best on matte, textured surfaces where the scanner can “track” what it is seeing. If you sell products like footwear, textured plastics, ceramics, or many collectibles, this approach can be a practical fit. The tradeoff is that glossy, transparent, or very dark products can cause tracking dropouts or noisy surfaces, which later show up as wobbly edges in a 3D viewer.
Blue laser (laser-based) scanning
Laser-based scanners, including blue laser approaches, are usually positioned around higher accuracy and better performance on certain surfaces. In practice, what matters for product photography is whether you can consistently capture fine edges, engravings, and small features without turning your post-production into a repair project.
If you sell products where crisp detail matters, for example machined parts, premium accessories with engravings, or products where shoppers zoom in and scrutinize seams, a laser-based workflow may be appealing. The reality is that “more accurate” still does not guarantee “publishable without cleanup,” especially when you are trying to keep texture looking realistic for ecommerce rather than clinical.
LiDAR mapping (phone or tablet capture)
LiDAR capture is commonly used for quick environment scanning or larger objects, and many merchants first encounter it through mobile devices. For ecommerce, it can be useful for larger items where overall volume and proportions matter more than tiny surface detail, such as furniture and decor.
From a practical standpoint, LiDAR-style capture is rarely the best choice for small products, jewelry, or anything where edge fidelity is important. It may give you a model, but it can look soft when shoppers rotate it, which can hurt trust if the product appears less defined than your standard photos.
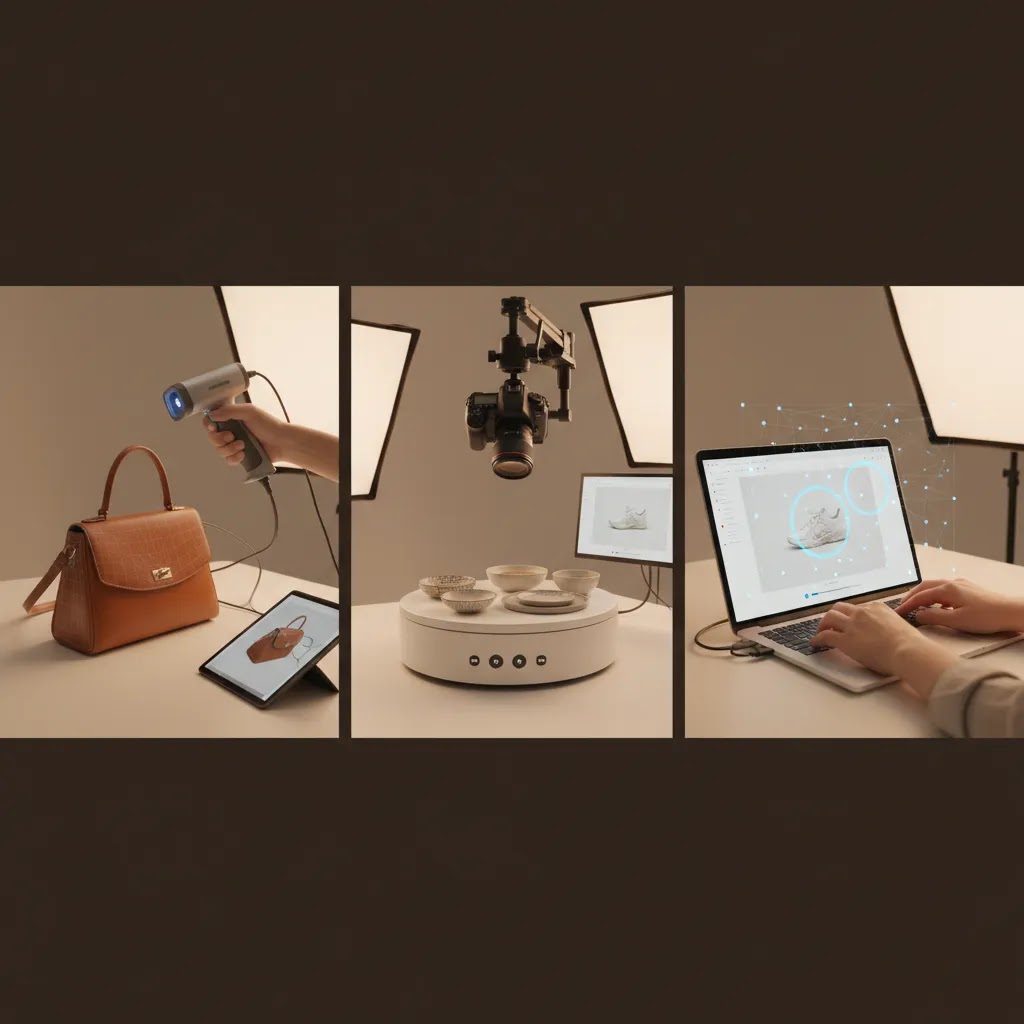
Photogrammetry (camera-based 3D reconstruction)
Photogrammetry uses lots of overlapping photos to reconstruct geometry and texture. Many ecommerce teams like it because it can produce strong textures when your lighting is controlled and your photography is consistent. It can be a good fit for products where surface realism matters, such as textured packaging, natural materials, or items with printed patterns.
Occlusion is the big limitation. Any area you cannot photograph cleanly tends to become a hole or a smeared patch in the mesh. Thin edges, deep grooves, and undersides can be problem areas. If your goal is a clean spin or AR-ready asset, plan on capture discipline and some mesh cleanup time.
What “accuracy” means for ecommerce
Competitor specs often focus on sub-millimeter accuracy, but most Shopify store owners are not doing metrology. What you care about is whether the 3D asset looks right when a shopper rotates it on a product page. That usually comes down to stable shapes (no warping), believable textures, and clean silhouettes. If the edge of a watch case looks melted, or a product label looks stretched, the shopper notices.
Think of accuracy in two layers. First is geometry, the mesh matches the real product’s form. Second is appearance, the texture and material cues look true-to-life. For many catalogs, appearance is the bigger conversion driver, as long as the overall proportions and key features are captured correctly.
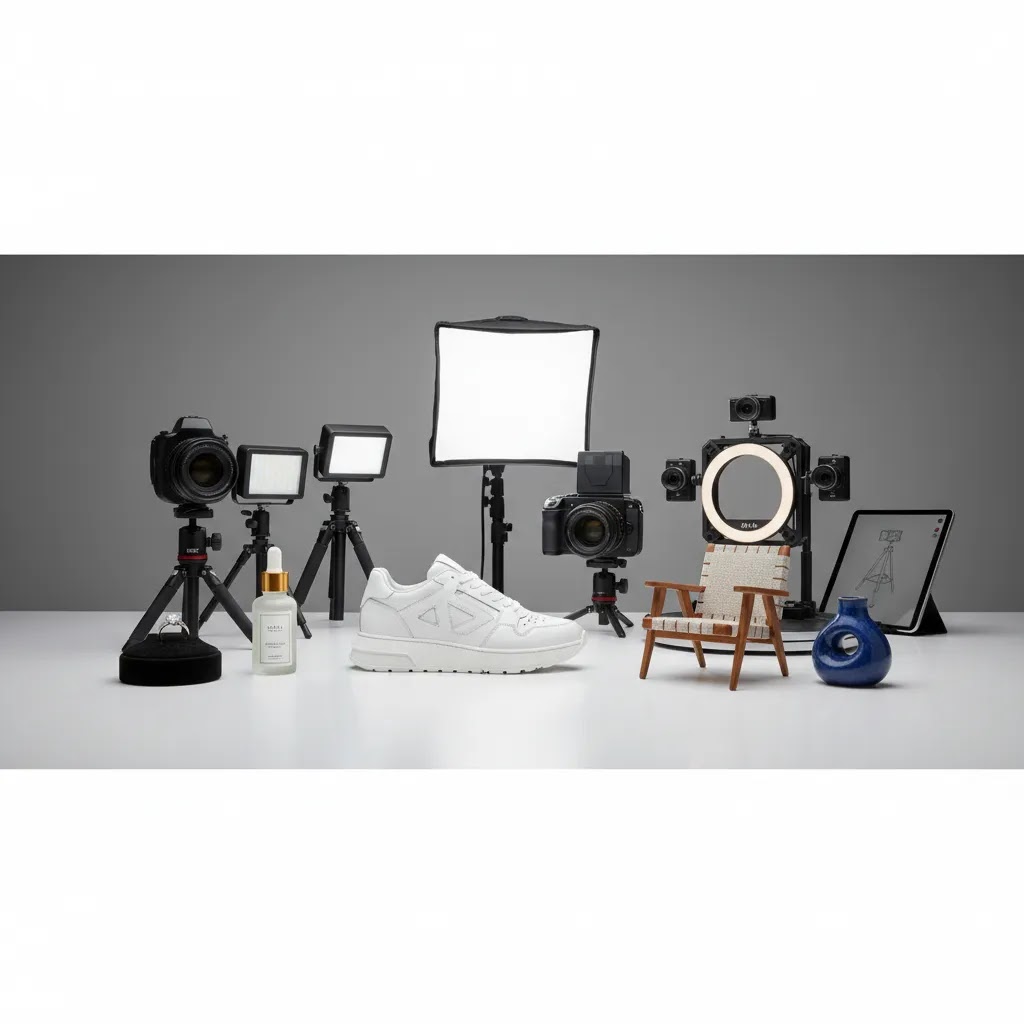
Quick selection guidance by product type
Consider this when you map capture type to what you sell. Small parts and jewelry often push you toward higher-detail scanning and tighter control of reflections. Glossy packaging and beauty products can be challenging because the surface is shiny, and any scanning artifacts look like dents or printing defects. Larger objects like furniture can be more forgiving on micro-detail, but they punish you if the overall scale feels off.
Black, reflective, and transparent products are “hard mode” for most capture methods. In many cases you will need prep steps such as diffuse lighting, polarization, or temporary surface treatment that makes the product easier to read. Those steps can be manageable for a small set of hero SKUs, but they can be painful across a large catalog.
Pricing and Costs
There is no live scanner pricing in the available Products tool data, so it would be misleading to quote hardware costs here. What the current data does confirm is that ProductAI offers several image-support tools relevant to product photography workflows, including AI Background Generator, Free White Background Generator, Increase Image Resolution, Remove Text From Images, Background Swap Editor, Place in Hands, Magic Photo Editor, and Creator Studio. No pricing or ratings were returned for these tools in the provided data, so any cost comparison should be verified directly on the vendor site before purchase.
That matters because the total cost of a 3D product imaging workflow usually extends beyond the scanner itself. In most cases, you should plan for:
For many stores, the lower-cost first step is improving your product photography studio process before moving into dedicated 3D gear. If AI tools can reduce editing time or improve consistency, that may create a clearer ROI than jumping straight into specialized hardware.
What to Look for in Scanner Software and File Outputs
What many store owners overlook is that scanners are rarely “hardware only.” You are buying into a workflow: capture, tracking, alignment, mesh creation, texture mapping, export, then deployment. If any step is shaky, you end up with assets that look fine in a demo but are painful to publish on a live Shopify product page.
Software capabilities that affect publishability
In practice, you are evaluating a few core things. Tracking stability is the big one for handheld capture. If the software loses tracking every time you rotate around a product, your scan time balloons and you end up with mismatched surfaces.
Alignment and registration matter when you do multiple passes, for example a top pass and an underside pass. If alignment is unreliable, you get seams or double edges. Those problems become obvious in a 360-style viewer because the model looks like it “vibrates” as it turns.
Meshing and hole filling are where a lot of ecommerce time goes. You want a workflow that can generate a clean mesh without chewing up important edges. If the software fills holes aggressively, it can erase product features like ports, engraved lines, or sharp corners.
Texture mapping is its own evaluation category. A model can have decent geometry and still look wrong if the texture is blurry, stretched, or mismatched across seams. For ecommerce, texture realism is often the difference between “premium” and “uncanny.”
File output realities: CAD-ready versus web-ready
Now, when it comes to output, be clear about your end use. A lot of scan outputs are mesh-based, which is fine for visualization but not automatically suitable for CAD. If you want to use scans for product design, prototyping, or engineering-style workflows, you may need higher accuracy, cleaner surfaces, and sometimes additional processing to make the geometry usable.
For storefront visuals, the goal is usually a web-friendly asset that loads fast and looks good. That often means you need to control polycount, reduce noise, and ensure the mesh is watertight enough for the viewer you use. A dense, unoptimized model may look great on a workstation and still perform poorly on mobile.
Export formats and texture packaging matter too. If you are handing files to a freelancer or a studio, you want predictable exports and a clear way to include textures and materials. If the exports are inconsistent, you lose time to back-and-forth, and “asset management” becomes a hidden cost.
A practical QA checklist before publishing to Shopify
Before a 3D asset touches your product pages, treat it like any other piece of merchandising. You want consistent scale, so the product does not look larger or smaller than it should when compared across a collection. You want texture accuracy, especially for printed packaging, labels, and color-sensitive products. You also want to scan for obvious artifacts, including dents that are not real, smeared edges, or holes in areas a shopper can see.
From a workflow standpoint, define what “publishable” means for your team. If it takes an hour of cleanup per SKU, that can be fine for hero products and unrealistic for a full catalog. The way this works in practice is to set a standard, test it on a pilot set, then decide whether you need better capture, better software, or a simpler output like a 360 image set.
Trust and Credibility
At AcquireConvert, we look at product imaging decisions through the lens of practical ecommerce implementation, not novelty. Giles Thomas is a Shopify Partner and Google Expert, so the evaluation standard is simple: will this setup help a store owner create assets that support conversion, merchandising, and acquisition?
That is especially important with 3D and AI-related tools, where marketing claims can get ahead of real store needs. A scanner may produce technically impressive outputs, but if the files are difficult to deploy, too slow to create at scale, or unnecessary for your product category, it may not be the right investment yet.
For merchants exploring richer visual merchandising, the broader AcquireConvert resources on 3D Product Photography and AR Product Visualization can help frame whether you need spins, true 3D assets, or immersive product presentation. The most credible choice is usually the one your team can produce consistently, maintain over time, and publish without heavy developer dependence.
Pros and Cons
Strengths
Considerations
Who It's Best For
A 3d scanner for product photography is best suited to ecommerce brands that sell visually complex products and already have a reasonably mature content process. If you are on Shopify and have a medium to large catalog, a small internal creative team, and a clear need for interactive product presentation, it may be a sensible next step.
It is less compelling for newer stores that are still fixing basic product imagery, offer-page clarity, or merchandising consistency. In those cases, better lighting, stronger angles for product photography, and faster post-production often move the needle sooner. Many brands should validate demand for richer visual content with 360 imagery before investing in full 3D capture.
Choosing a Scanner by Object Size and Detail Level
For most Shopify store owners, the easiest way to shortlist a scanner is to match the scanner class to the size of what you sell and the level of detail your shoppers expect to see. This sounds obvious, but it is where a lot of purchases go wrong. People buy for “accuracy” and end up fighting the workflow because their products are too small, too shiny, or too thin for consistent results.
Small parts and jewelry: detail is the requirement
When you are scanning small parts, tiny accessories, or jewelry components, the requirement is not just “small object support.” You need edge fidelity and stable capture of fine features like prongs, engravings, thin chains, and small holes. If those features turn into rounded blobs, the asset loses trust fast because it no longer matches what a shopper expects to receive.
Small objects also amplify occlusion. If a product has undercuts, cavities, or overlapping parts, you may need multiple passes and reliable alignment. If your workflow cannot align passes cleanly, you can end up with seams that shimmer in motion or edges that look doubled.
Medium products: the most forgiving category
Many everyday ecommerce products sit in the “medium” range, and this is typically where scanning workflows feel most realistic for lean teams. You can move around the object, capture multiple angles, and still control lighting without needing a full studio buildout.
Even here, watch for thin edges and repeating patterns. Thin edges can break tracking and show up as jagged silhouettes. Repeating patterns can confuse tracking and create warped areas that are hard to spot until you render a spin.
Large items like furniture: scale consistency matters more than micro-detail
For large items, you often care about proportions, overall form, and how the item reads in a space. If your asset is slightly soft on micro detail but the silhouette and size feel right, it can still be useful for visualization. The catch is that larger items can take more capture time and more cleanup simply due to surface area.
Large items also increase the risk of drift, where the scan slowly warps as you move around the object. Drift can be subtle in a still image and painfully obvious when a shopper rotates the model.
Hidden friction points that show up on product pages
Most scanning issues are not “technical” until you see them in a shopper-facing viewer. Occlusion creates holes or smeared zones. Thin edges and fine engravings become lumpy. Reflective areas can look like dents or melted plastic. The reality is that even minor artifacts can reduce perceived quality, especially for premium products.
When you should not scan at all
Sometimes the best decision is to skip scanning and publish faster. If your product sells mainly on price, reviews, or functionality, a clean photo set may be more trustworthy than a mediocre 3D model. If your catalog is large and your team cannot keep up with cleanup, a turntable 360 set can be the better middle ground because it is closer to standard photography and often easier to scale.
Think of it this way: if you cannot hit a consistent “publishable” standard across your key SKUs, shoppers will notice the inconsistency across product pages. In many cases, consistency beats complexity.
How to Get Started
Start by defining the output you need, not the equipment you want to buy. If your goal is to show rotational detail, test a turntable workflow first. If you need true geometry for immersive experiences, shortlist scanners after you confirm deployment requirements.
If your store is still comparing visual presentation options, review 360 workflows and software requirements first. That route is often more practical for ecommerce teams than moving straight to full 3D scanning.
Frequently Asked Questions
Do I need a true 3D scanner for product photography?
Not always. Many ecommerce brands can get what they need from a turntable-based image sequence or improved studio photography. A true 3D scanner makes more sense when you need reusable 3D assets, complex shape capture, or richer visualization beyond standard product page images.
Is a turntable better than a 3D scanner for Shopify stores?
For many Shopify stores, yes. A turntable can be a more practical starting point because it helps create rotational product views with less complexity. If your goal is better product page presentation rather than a technical 3D model, this approach is often faster to implement.
Can AI replace a 3D scanner?
AI can help with background changes, resolution improvement, and scene edits, but it does not replace accurate 3D capture where geometry matters. AI is better viewed as workflow support. It can reduce editing time and improve consistency, but output quality still depends on the source imagery.
What products benefit most from 3D capture?
Products with important shape, depth, or tactile cues tend to benefit most. Think furniture, shoes, collectibles, premium packaging, beauty tools, or technical equipment. Flat or visually simple products often gain less from full 3D capture than they do from strong conventional photography.
How should I budget for a 3D product photography workflow?
You should budget beyond the scanner itself. Plan for lighting, staging, software, staff time, QA, and storefront deployment. If you skip those supporting costs, the workflow may become too slow or inconsistent to scale across a live ecommerce catalog.
Will 3D visuals improve conversion rates?
They may, but results vary based on product type, traffic quality, page design, and how well the assets are implemented. Stores selling products that require closer visual inspection often see more potential value than stores where purchase decisions depend mainly on price, reviews, or shipping speed.
What should I test before investing in equipment?
Test whether added angles or motion actually help shoppers make decisions. A pilot with a small SKU set can show whether production time is manageable and whether richer visuals improve engagement. That is a better approach than committing to hardware before you validate the use case.
What is the best 3D scanner for small parts (like jewelry components or accessories)?
The best choice is typically the one that can capture fine edges and small features consistently, not the one with the most impressive spec sheet. Small parts scanning tends to require high detail, stable tracking, and reliable multi-pass alignment, otherwise prongs, engravings, and thin edges can look rounded or broken. If you mainly need shopper-facing visuals, make sure the output looks clean when rotated and zoomed, even on mobile.
Do I need a handheld 3D scanner, or is a fixed setup better for product photography?
Handheld scanning can be flexible for odd shapes and a wider range of product sizes, but it can also introduce tracking issues if your lighting and technique are inconsistent. A fixed setup can be more repeatable for catalogs, especially when you are scanning the same type of object repeatedly and want consistent results SKU to SKU. The right answer is usually the one your team can run reliably without constant re-scans.
Can I use a 3D scanner to create CAD-ready models for product design as well as product visuals?
Sometimes, but do not assume a scan is automatically CAD-ready. Many scanning workflows produce mesh outputs that are great for visualization and spins but not ideal for CAD without extra processing. If you want to reuse assets for design or prototyping, evaluate whether the workflow supports the accuracy, cleanup, and export needs for that use case, and plan on validation before the files go into any production workflow.
Why do 3D scanners struggle with black, shiny, or transparent products, and what can I do about it?
These surfaces make it harder for scanners and photogrammetry to read consistent information. Black surfaces can absorb light, shiny surfaces create reflections that look like false geometry, and transparent items can confuse depth capture entirely. In many cases, you will need tighter lighting control and capture discipline, and some workflows use temporary surface preparation to make the object readable. If that prep is not realistic for your catalog, a 360 image workflow or high-quality standard photography may be the better option.
Key Takeaways
Conclusion
A 3d scanner for product photography can be worth it, but only when it solves a real ecommerce presentation problem. If your products benefit from close inspection, interactive viewing, or future AR use, the investment may make sense after a controlled pilot. If your store still needs stronger basic visuals, cleaner backgrounds, or a more efficient studio process, start there first.
That is generally the more profitable sequence for a lean Shopify team. AcquireConvert evaluates tools and workflows through real store implementation, with Giles Thomas's Shopify Partner and Google Expert perspective focused on what actually helps merchants publish better visuals and sell more effectively. Your next step should be simple: test a small workflow, compare 360 output against standard imagery, and only scale the equipment stack once the process proves itself.
Disclosure: AcquireConvert may receive affiliate compensation from some third-party links mentioned in this article. We only reference tools and resources we believe are relevant to ecommerce merchants. Any performance impact from 3D scanners, 360 workflows, or AI image tools will vary based on your product type, store traffic, niche, creative execution, and implementation quality. No specific results are guaranteed.

Hi, I'm Giles Thomas.
Founder of AcquireConvert, the place where ecommerce entrepreneurs & marketers go to learn growth. I'm also the founder of Shopify agency Whole Design Studios.