Product Rendering for Ecommerce (2026 Guide)
Product rendering gives ecommerce brands another way to create sellable visuals without relying only on a camera, props, and repeated reshoots. If you run a Shopify store and you need consistent images across variants, seasonal launches, or pre-order products, rendering can be a practical option. It is not always the right replacement for photography, but it can solve specific merchandising problems faster than a traditional shoot. If you are still comparing visual formats, it helps to understand how rendering fits alongside standard product photos and where each format supports conversion. This guide explains what product rendering is, where it works well for ecommerce, the trade-offs to expect, and how to decide whether your store should invest in rendered visuals, photography, or a mix of both.
Contents
What product rendering means in ecommerce
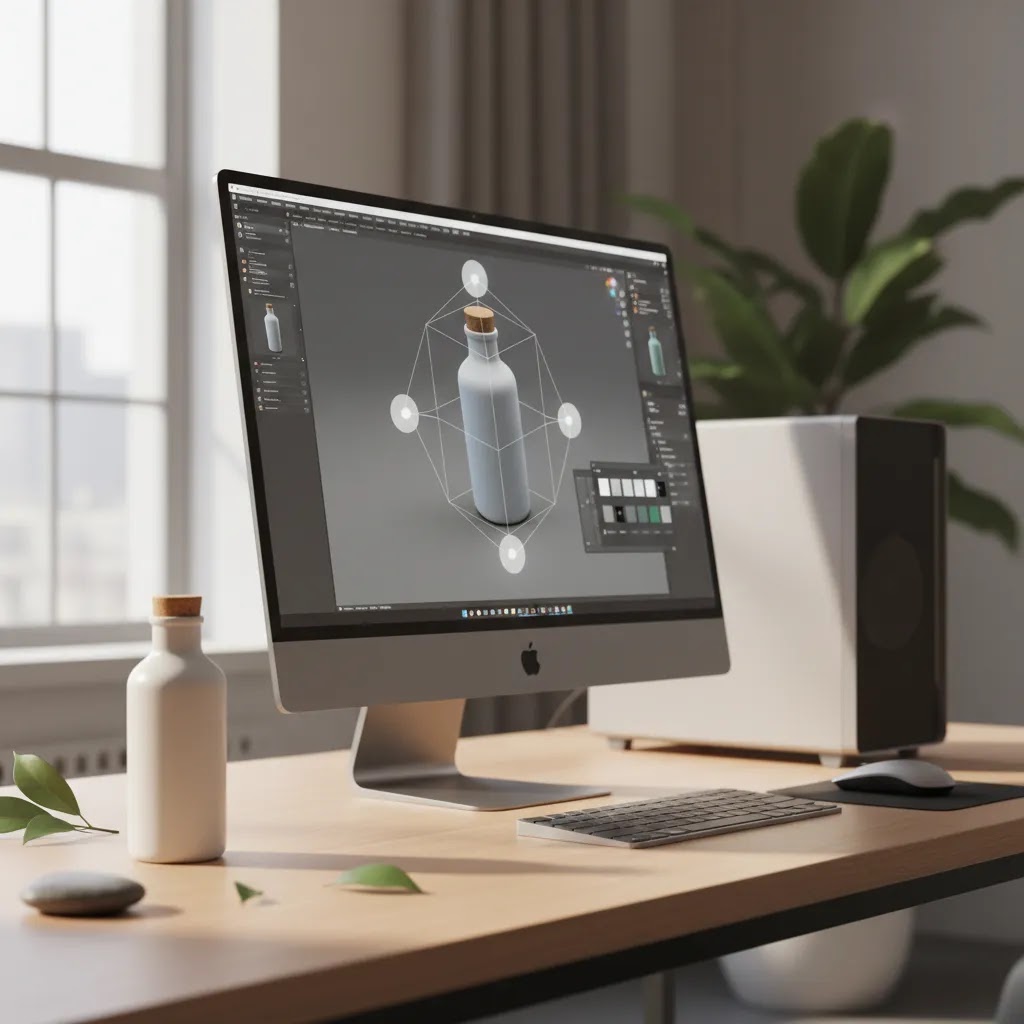
Product rendering is the process of creating product images digitally, usually from a 3D model rather than a physical camera setup. Instead of photographing a real item on a set, a designer builds or imports a product model, applies materials, lighting, shadows, and camera angles, then exports finished images for your product pages, ads, marketplaces, or social campaigns.
For ecommerce, that matters because rendered images can be created before inventory arrives, updated without booking another shoot, and reused across many formats. A single model can produce white-background catalog images, close-ups, lifestyle scenes, color variants, and even interactive assets.
This does not mean rendering automatically beats photography. Many brands still convert better with real-world texture, real lighting, and authentic context. But for configurable products, custom items, technical goods, or products with many variants, rendering can reduce production friction. If you are exploring immersive formats too, it often connects naturally with 360 product photography and interactive spin experiences.
How the process works
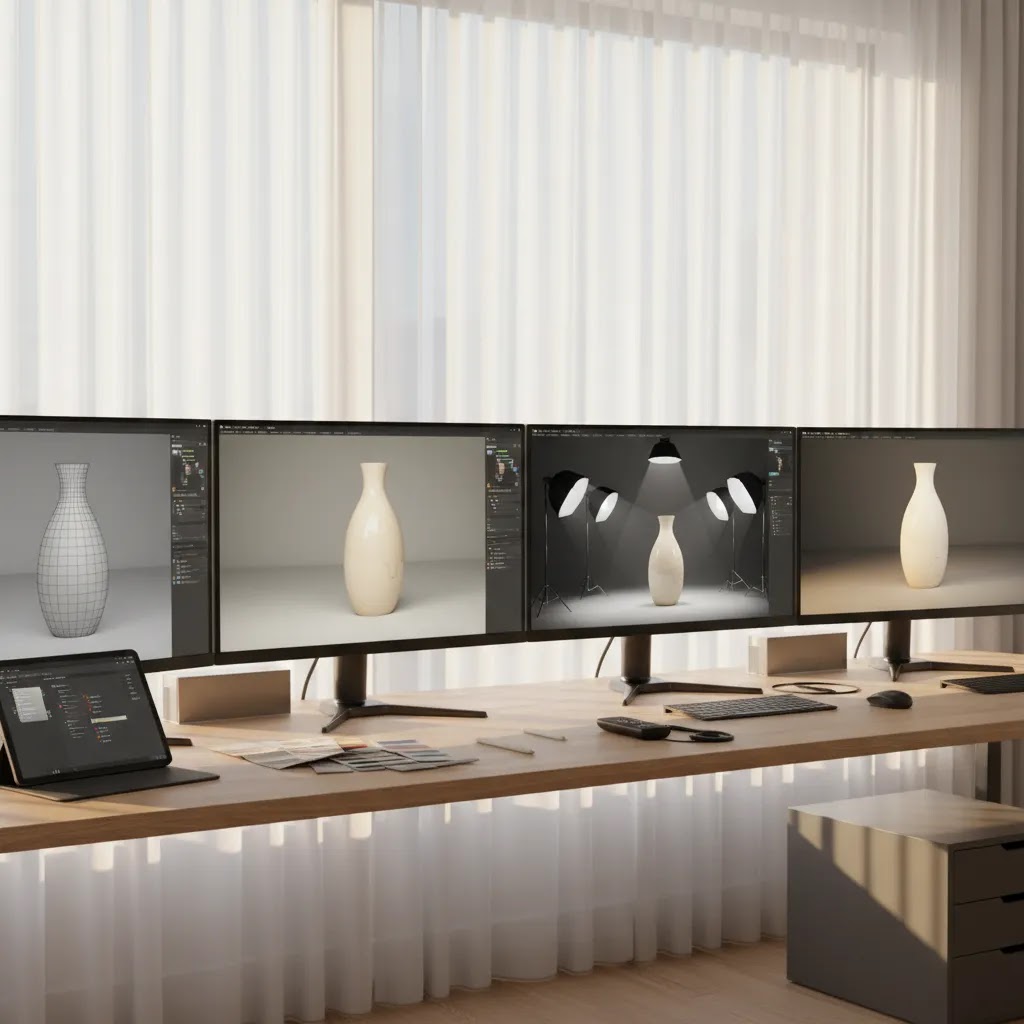
A typical ecommerce product rendering workflow starts with a 3D model. That model may come from CAD files, 3D scanning, or be built manually by a designer. Once the model exists, materials are added to simulate surfaces like metal, plastic, glass, fabric, or matte coatings. Then the scene is lit and composed to match the style you want on your store.
After that, the renderer exports still images or animation sequences. These can be used for PDP galleries, ads, hero banners, email campaigns, or product launches. Some brands also use the same source files to create a rotating 360 view, which gives shoppers a stronger sense of shape and detail.
From a store owner’s perspective, the important point is not the software itself. It is whether the workflow helps you publish accurate, attractive visuals faster than your current process. If rendering creates unrealistic finishes or color mismatches, it can hurt trust. If it helps you standardize imagery across dozens of SKUs, it may become a useful part of your merchandising stack.
Product rendering software options (and how to pick one)
If you search for product rendering software, you will find a mix of tools that solve different parts of the pipeline. Here’s the thing: for ecommerce, you rarely need “the best renderer” in a vacuum. You need a workflow that reliably produces consistent angles, consistent lighting, and consistent color across lots of SKUs, with revisions that do not become a bottleneck.
Most rendering workflows fall into three practical paths.
1. CAD-to-render tools (best when you already have CAD files)
If your products are designed in CAD (common for furniture, hardware, consumer electronics, and many manufactured goods), you may already have the most expensive part done: accurate geometry. CAD-to-render workflows focus on importing those files and producing marketing-ready visuals without rebuilding the product from scratch.
For Shopify merchants, this path is usually best when you:
What to watch out for: CAD models are often not “render-ready.” They can be overly heavy, missing small manufacturing details, or not set up with the material and UV mapping needed for realistic finishes. In many cases, a 3D artist still needs to optimize and prep the model before it will render cleanly.
2. DCC tools like Blender (best for full control and long-term flexibility)
DCC stands for digital content creation. Tools in this category are used to model, texture, light, and render. Blender is a common example, and it is popular because it is capable and flexible for teams that want control over the full look and feel.
This path tends to work well when you:
What many store owners overlook is that the tool is not the limiting factor, the process is. DCC workflows can produce excellent results, but only if you define standards for camera angles, lighting ratios, materials, and export settings. Without that, you get inconsistent images that look like they were made by different people, even if the product is the same.
3. Renderer-only workflows (best when you outsource and just need outputs)
Some workflows treat rendering as a production service rather than a tool you manage internally. In this setup, you provide inputs like product measurements, reference photos, brand guidelines, and desired angles, and a specialist produces finished images. You might never touch a 3D app yourself.
For most Shopify store owners, this can be the fastest way to start because you do not need to hire or train an in-house 3D artist. The trade-off is that you need to scope projects clearly, and you need a review process so you catch errors before images go live.
What matters most for Shopify merchants when choosing software or a workflow
From a practical standpoint, these are the selection criteria that tend to matter most for ecommerce, regardless of which tool you use:
A simple “start here” decision tree
If you want a simple way to choose a path, use this as a starting point:
Timelines and cost tend to follow the same pattern. If you have clean CAD, you may move faster. If you are starting from scratch with manual modeling, expect a longer first project, then faster output once you have reusable assets.
Why store owners use product rendering
Rendering tends to be most useful when your catalog has complexity. Think furniture with multiple finishes, electronics with configurable parts, packaging still in development, or products that are expensive to reshoot every time something changes.
Here are the main advantages ecommerce teams usually look for:
There are also practical hybrid workflows. Many brands use traditional photography for hero images and lifestyle content, then use AI editing tools to speed up background work or resize outputs. For example, if you need to test simple visual treatments after a shoot, tools like AI Background Generator or Free White Background Generator can help produce alternate image versions. If you are working with small catalogs and a limited in-house setup, this can be more realistic than committing fully to 3D production from day one.
For merchants improving image quality after capture, tools such as Increase Image Resolution can support cleaner exports for storefront use. That said, AI editing is not the same as true 3D rendering. It is better seen as a workflow support layer, not a substitute for accurate modeled products where precision matters.
AI and product rendering: what AI can (and cannot) do for render-ready assets
A lot of store owners now search for product rendering AI because they want the speed of AI with the control of 3D. The reality is that AI is useful in a rendering workflow, but it is not the same thing as building a render-ready 3D asset that stays accurate across angles, variants, and close-ups.
Think of it this way: ecommerce rendering is usually about repeatability. You want the same product, in the same angles, with the same lighting, across every finish and SKU. Most AI image generators are built for creating plausible images, not for maintaining physically accurate geometry and materials across a catalog.
Where AI can help Shopify merchants move faster
AI can be a strong support layer around your core assets, especially for iteration and post-production. Common use cases include:
This is where AI can save time. You can generate options quickly, pick a direction, then invest in production-quality visuals once you know what you need.
What AI typically cannot do reliably for true product rendering
AI can create risk when you use it as a substitute for a controlled 3D pipeline. The main problems show up in:
Now, when it comes to precision categories, these issues matter more. Apparel, cosmetics, and any product where color and finish are central to buying confidence usually needs tighter control than AI alone can provide.
A practical workflow that usually works
For most Shopify store owners, the safest approach is to use AI to iterate faster, then validate before publishing. That means:
This is also where Giles Thomas’s Shopify Partner and Google Expert perspective shows up in the real world. Your visuals do not just affect on-site conversion. They affect ad approvals, feed performance, and customer expectations after the click. A faster workflow only helps if it stays accurate and consistent.

Pros and Cons
Strengths
Considerations
Product rendering pricing: what drives cost and how to estimate a realistic budget
Rendering costs are not just about how many images you want. Cost is mostly driven by how much work it takes to create an accurate, reusable product asset, then how many variations and outputs you need from it. If you have been quoted wildly different prices, that is usually why.
The cost drivers that matter most
Consider this framework when you are trying to estimate what your project may require:
One-off renders vs building a reusable 3D asset library
Pricing often makes more sense when you separate the work into two buckets.
First, there is the upfront asset build. This is where the 3D model gets created or cleaned, materials are defined, and a lighting setup is established. If you do this well, the asset can become a reusable library item for future campaigns and launches.
Second, there is ongoing production. Once the asset exists, you are paying for outputs: new angles, new variants, new scenes, and re-exports for different channels.
For many ecommerce catalogs, the first project feels expensive because you are paying for the foundation. The payoff, in many cases, is faster production later, especially when you have lots of variants or seasonal creative needs.
What “cheap-looking” renders usually get wrong
When renders look low quality on a Shopify store, it is rarely because rendering is a bad idea. It is usually because the fundamentals are off:
If you care about conversion and returns, it is typically better to render fewer images at higher quality than to publish a large set that looks questionable.
A scoping checklist for getting accurate quotes
If you are requesting quotes from freelancers or studios, the way you scope the work will determine both price and outcome. At minimum, be ready to specify:
This is not about being overly formal. It is about making sure the outputs match what your Shopify store actually needs, and that you do not pay for work you will not use.
Who product rendering is best for
Product rendering is usually best for growth-stage ecommerce brands that need scale and consistency more than handcrafted visual storytelling. It fits catalogs with many options, configurable products, technical products, furniture, packaging, home goods, and pre-launch inventory.
For Shopify merchants, it can be particularly useful if your PDPs rely on variant selection, bundled offers, or visual merchandising across multiple collections. If your brand sells highly tactile products such as handmade ceramics, skincare textures, or food items, traditional photography may still do a better job of showing reality. In those cases, rendering can still play a supporting role for diagrams, packaging mockups, or promotional scenes rather than replacing every product image.

AcquireConvert recommendation
For most store owners, the smartest move is not asking whether rendering is better than photography in absolute terms. It is asking where each format helps your store sell more clearly. Giles Thomas’s perspective as a Shopify Partner and Google Expert is useful here because merchandising decisions affect more than aesthetics. They shape product page clarity, ad creative performance, feed quality, and shopper trust.
If you are still building your image workflow, start with the commercial need. Are you trying to speed up launch assets, standardize variants, or create richer interaction on PDPs? Then compare that need against your existing product photography studio process and the operational cost of repeated shoots. For a broader view of the category, you can also explore AcquireConvert’s 3d product photography resources and related guides on e commerce product photography. That gives you a more practical benchmark before choosing tools, freelancers, or a full 3D workflow.
How to choose between rendering and photography
If you are deciding how to allocate your visual production budget, these criteria matter most.
1. Product complexity and number of variants
If one item comes in 20 finishes, 8 colors, or multiple configurations, rendering often becomes more efficient over time. If you only sell 12 hero SKUs and your assortment changes rarely, photography may be simpler.
2. Need for realism
Ask what customers must inspect before buying. Texture-heavy items like fabrics, food, or handmade goods usually benefit from real photos. Hard-surface products such as furniture, electronics, and packaging often translate better to rendered assets, provided quality is high.
3. Time to market
Pre-orders and launches can benefit from rendering because you do not need to wait for final inventory. This is useful if your marketing team needs ad creative, email banners, and PDP images before stock is in your warehouse.
4. Internal production resources
A simple DIY shoot may be more realistic than 3D asset production if your team is small. Many merchants begin with a small business workflow, then add rendering once catalog complexity increases. If you need commercial imaging infrastructure first, build your physical process before expanding your digital one.
5. Customer experience goals
If your category benefits from rotation, exploded views, or interactive merchandising, rendering can create assets that go beyond still images. If your sales come mainly from authenticity and handcrafted presentation, keep photography at the center and use rendering selectively.
A practical test is to pilot one product family first. Compare the rendered version against your photographed PDP on clarity, workflow speed, revision costs, and customer feedback. If you are also evaluating presentation tools for spins and interactive assets, review your options for 360 photo software before locking in a wider 3D roadmap.
Frequently Asked Questions
Is product rendering the same as product photography?
No. Product photography captures a real object with a camera, while product rendering creates a digital image from a 3D model. The end result may look similar on a product page, but the production process is very different. For ecommerce, the right choice depends on realism needs, variant count, launch timing, and your internal production workflow.
Can product rendering replace photography for Shopify stores?
Sometimes, but not always. Shopify stores selling configurable, hard-surface, or pre-launch products may get strong value from rendering. Brands selling tactile, handmade, or detail-sensitive products often still need real photography. Many merchants use a hybrid approach, keeping real photos for hero and lifestyle shots while using rendering for variants, packaging, or interactive assets.
What products work best with rendering?
Furniture, electronics, home goods, packaging, industrial items, and configurable products are usually strong candidates. These categories often benefit from visual consistency and structured variants. Categories where texture, natural imperfections, or ingredient appearance matter may be harder to render convincingly without losing the trust that real photography creates.
Is rendering cheaper than a traditional photo shoot?
It can be, but only in certain workflows. The first 3D model may require specialist work, which adds upfront cost. Where rendering often becomes more cost-effective is in repeated asset production, especially across many variants or campaigns. If you only need a few images for a small catalog, a traditional shoot may still be more economical.
How accurate are rendered product images?
Accuracy depends on the quality of the 3D model, materials, lighting, and review process. High-quality rendering can look very convincing, but poor execution can create unrealistic scale, reflections, or color. For ecommerce, accuracy matters because the image sets expectations. Review rendered outputs carefully against physical samples before publishing them widely.
Can rendering help with pre-orders and new launches?
Yes, this is one of its strongest use cases. If inventory is not yet available, rendered assets can help you prepare PDPs, ads, and email campaigns earlier. That can be especially useful for launch planning. Just make sure the final shipped product closely matches the rendered visuals so customers are not surprised after purchase.
How does product rendering connect to 360 visuals?
Rendering can support rotational or interactive formats because the 3D model already contains the object from all angles. That makes it easier to create spin sequences or interactive views than starting from static photography alone. If that is part of your roadmap, plan the asset workflow with interactivity in mind rather than treating it as an afterthought.
Should small businesses start with rendering or DIY photography?
Most small businesses should start with the format they can execute well and consistently. For many, that means DIY photography first, especially with a simple setup and clear editing standards. Rendering makes more sense once variant complexity, launch volume, or merchandising needs justify the extra production structure.
Can ChatGPT create renderings?
ChatGPT can help with the planning and production side of rendering, like writing shot lists, creating creative briefs, outlining variant rules, or generating feedback checklists for your 3D artist. It does not directly generate physically accurate 3D renders from a true product model on its own. If you use AI image tools alongside a rendering workflow, treat AI outputs as drafts that still need human review for accuracy and brand consistency before they go on your Shopify product pages.
Can a product be rendered?
In most cases, yes. If you can describe the product accurately and provide reference materials, a 3D artist can typically model it and render images. The question is whether it is worth it for your catalog. Products with clear geometry and repeatable materials (packaging, furniture, electronics, many home goods) tend to be more straightforward. Products that sell through subtle texture, translucency, or natural variation may be renderable, but they usually require more time and careful review to avoid looking artificial.
How much does a product render cost?
Pricing varies because it depends on the asset build and the outputs you need. Costs are driven by modeling complexity, the number of variants, the number of angles, whether you need lifestyle scenes, and how many revision rounds are included. If you want a realistic quote, define your shot list, required image sizes and formats, where the images will be used (PDP, ads, marketplaces), and whether you need ownership of source files for future reuse.
Key Takeaways
Conclusion
Product rendering can be a smart ecommerce investment if your store needs speed, consistency, and scalable visuals across many SKUs or variants. It is especially useful when launches move quickly or when a physical shoot would be difficult to repeat every time a product detail changes. Still, rendering is not automatically better than photography. The right decision depends on how your customers evaluate products and what your team can produce reliably. If you want more practical guidance, AcquireConvert is a strong place to continue your research. Explore related 3D product photography and ecommerce imaging resources across the site, and use Giles Thomas’s Shopify-focused perspective to evaluate what will actually work for your merchandising workflow, not just what looks good in theory.
This article is editorial content created for educational purposes and is not a paid endorsement unless otherwise stated. Pricing, product features, and tool availability are subject to change, so verify current details directly with the provider. Any workflow, conversion, or merchandising outcomes discussed here are not guaranteed and may vary by product type, store setup, execution quality, and market conditions.

Hi, I'm Giles Thomas.
Founder of AcquireConvert, the place where ecommerce entrepreneurs & marketers go to learn growth. I'm also the founder of Shopify agency Whole Design Studios.