AI Try On Clothes for Fashion Ecommerce (2026)

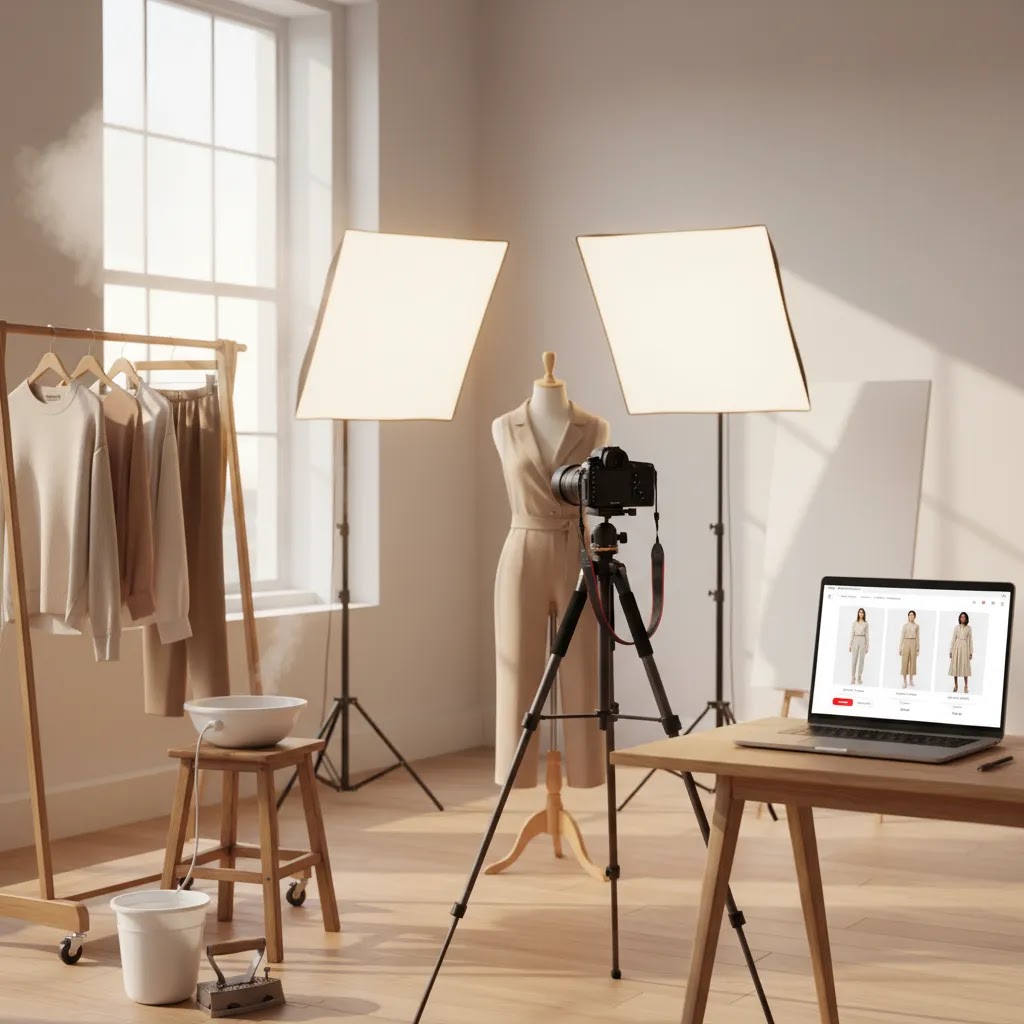
If you sell apparel online, you already know the pressure around visuals. Shoppers want to see fit, styling, and context before they buy, but traditional shoots can be expensive, slow, and difficult to scale across colorways, sizes, and seasonal launches. That is why interest in ai try on clothes tools keeps growing. These tools can help you create model-based fashion visuals faster, test concepts before a full production run, or support campaign content between major shoots. They are not a full replacement for every brand photography need, but they can be useful in the right workflow. If you are still balancing AI outputs with real-world imagery, it helps to understand how they compare with more established photography fashion model approaches for ecommerce.
Contents
What AI try-on means for fashion ecommerce
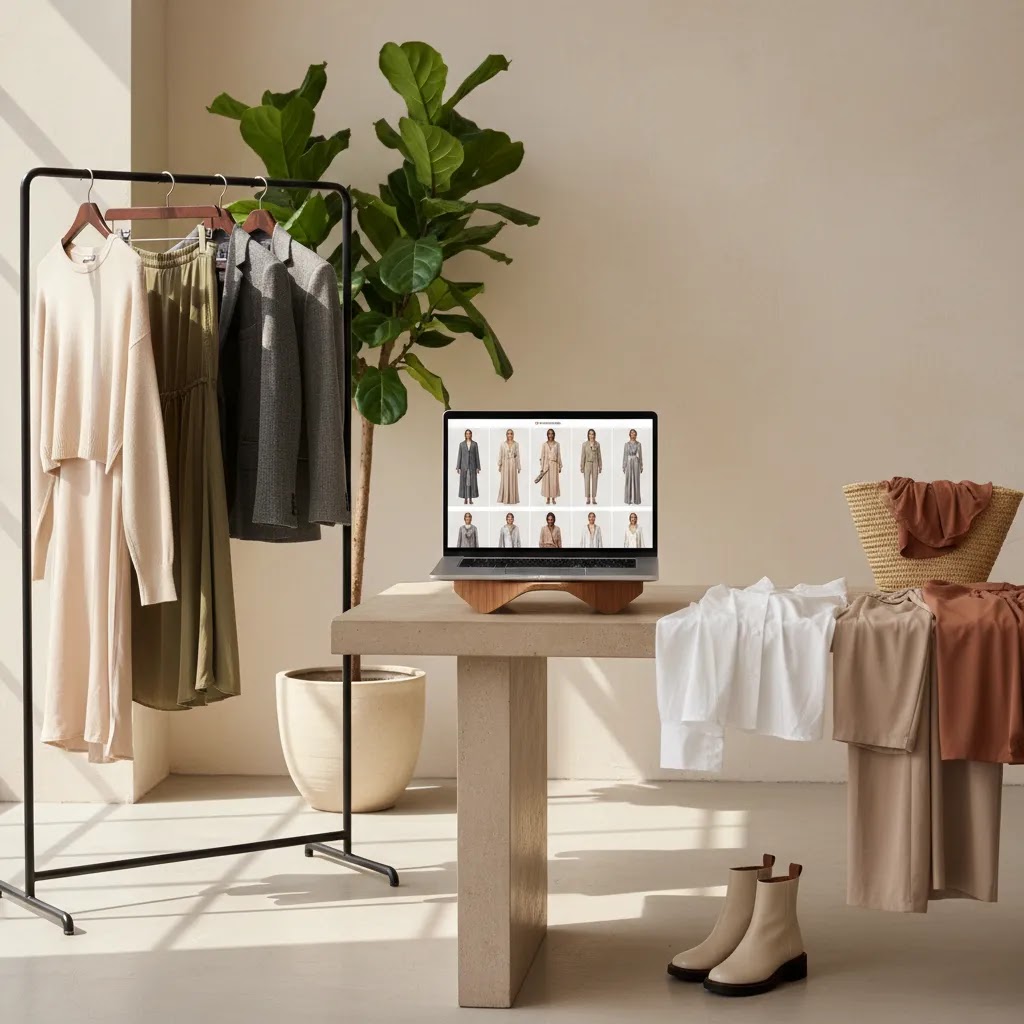
For a fashion store owner, AI try-on usually refers to tools that place garments on generated or edited models so shoppers can visualize how an item may look when worn. In practice, brands use it in several ways. Some use it to build concept images before a campaign. Others use it to extend existing shoots into new backgrounds, poses, or social formats. Some use it for merchandising support when a new collection lands before a full studio session is available.
The important thing is to treat AI try-on as part of a visual merchandising system, not a magic button. Product imagery still has to communicate fabric texture, silhouette, color accuracy, and brand fit. For many Shopify merchants, that means combining AI outputs with strong clothing photography, flat lays, detail shots, and studio packshots.
That blended approach is often the most practical. AI visuals may help with ad testing, lookbook concepts, and social content, while traditional photography remains the safer choice for hero PDP images, compliance-sensitive categories, and products where drape and construction matter. If you are already exploring broader ai fashion workflows, virtual try-on fits best as one piece of that bigger content stack.
How AI clothes try-on works (and why results vary)
Here is the thing: “AI try-on” is an overloaded term. Two very different approaches get marketed as the same thing, and that is a big reason store owners see inconsistent results.
Approach 1: 2D garment transfer onto a real photo
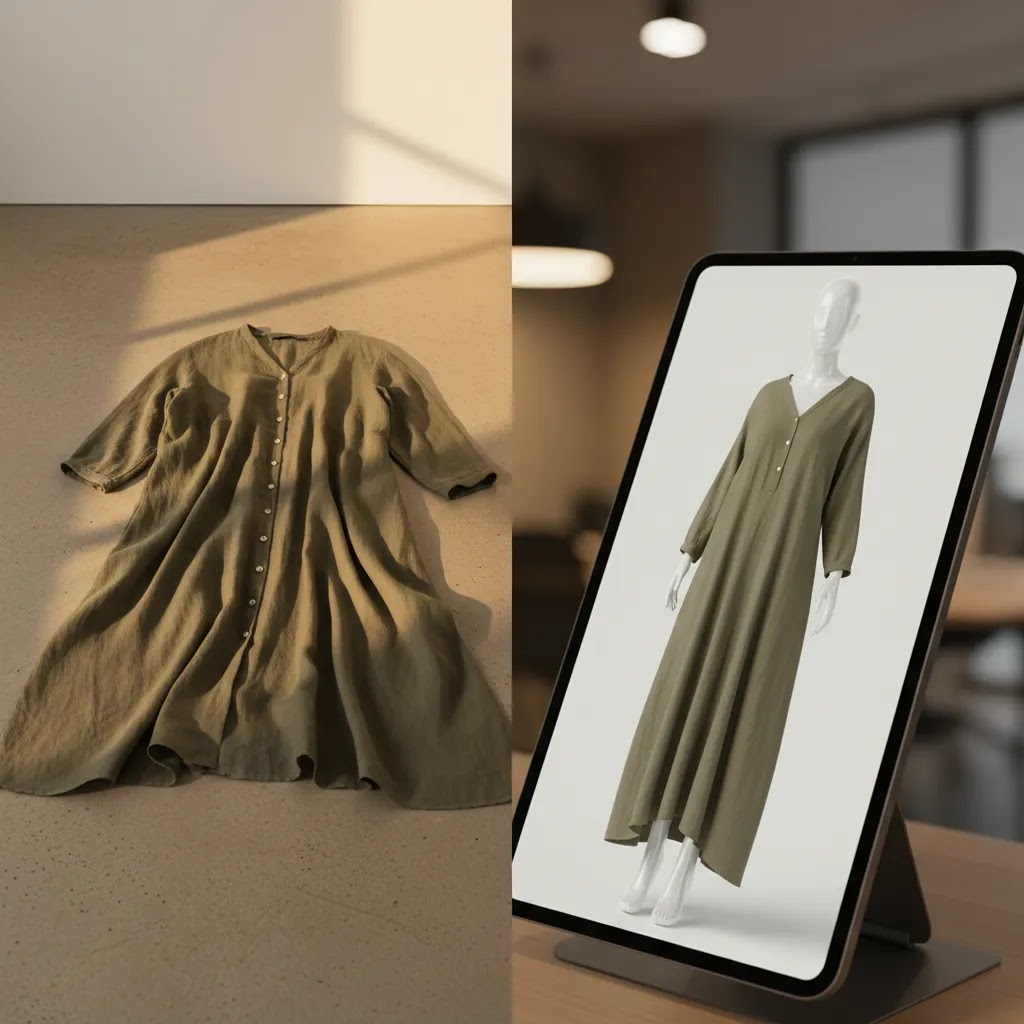
This is the most literal version of virtual try-on. You start with a photo of a person, then the tool attempts to place a garment onto that person while keeping the pose and body consistent. In many tools, it is effectively a smart image edit plus a segmentation step. The system has to figure out what is the body, what is the existing clothing, and what is the new garment, then “paint” a believable result.
When it works, it is useful for marketing because it can preserve a real-looking human photo. When it fails, the failures tend to be obvious: warped seams, incorrect hemlines, missing straps, or prints that drift as they wrap around the body.
Approach 2: model or avatar generation that looks like try-on
The other common approach is closer to model generation. Instead of truly transferring your garment onto a person photo, the tool generates a new model image that resembles your garment and prompt. The output can look great at first glance, but it may not be physically accurate to your actual SKU. From a merchandising standpoint, that matters because it can accidentally invent details, change fabric behavior, or smooth out construction that shoppers care about.
That does not make it useless. It just means you should treat these outputs as inspirational or conceptual unless you can verify the garment details match the product you ship.
What inputs typically drive quality
Most quality issues come down to the inputs. You can usually get more reliable results when you feed the system cleaner, more consistent assets.
In practice, try-on outputs tend to improve when you have:
Patterns, logos, stripes, sleeves, and layering are common failure points. That is not just a cosmetic issue. If a logo shifts position or a stripe bends in an unnatural way, shoppers notice. Layering is also tough because the system has to decide what is on top and what is underneath, then generate believable folds and occlusion.
Practical expectations for Shopify use
For most Shopify store owners, the “good enough” threshold depends on where the image will live.
AI try-on is often a strong fit for placements where the goal is to stop the scroll and communicate styling: ads, lookbooks, email headers, collection page tiles, and landing page modules. In those placements, the image is doing top-of-funnel work. You are selling the vibe and helping shoppers imagine the outfit.
Now, when it comes to fit-critical PDP usage, you need to be more conservative. If a shopper is deciding between sizes, or if the garment’s drape and structure is a primary selling point, low-accuracy try-on visuals can break trust. In that scenario, keep real photos as the primary evidence, and use AI try-on as supplemental styling context.
Key features to evaluate
Not every AI image tool is a true virtual try-on platform. Some are better described as editing or scene-generation tools that support apparel marketing workflows. Based on the current product data available, several tools are most relevant as supporting building blocks for fashion ecommerce teams.
Creator Studio and Magic Photo Editor are useful if you need a broader environment for image creation and editing. These are more flexible than single-purpose tools, which matters if your team is producing campaign variants, testing different scenes, or repurposing garment imagery across channels.
Background Swap Editor is relevant when you already have apparel shots but want different settings for ads, marketplaces, or seasonal landing pages. That can be useful if your current garment photos are solid but feel too static for social and email creative.
Place in Hands is not a direct fashion try-on tool, but it can still support accessories, beauty-adjacent items, or small apparel add-ons where in-hand scale matters. For stores selling hats, socks, scarves, or complementary products, this kind of contextual editor may help round out merchandising assets.
AI Background Generator and Free White Background Generator are more production-oriented. They help clean up or standardize imagery for catalog use. If your store needs white-background consistency for product grids, marketplace feeds, or collection pages, these tools may save time. That is especially helpful when you are mixing AI-generated try-on visuals with standard packshots and need everything to look coherent.
Increase Image Resolution can help when generated outputs are not sharp enough for storefront use, while Remove Text From Images is useful if source assets include promotional overlays or reused social graphics that need cleanup before republishing.
For many merchants, the real question is not whether one tool does everything. It is whether the workflow supports your actual production bottlenecks: model imagery, background consistency, resolution, and reuse across channels.
Step-by-step workflow: create a try-on image you can actually use on Shopify
What many store owners overlook is that the try-on output is only one step. The difference between a usable asset and a “cool demo” is a repeatable workflow that protects product truth and keeps your storefront looking consistent.
Step 1: Choose your base model photo on purpose
Start with one or two “house model” images you can reuse across SKUs. Pick photos with simple poses, neutral lighting, and minimal occlusion. Hands crossing the torso, hair covering shoulders, and extreme angles make try-on harder and increase weird artifacts.
If you are planning to use these images on product pages, keep the pose similar to the framing you already use for your catalog. Consistent crop and posture helps the whole PDP feel like one system, even if some images are AI-assisted.
Step 2: Prep the garment asset so the tool has a fair chance
Try-on quality often rises or falls on the garment photo. In many cases, a clean product cutout on a plain background works better than a busy flat lay with shadows and wrinkles.
From a practical standpoint, you want the garment to have:
If you have multiple colorways, build the workflow around one “reference” SKU first, then expand. It is easier to troubleshoot quality issues when you are not changing ten variables at once.
Step 3: Generate variations, but constrain your prompts and settings
Most tools let you generate multiple outputs. Use that, but keep the direction tight. If you change the background, pose, and styling every time, you will never know what is causing a failure.
A useful approach is to generate:
Then compare the results against your real product photos before you publish anything.
Step 4: QA for product truth, not just “does it look nice”
AI images can be persuasive, which is exactly why you need a quality-control pass. Your goal is to avoid publishing images that accidentally imply features the product does not have.
Use a checklist that is geared toward returns and trust:
Consider this: if a shopper screenshots the image and compares it to your flat lay or packshot, will the garment look like the same SKU? If the answer is no, keep the AI asset out of the PDP and use it for top-of-funnel creative instead.
Step 5: Export with storefront requirements in mind
Even strong AI outputs can look inconsistent on Shopify if you do not standardize files. Your theme will usually look best when product images share the same aspect ratio and cropping logic across the catalog.
As a baseline, aim for consistent dimensions and framing that match your existing product image grid. Export in a modern web-friendly format your theme supports, and compress images so pages load quickly without turning fabrics into blurry mush. If the try-on output is soft, run it through your resolution tool first, then compress after.
Accessibility matters too. Add descriptive alt text in Shopify that focuses on what the shopper is seeing, like garment type, color, and key detail, rather than mentioning the tool used to generate it. The goal is clarity for shoppers and screen readers.
Pros and Cons
Strengths
Considerations
Who this approach is for
AI try-on workflows are best suited to fashion ecommerce teams that need more visual output without rebuilding their entire production process. That includes growth-stage Shopify stores launching frequent collections, lean in-house teams managing paid social creatives, and brands testing whether model-based visuals improve engagement before committing to larger shoots.
It is also a sensible option for merchants who already have strong packshots and flat lays but need more lifestyle variation. If your store depends heavily on fit precision, luxury presentation, or strict brand photography standards, AI try-on should probably support your workflow rather than replace it. The closer your product is to complex tailoring, premium fabric, or technical apparel, the more careful you should be.
How AcquireConvert suggests using it
From an ecommerce operations perspective, the safest way to use AI try-on is as a layer in your content pipeline. Start with your most reliable visual assets first: clean product cutouts, accurate color references, and consistent SKU-level imagery. Then test AI try-on outputs in lower-risk placements such as collection banners, paid social, landing page modules, or retargeting creative.
For PDPs, keep a strong base of real garment visuals. AI-generated model images can add context, but they should not be the only evidence a shopper sees before buying. That is particularly true for fit-sensitive products like dresses, denim, shapewear, or tailored pieces.
AcquireConvert’s editorial approach reflects the practical view Giles Thomas brings as a Shopify Partner and Google Expert: use the tool where it improves workflow, but keep customer trust at the center. If you are exploring adjacent options, our guide to ai clothing generator workflows is a useful next step, and the broader Fashion & Apparel Photography section can help you compare AI-assisted imagery with more traditional production choices.
How to choose the right workflow
Choosing an AI try-on setup is less about finding one perfect tool and more about building the right production flow for your store. Here are the criteria that matter most.
1. Start with your image purpose
If the image is for a hero product page, accuracy matters more than speed. If it is for social testing or concept validation, flexibility matters more. Merchants often make poor tool decisions because they expect one asset type to do every job. Define whether you need PDP images, ad creative, collection headers, or lookbook content first.
2. Check how well the workflow preserves product truth
Apparel returns are expensive. If AI visuals make sleeve length, fit, or color look different from the real item, you may create conversion friction later in the funnel. Compare generated outputs against your real samples. If the garment’s structure changes too much, keep AI visuals to top-of-funnel creative only.
3. Prioritize consistency across your catalog
Fashion stores rarely sell one item at a time. You need a visual system that works across dozens or hundreds of SKUs. That is where support tools like White Background Photography resources and background editors can be valuable. Consistent crops, backgrounds, and lighting matter just as much as the AI layer.
4. Match the workflow to your team size
A solo founder needs speed and repeatability. A larger team may need approval flows, creative direction, and channel-specific asset versions. Broader tools like Creator Studio or Magic Photo Editor may make more sense if you need flexibility. Single-purpose tools are often better if your bottleneck is just cleanup or image standardization.
5. Keep brand positioning in view
Premium brands usually need more control over model presentation, garment detail, and art direction. Value-driven or trend-driven stores may get more upside from fast AI experimentation. If your brand sells craftsmanship, use AI selectively. If your brand sells trend access and frequent newness, AI can play a bigger role.
If you are still working through the basics of apparel image setup, pair this topic with our guidance on AI UGC Content and foundational clothing photography so your try-on visuals do not sit on top of a weak asset library.
Tool selection by use case: “AI try-on” tools vs AI image editors vs API workflows
Once you have the workflow criteria clear, the next decision is tool type. This is where a lot of stores get stuck because they search for “AI clothes try-on” and end up testing random tools that are built for different jobs.
Single-purpose try-on tools
These are tools that are designed specifically to change outfits on a person or generate try-on style results from a garment input. They are usually the fastest way to get a first result, and they can be useful for quick creative production if your inputs are clean.
The tradeoff is control and repeatability. Some tools are great for one-off images and not great for producing a consistent catalog. If you find yourself manually fixing every output, that “fast” workflow stops being fast.
General AI image editors and generators
This category is broader. You may not get a one-click “try-on” button, but you often get more control over the final output: background, composition, cleanup, and resizing. For ecommerce teams, that can matter more than the try-on feature itself because your store needs consistent imagery across collection pages, product pages, and ads.
In practice, many Shopify brands use a general editor to support the try-on workflow: prep inputs, generate variants, then fix and standardize the final image so it matches the rest of the catalog.
API-based workflows for higher volume teams
If you are dealing with a high-SKU catalog, frequent drops, or a team that needs approvals, an API-style workflow can start to matter. The advantage is not just automation. It is consistency and throughput.
With an API workflow, you can typically standardize inputs, run batch processing across a set of SKUs, and build an internal review step so you do not publish low-quality outputs by accident. That can be useful for teams that want to scale creative without turning the content pipeline into a chaotic manual process.
Now, when it comes to picking between these options, think in terms of your bottleneck:
Where “start for free” tools fit, and where they get risky
Many try-on tools offer instant results, sometimes with no login. That can be helpful for concept testing. You can validate whether a style of output is even viable for your brand before investing time in building a process.
The reality is that these tools can also introduce problems for ecommerce teams: inconsistent output quality, limited control over repeatability, and unclear rights or usage terms depending on the provider. If you are producing assets for ads and product pages, treat this as a real production decision. Confirm what you can publish, how outputs are stored, and whether you can reproduce the same look later for new drops.
Operational details that matter once you move past experimentation
If AI try-on becomes part of your weekly workflow, you will care about operational details more than flashy demos. Batch processing, naming conventions by SKU, team collaboration, and approval steps can save you from a one-off workflow that falls apart once you scale beyond a few products.
Think of it this way: your goal is not to generate one good image. Your goal is to produce a catalog that looks intentional, protects customer trust, and can be maintained season after season.
Frequently Asked Questions
What does ai try on clothes actually do for an online store?
It helps you create images that show garments on a person or model-like figure without organizing a traditional shoot for every scenario. For ecommerce, that can support concept testing, campaign variants, and faster merchandising. It works best when paired with accurate product photos, not as the only visual proof on a product page.
Can AI try-on replace clothes product photography?
No, not fully for most brands. It may reduce the amount of new photography you need for certain campaigns or collection pages, but real product photography is still important for color accuracy, fabric texture, fit cues, and trust. Most stores get better results by combining AI-assisted visuals with dependable catalog imagery.
Is this useful for Shopify fashion stores?
Yes, especially for Shopify merchants who launch often and need more creative assets for email, paid social, and collection merchandising. The main advantage is workflow speed. The main caution is accuracy. Keep your PDP imagery grounded in real product photos and use AI visuals where they add styling context rather than replace core evidence.
What products benefit most from virtual try-on AI?
It can work well for trend apparel, simple silhouettes, accessories, and merchandising visuals where exact fit is less critical. It is more challenging for tailored items, technical fabrics, shapewear, and garments where drape or sizing precision strongly affects the purchase decision. Those categories usually need stronger real-world photography support.
How does this compare with flat lay clothes photography?
Flat lays are still useful because they are fast, consistent, and reliable for SKU coverage. AI try-on adds body context and styling possibilities that flat lays cannot provide. The two approaches are often complementary. Use flat lays for clarity and catalog breadth, then add AI-generated model context where you want more inspiration or merchandising appeal.
Will AI try-on improve conversion rate?
It might, but there are no guaranteed outcomes. In some stores, better styling context could improve engagement or reduce hesitation. In others, low-accuracy visuals may create doubt. The best way to evaluate impact is to test carefully against your existing imagery, monitor behavior on PDPs and landing pages, and compare return-related signals over time.
Are background tools relevant if I want virtual try-on imagery?
Yes. Background consistency is a practical part of the workflow. Even if your main focus is model visualization, you still need clean packshots, marketplace-friendly images, and reusable assets for collection pages. Background editing and white-background generation can make your broader catalog look more consistent and easier to manage.
Should I disclose AI-generated fashion imagery to shoppers?
That depends on your market, brand standards, and any platform or legal requirements that apply to your business. Even where disclosure is not mandatory, transparency can help protect trust. At minimum, make sure the product itself is represented accurately. If the AI image is more inspirational than documentary, avoid letting it mislead shoppers.
What is the best first step before testing AI try-on?
Audit your current apparel imagery. Make sure you have clear front, back, detail, and color-accurate product photos first. Then test AI try-on on a small set of SKUs and lower-risk placements such as collection banners or ads. That gives you room to assess quality without putting your main conversion assets at risk.
Can I try on clothes with AI for free online?
Sometimes, yes. Some tools offer a limited number of generations for evaluation, and some offer instant “demo-style” results. For a store workflow, treat free tools as a way to test whether the concept works for your products, then validate quality, repeatability, and usage terms before you rely on any output for ads or PDPs.
What is the best AI clothes changer?
The best option depends on what “best” means for your store. If you need fast concept images, a dedicated clothes-changing tool may be fine. If you need consistent ecommerce assets across many SKUs, you may get better results from a workflow that includes a broader editor for cleanup, standardization, and resizing. Evaluate tools by how well they preserve product truth, not just how realistic the model looks.
How do I change clothes in a photo using AI?
A practical workflow is: start with a clean model photo, use a garment image with clear edges, generate a few variations, then QA the output against your real product photos for seams, hems, color, and logo placement. Only publish images that match the SKU you ship, and keep your most conversion-critical PDP images grounded in real photography.
Is there an AI that can put clothes on a person (virtual outfit fitting)?
Yes, there are tools that can place clothing onto a person photo or generate try-on-like visuals. The key is to understand whether the output is a true garment transfer or a newly generated image that resembles your garment. For ecommerce, you typically want outputs that are “good enough” for styling context without overstating fit accuracy.
Key Takeaways
Conclusion
AI try on clothes tools can be genuinely useful for fashion ecommerce, but only if you evaluate them through a merchant’s lens. The right question is not whether AI can create an attractive image. It is whether that image helps a shopper buy with confidence while fitting your production workflow. For many stores, the best setup is a hybrid one: real photography for product truth, AI for speed, variation, and campaign support. If you want a practical next step, explore AcquireConvert’s related guides on ai fashion and apparel image strategy. Giles Thomas’s Shopify and ecommerce perspective is especially helpful if you are trying to balance creative experimentation with conversion-focused store operations.
This article is editorial content created for ecommerce education and is not a paid endorsement unless explicitly stated otherwise. Product capabilities referenced are based on currently available tool data and may change. Pricing information was not available in the provided product data and should be verified directly with each provider where relevant. Any performance outcomes, including conversion improvements, depend on your store, traffic, offer, and implementation, and are not guaranteed.

Hi, I'm Giles Thomas.
Founder of AcquireConvert, the place where ecommerce entrepreneurs & marketers go to learn growth. I'm also the founder of Shopify agency Whole Design Studios.