Amazon Product Photography (2026 Guide)
If you sell on Amazon, your product photos do more than make the listing look polished. They help determine whether shoppers stop, understand what you sell, and feel confident enough to buy. Amazon is strict about image standards, so poor photos can hurt both visibility and conversions, while non-compliant images may create listing issues. For most merchants, the challenge is balancing compliance, cost, and speed. You need images that meet platform rules, still look persuasive, and fit your workflow across Amazon, Shopify, and other channels. If you are comparing production options, editing tools, or process improvements, it helps to start with the broader picture of ecommerce tools that support image creation, editing, and merchandising.
Contents
What Amazon product photography needs to achieve
Amazon product photography sits in a narrower lane than brand-led lifestyle photography. Your images still need to sell, but first they need to communicate clearly and comply with the marketplace's standards. That means your main image has a functional job: isolate the item, show exactly what is included, and remove distractions.
Where many store owners struggle is treating Amazon photos the same way they treat social content or direct-to-consumer creative. Amazon shoppers compare multiple listings quickly. They look for clarity, scale, features, materials, compatibility, and trust signals. Your image set needs to answer those questions fast.
In practice, strong Amazon photography usually includes a compliant hero image, several supporting angles, close-ups, scale references, and infographic-style secondary images where allowed. If you sell on more than one channel, you also need assets that can extend into your broader ecommerce photography workflow without forcing separate shoots for every platform.
For many merchants, the best setup is not the most expensive one. It is the one that creates repeatable listing assets at a quality level that matches your category, margins, and growth stage.
Core Amazon photo rules and practical tips
Amazon image requirements can vary by category and placement, so always verify current rules inside Seller Central before publishing. Still, several standards consistently matter for sellers using professional Amazon product photography.
Main image essentials
Secondary image best practices
A practical rule for store owners is this: every image should answer one buying question. If it does not, it is probably decoration rather than merchandising.
If you also sell handmade or design-led products across marketplaces, it is worth comparing Amazon requirements with resources like this guide to etsy listing photo size. The platforms reward different visual styles, and copying one marketplace's approach to another often weakens performance.
For compliant editing, white-background cleanup, and fast post-production, merchants often use dedicated image tools such as Free White Background Generator, AI Background Generator, and Increase Image Resolution. These can help speed up production, especially for secondary assets or testing, but they still need human review before anything goes live on Amazon.

Amazon product photo specs and a pre-upload checklist
Here is the thing: you can follow every visual rule and still end up with a weaker listing if your files are too small, over-compressed, or get mangled when Amazon processes them. Amazon shoppers are judging your product from tiny thumbnails in search results and on mobile. If the image looks soft, grainy, or oddly cropped, it can create doubt before they even read your title.
Amazon's exact requirements can change by category, but these technical specs are the common baseline most sellers work from.
Image size, resolution, and file format (what typically works)
Cropping and framing: how to avoid accidental non-compliance
What many store owners overlook is that background removal and resizing can introduce problems that are hard to see until the image is live. A few practical safeguards:
A quick pre-upload checklist (so you do not get surprised later)
From a practical standpoint, you want a simple last check before you upload a full set across multiple SKUs:
Examples that work on Amazon
The best amazon product photography examples are usually simple rather than flashy. What matters is whether the image set reduces friction in the buying decision.
Example 1: Standard-pack consumer product
A kitchen accessory listing might use one white-background hero image, two side-angle shots, one packaging image, one dimensions graphic, and two lifestyle images showing use in a home setting. This works because it covers appearance, scale, packaging expectations, and real-world use in seven images.
Example 2: Beauty or cosmetic item
In cosmetics, shoppers care about finish, applicator design, ingredients, and pack size. A strong set often uses a clean hero image, a texture close-up, a shot of the applicator, one ingredient or benefits graphic, and a lifestyle image that shows tone or usage context. For category-specific inspiration, AcquireConvert's White Background Photography resources are useful because beauty listings often depend on clean, compliant first images.
Example 3: Apparel or wearable accessories
Apparel listings benefit from front, back, side, detail, and worn shots. The goal is to reduce return risk by making fit, material, and details as clear as possible. Amazon shoppers cannot touch the item, so your photos need to substitute for that inspection process.
Example 4: Packaged multipacks or bundles
Bundles need especially careful photography. Show exactly what is included, count the units clearly, and make packaging differences obvious. Confusion here can hurt reviews and increase post-purchase dissatisfaction.
If you need to create supplementary merchandising assets without arranging a full reshoot, a mockup generator may help for planning, creative concepts, or off-Amazon marketing assets. For Amazon itself, use mockup-style imagery carefully and prioritize platform compliance.
How strong Amazon photos can reduce returns and confusion
The reality is that “conversion” is not the only outcome that matters on Amazon. If your photos create the wrong expectation, you can end up paying for it later through avoidable returns, negative reviews, and “not as described” complaints. In many categories, accurate photography is part of customer support.
Photograph the expectation setters, not just the hero angle
If you want fewer misunderstandings, your image set should explicitly show what shoppers tend to misinterpret:
Category-specific risk points that often trigger disappointment
Consider this: returns often come from one mismatch between what the shopper imagined and what they received. Some common patterns:
Bundles and variants: prevent confusion across child ASINs
Bundles and variants can perform well, but they can also create a mess if your images are inconsistent. A few safeguards that typically help:

Amazon product photography pricing and service choices
Amazon product photography pricing varies widely because not every seller needs the same thing. A simple white-background packshot project costs less than a styled multi-image listing with infographics, retouching, model photography, or video add-ons.
In most cases, pricing depends on five variables:
If you are comparing an amazon product photography service, ask whether the quote includes prep, shot list planning, styling, reshoots, retouching, and delivery format. Low headline pricing can look appealing until revisions and asset exports start adding up.
For merchants shipping products to a local provider, a reliable product photography studio often makes sense when you need consistency across a catalog. If your SKU count is high, process matters as much as creativity. You want naming conventions, repeatable angles, and image output specs that work across Amazon, Shopify, and paid social.
AI-assisted tools can also reduce editing time for some sellers. Options like Magic Photo Editor and Background Swap Editor may help with fast iterations for non-main images or channel-specific variants. Still, they are not a substitute for proper product prep, accurate color handling, and category-aware merchandising.
A practical Amazon product photography workflow for DIY sellers
Think of it this way: even if you hire a professional later, having a documented DIY workflow makes you faster, more consistent, and easier to work with. It also helps when you are launching new SKUs and need “good enough” images to validate demand before you invest in a full shoot.
Start with a repeatable shot list (by product type)
Your goal is to build a standard image sequence you can reuse. Here are practical shot list templates you can adapt.
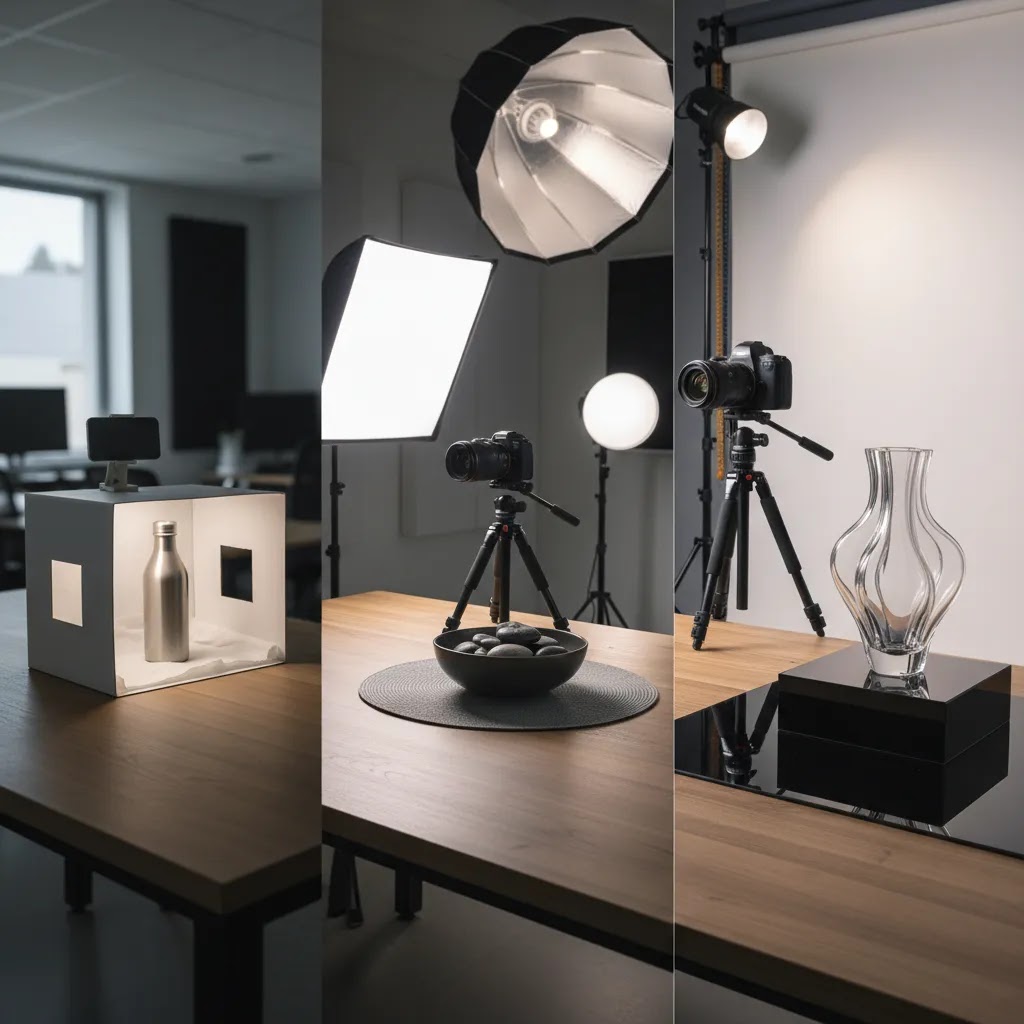
Simple objects (non-reflective):
Reflective products (glass, polished metal, glossy plastic):
Apparel and soft goods:
From a sequencing standpoint, put the “decision unblocks” earlier. If size is the biggest objection in your category, your dimensions image should not be image seven.
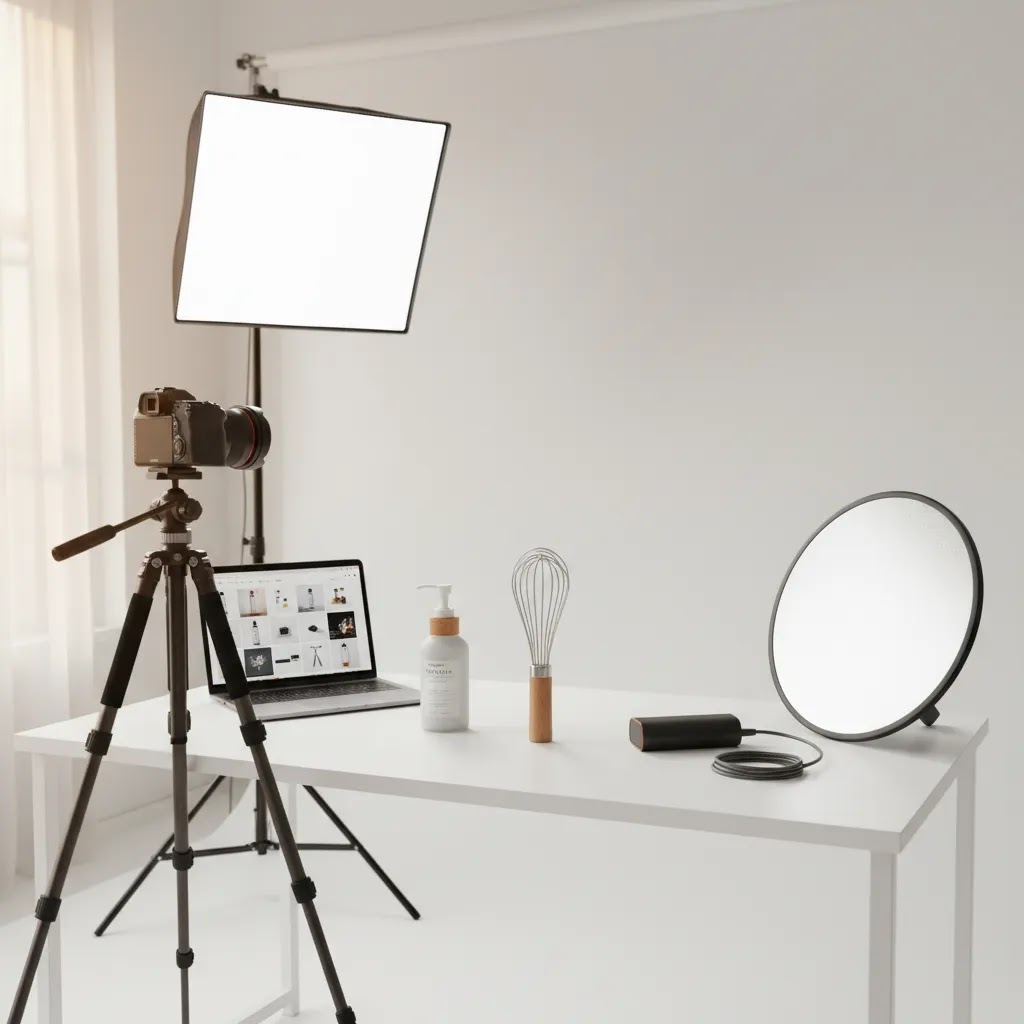
DIY gear and setup options that work for most sellers
For most Shopify store owners also selling on Amazon, DIY photography comes down to controlling light and controlling consistency. You do not need a cinema camera, but you do need repeatable conditions.
Simple lighting patterns for consistent white-background results
The way this works in practice is simple. You are trying to light the product and the background separately, so you can keep the background clean white without blowing out product detail.
Common DIY failure points (and how to fix them)
If your images are getting rejected, or they look “off” compared to top listings, it is usually one of these issues:
How to choose the right setup
If you are deciding between DIY, freelancer, agency, or studio-based professional amazon product photography, use these criteria.
1. Start with your catalog size
If you have five products, a more hands-on approach may be realistic. If you have 200 SKUs with variants, the real issue is workflow efficiency. Larger catalogs need a documented shot list, repeatable lighting, and clear file delivery standards.
2. Match image quality to category competition
Some categories are forgiving. Others are visually intense and crowded. Beauty, supplements, apparel, and premium home goods often require stronger detail work and more persuasive secondary images. Review the top listings in your subcategory before setting your production standard.
3. Separate compliance from persuasion
Your main image has one job: meet Amazon rules and stop the scroll. Your secondary images should do the selling. This distinction helps you brief photographers and editors more clearly.
4. Build for multichannel use
Many sellers now run Amazon and Shopify side by side. That means your image plan should cover clean catalog assets, cropped marketplace versions, and branded channel variants. AcquireConvert's category on E Commerce Product Photography is a useful starting point if you want a broader workflow that works beyond Amazon.
5. Know when AI can help and when it cannot
AI tools can assist with background cleanup, resolution improvements, and creative ideation. They are most useful when the original photography is already good. They are less reliable when the source image has poor lighting, inaccurate colors, damaged packaging, or unclear edges.
For practical evaluation, ask three questions before adopting any editing tool:
Store owners often waste time searching for a perfect one-tool answer. In reality, the best workflow is usually a combination of photography discipline, selective retouching, and marketplace-specific output rules.
Pros and Cons
Strengths
Considerations
Who this approach is for
This approach suits ecommerce operators who want a practical balance of compliance and conversion. It is especially relevant for Amazon sellers also managing a Shopify store, a DTC brand site, or marketplace expansion. If your listings are getting traffic but shoppers still seem uncertain about the product, photography is often one of the first places to look. It is also a good fit for brands preparing catalog updates, marketplace launches, or image refreshes before paid traffic campaigns. If your product needs heavy education, image sequencing matters just as much as image quality.
AcquireConvert recommendation
For store owners evaluating Amazon imagery, the smartest next step is not guessing which visuals might work. It is building a repeatable image system that supports compliance, merchandising, and multichannel reuse. That is where AcquireConvert is useful. Giles Thomas brings the perspective of a Shopify Partner and Google Expert, so the guidance stays grounded in how ecommerce operators actually manage listings, traffic, and conversion paths across channels.
If you are refining your image stack, explore AcquireConvert's practical resources on marketplace and catalog photography, compare visual production workflows, and use the site to pressure-test whether your current listing assets are helping or hurting shopper confidence. For merchants balancing Amazon with Shopify growth, that broader context matters.
Frequently Asked Questions
What are the main Amazon product photography guidelines?
The main image usually needs a pure white background, clear product visibility, and no unnecessary graphic elements. Secondary images have more flexibility, but they still need to represent the item accurately. Amazon can change or refine requirements, so sellers should always confirm the latest category-specific standards in Seller Central before uploading.
How many photos should an Amazon listing have?
Many listings benefit from a full image set rather than a single hero photo. A practical target is one compliant main image plus several secondary images covering angles, details, dimensions, packaging, and real-world use. The right number depends on the product and how much visual explanation the shopper needs before buying.
How much does amazon product photography pricing usually vary?
Pricing varies based on SKU count, shot complexity, retouching needs, props, models, and the number of final assets required. A simple packshot project is very different from a premium listing build with infographics and styled scenes. Always ask for a detailed quote so you can compare total production cost rather than headline rates alone.
Should I hire a professional amazon product photography service or do it myself?
If you have a small catalog and straightforward products, a DIY setup may be workable. If your category is competitive or your listings need consistency at scale, a professional service often makes more sense. The decision usually comes down to time, quality standards, and whether your internal team can maintain repeatable output.
Can AI tools be used for Amazon product images?
They can help with editing tasks such as background cleanup, resolution improvement, or concept creation for secondary assets. Still, Amazon images need careful review. AI outputs may introduce inaccuracies in edges, texture, color, or included components, which can create compliance or customer expectation issues if not checked manually.
What makes the best amazon product photography different from regular ecommerce photos?
The biggest difference is the balance between platform compliance and selling power. Amazon requires more discipline in the main image, especially around white backgrounds and product-only presentation. Regular ecommerce photography for a branded store can often be more expressive, while Amazon photography must answer shopper questions within stricter visual boundaries.
Do I need a white background for every Amazon image?
No, not usually for every image. The main image is where the white background requirement is most commonly enforced. Secondary images can often include lifestyle settings, close-ups, and feature graphics depending on category norms and current Amazon policies. Check the latest Amazon rules before finalizing your image plan.
Can I use the same photos for Amazon and Shopify?
Yes, in many cases, but you should adapt them by channel. A clean product image may work almost everywhere, while your Amazon main image needs stricter compliance. Shopify product pages usually benefit from more brand expression, richer context, and storytelling. Reusing assets works best when the shoot was planned for multichannel output from the start.
What should I ask before hiring an amazon product photography agency?
Ask about experience with marketplace compliance, shot planning, retouching standards, turnaround times, revision limits, file delivery specs, and whether they support infographic or lifestyle images. It also helps to ask how they handle scale references, variants, and bundled products, since those are common sources of customer confusion on Amazon.
How do you photograph products for Amazon?
Start by planning a repeatable shot list: one compliant main image on pure white, then secondary images that answer the big buying questions like dimensions, what is included, material details, and real-world scale. Use consistent lighting, a tripod, and stable camera settings so your variants match. Finish by exporting at a resolution that supports zoom in your category, then spot-check how the image looks after Amazon processes it.
What is the 20 60 20 rule in photography?
The 20 60 20 rule is often used as a simple way to think about balance in an image. In product photography terms, some photographers use it to keep the subject dominant, leave enough clean negative space for cropping, and ensure the overall frame still feels balanced. Amazon does not enforce a “20 60 20” rule, so use it as a composition guideline only, not as a compliance rule.
How much do Amazon photographers make?
It varies based on experience, location, and the type of work they do. Some photographers charge per image, others charge day rates, and some offer package pricing that includes retouching and deliverables for a full listing. If you are hiring, focus less on what a photographer “makes” and more on whether their process reliably produces compliant, consistent images for your category.
How do you insert your own photo to Amazon to look for items?
Amazon offers visual search features in some regions and in the Amazon shopping app. Typically, you open the app, use the camera or image search function, then upload or take a photo to find similar items. Features can change by country and app version, so if you do not see it, update the app and check the search options available in your account.
Key Takeaways
Conclusion
Good Amazon photography is rarely about making a listing look artistic. It is about making the product understandable, credible, and easy to compare in a crowded marketplace. That means following Amazon's rules, showing the product accurately, and building an image sequence that answers the questions shoppers have before they buy. If you approach it that way, your photography becomes part of your conversion strategy, not just a design task. For more practical guidance, explore AcquireConvert's photography resources and related marketplace content. Giles Thomas's perspective as a Shopify Partner and Google Expert is especially useful if you are trying to build a visual workflow that supports both Amazon performance and broader ecommerce growth.
This content is editorial and intended for educational purposes only. It is not a paid endorsement unless explicitly stated otherwise. Amazon image requirements and third-party tool capabilities may change, so verify current policies, features, and pricing directly with the provider before making decisions. Any performance outcomes discussed are illustrative and not guaranteed.

Hi, I'm Giles Thomas.
Founder of AcquireConvert, the place where ecommerce entrepreneurs & marketers go to learn growth. I'm also the founder of Shopify agency Whole Design Studios.