Etsy Listing Photo Size: Requirements (2026 Guide)
If you sell on Etsy, your images do a lot of the heavy lifting. Before a shopper reads your title, checks shipping, or compares prices, they usually judge the product by the first photo. That makes understanding the right etsy listing photo size more than a technical detail. It affects how professional your listing looks, how much of the product appears in the crop, and whether buyers can quickly understand what you sell. In this guide, I’ll walk you through Etsy photo size and format requirements, what size works best in practice, and how to prepare images for cleaner results. If you are also comparing marketplace image standards across channels, this overview of ecommerce tools can help you build a more consistent workflow.
Contents
Etsy listing photo size basics
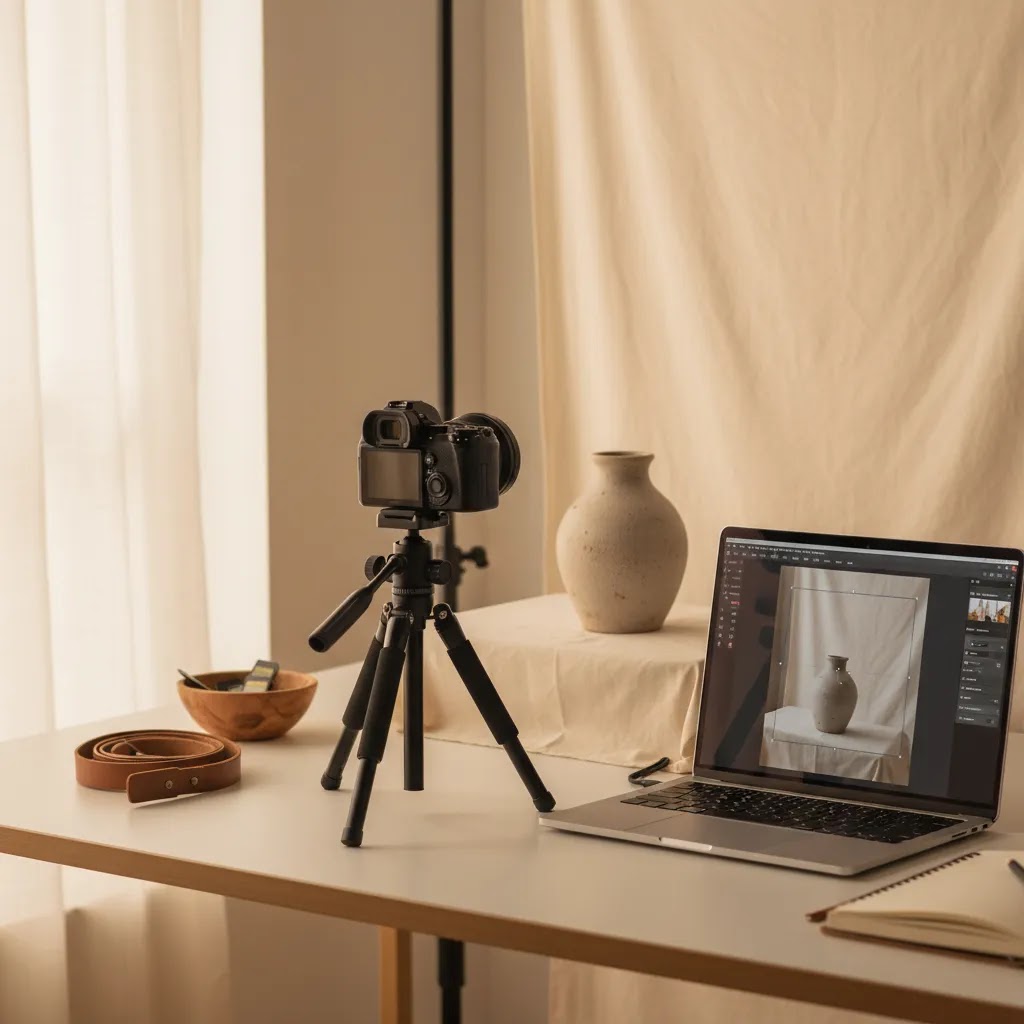
Etsy sellers often ask one simple question: what size for Etsy listing photos actually works? The practical answer is that you want images large enough to stay sharp across desktop and mobile, while also giving Etsy room to crop the main thumbnail cleanly.
Your first listing image matters most because it becomes the thumbnail in search and category views. If your product sits too close to the edge, gets cropped awkwardly, or appears too small in frame, your click-through rate may suffer. That is why many experienced sellers prepare photos with extra breathing room around the subject rather than filling every pixel.
For ecommerce operators selling on more than one channel, this gets even more important. Etsy favors attractive, informative imagery, while Amazon is often stricter about technical presentation for the main image. If you sell across marketplaces, it helps to understand amazon product photography requirements alongside Etsy’s visual expectations.
From a workflow perspective, think of Etsy photo sizing as a balance between clarity, crop safety, and speed. You want files that look polished, load reliably, and can be repurposed across your broader ecommerce photography system.
Etsy listing photo dimensions and aspect ratio (2026)
Here’s the thing: for Etsy, aspect ratio often matters more than raw pixel count because it controls how your photos get cropped in grids, thumbnails, and previews. You can upload a huge file, but if the framing is not crop-safe, the thumbnail can still cut off the most important part of the product.
A practical starting point many sellers use is exporting listing photos at 2000 px on the longest side. That typically gives you enough resolution for zoom and for reuse on other channels later. If you want one simple recommendation you can standardize across your shop, aim for 2000 x 2000 px for square images, or 2000 x 1500 px for a 4:3 rectangle. Both are common, predictable sizes that tend to stay sharp without creating an unnecessarily heavy workflow.
Now, when it comes to how Etsy displays images, a square (1:1) or slightly rectangular crop often behaves more consistently across the platform than very wide or very tall photos. That does not mean you cannot use other aspect ratios. It means you should pick one ratio for the listing set and stick to it so your gallery does not look uneven.
Why Etsy crops can surprise you
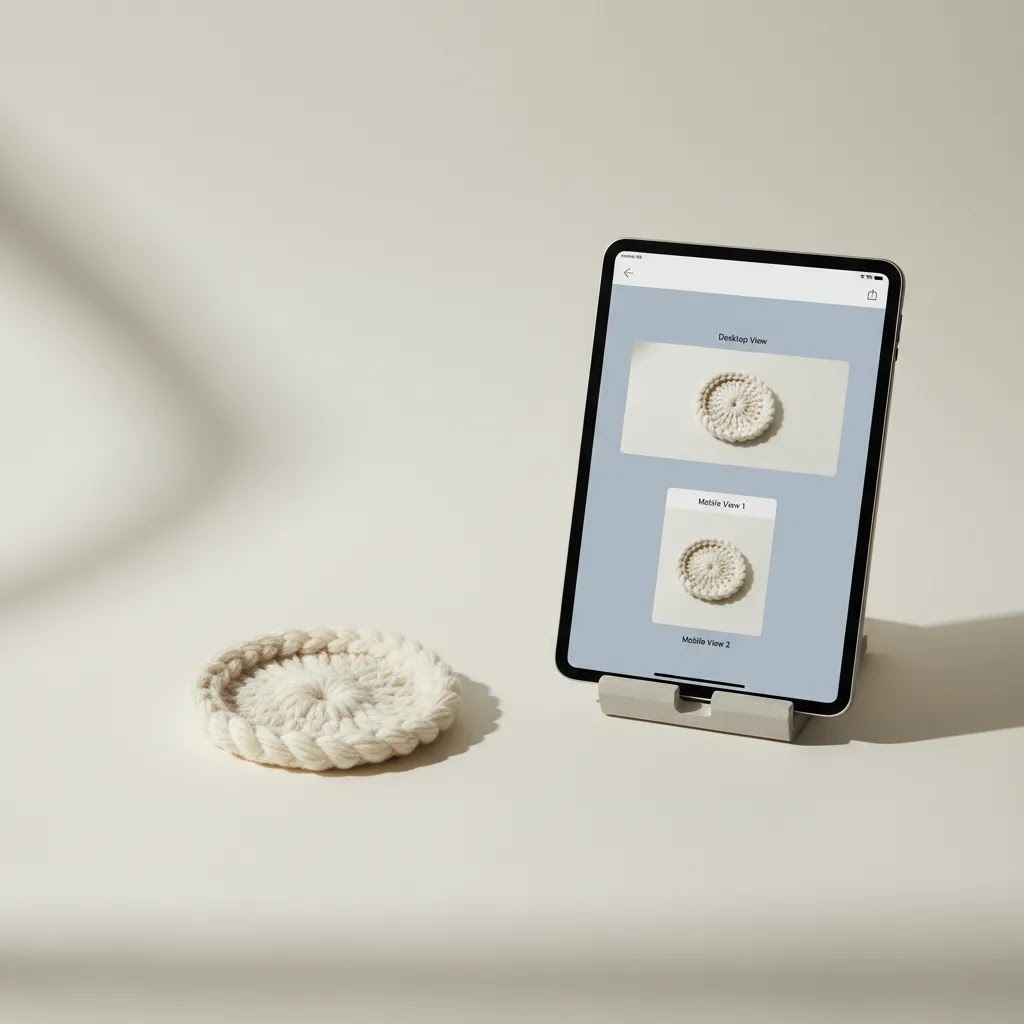
Etsy uses different layouts depending on where the shopper sees your product. Search results and category pages show a grid where thumbnails may be center-cropped. The listing page shows a larger image, but the previews and side thumbnails can still crop differently. That is why a hero image that looks great in your editor can look awkward in Etsy’s thumbnail.
What “crop-safe” framing means in practice
Crop-safe framing is simple: keep key details away from the edges and give the product a little padding. Think of the outer 10 to 15 percent of the image as a “danger zone” where Etsy’s thumbnail crop might remove something important.
This matters most when your product includes:
Consider this: it is usually better for the hero image to be slightly zoomed out and clearly framed than tightly cropped and “dramatic.” You can always use secondary images for close-ups.
Keep one aspect ratio across the whole listing
Mixed aspect ratios inside one listing are a common cause of messy-looking galleries. One photo ends up tightly cropped, the next is wide with lots of background, and Etsy’s thumbnail row looks inconsistent. Pick one aspect ratio for the full set, crop all images to match, and your listing will usually feel more intentional and easier to scan.
Format and upload requirements
When preparing an Etsy listing photo, file format matters almost as much as dimensions. In most seller workflows, JPG or PNG will be the most practical options because they are widely supported, easy to edit, and reliable for web display.
Here is the safest approach for most stores:
If you edit product images often, a clean white or neutral background can simplify your listing workflow. AcquireConvert’s White Background Photography category is useful if you want a more repeatable studio-style setup.
One common mistake is exporting files larger than necessary without improving visible quality. Huge files can slow down your workflow, make re-uploads more cumbersome, and create asset management headaches. Another issue is over-compression, which can introduce softness or artifacts around product edges.
The goal is not to chase the biggest file possible. It is to produce a file that looks crisp, crops cleanly, and represents the product honestly.
What size works best in practice
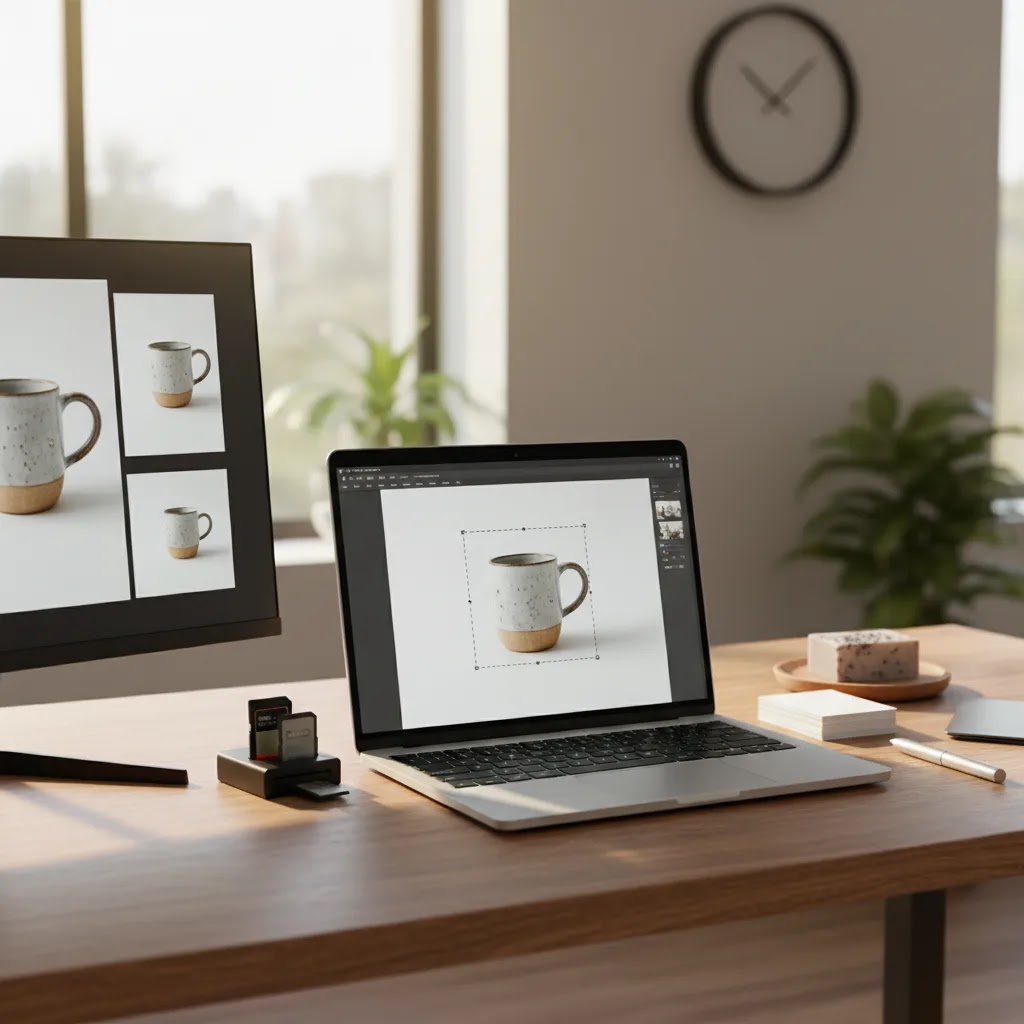
For most Etsy sellers, the best working setup is a high-resolution rectangular image that gives the product some margin around the edges. That margin helps prevent Etsy’s thumbnail crop from cutting off key product details.
In practical terms, your first image should prioritize these three things:
If you sell jewelry, home decor, apparel, or handmade goods, a slightly zoomed-out hero image often performs better visually than an overly tight crop. The shopper can understand scale and composition faster. Secondary images can then handle detail shots, dimensions, use cases, and materials.
For many stores, the smartest process is to shoot larger than needed, edit carefully, then export a web-ready master file for Etsy. That leaves room for future reuse on Shopify, social content, and ad creative. Sellers who want a broader image strategy can browse the E Commerce Product Photography category for related photography workflows and optimization ideas.
Etsy thumbnail crop, mobile vs desktop, and how to preview before publishing
What many sellers overlook is that Etsy does not have just one “crop.” Your image can look fine on the listing page, then look strange in search results, and then look different again in your shop grid. Mobile can surface issues you will never notice on desktop, especially with tight crops or products that rely on small text details.
From a practical standpoint, you want a quick preview routine you do every time, especially for the first photo in a listing.
A simple pre-publish crop check (takes a few minutes)
Before you publish (or right after you save a draft), check your photos in the same places shoppers will see them:
If something looks off, the fastest fix is usually not re-shooting. It is adjusting the crop and giving the subject a little more padding.
What to adjust when the thumbnail crop looks wrong
When the first image is getting cropped badly, you typically have three levers you can pull:
Think of it this way: you are composing for a small square or near-square thumbnail first, then letting the full image deliver the detail.
When you should reshoot vs when a recrop is enough
In many cases, a recrop and re-export fixes the problem. Reshooting is worth it when the original image does not have enough extra space to crop safely, when the product is out of focus, or when the lighting is creating harsh reflections you cannot realistically edit out.
Reshooting is also the safer choice if your product includes fine text, labels, or sharp edges that shoppers need to trust. If your hero image is soft at full size, it will look even worse at thumbnail size.
Etsy vs Amazon photo requirements
Etsy and Amazon both depend heavily on strong product images, but the intent behind the images differs. Etsy gives sellers more room for brand style, lifestyle presentation, and visual storytelling. Amazon, especially for main images, tends to demand stricter consistency and cleaner compliance.
If you are also researching amazon product photo size or amazon listing photo size, the biggest operational difference is usually not just pixel dimensions. It is how the main image is judged. Amazon often expects a highly standardized product presentation, while Etsy allows more personality as long as the product is still clear.
That means a photo that works beautifully on Etsy may need adjustments before it fits Amazon main image expectations. Background treatment, crop style, and how much scene context you include can all change. Sellers expanding to multiple channels should treat image prep as a channel-specific process, not a one-export-fits-all shortcut.
If you need more context on marketplace-specific shooting styles, the product presentation standards discussed in product photography studio workflows can help you create a more adaptable image library.
Practical Etsy product photo tips
Good Etsy images are not just technically acceptable. They also help buyers trust what they are seeing. That is especially important for handmade, custom, and small-batch products where texture, finish, and scale are hard to communicate in text alone.
Here are practical Etsy product photo tips that store owners actually use:
For handmade brands, the first image should usually answer one question fast: what is this, and why should I click? Your later gallery images can explain quality, dimensions, customization, and context.
If you do not have a full custom photoshoot for every variation, a thoughtful mockup generator workflow may help for supplementary visuals, packaging previews, or concept assets. It should support your listing imagery, not replace accurate product representation.
Helpful tools for preparing listing images
If you are refining Etsy photos in-house, a few lightweight image tools can speed up the process. Based on the available product data, these are relevant options for cleaning up ecommerce product images before upload:
These tools may be useful if you are a solo seller or small team without a dedicated designer. The trade-off is that edited or AI-assisted visuals still need manual review. Check edge accuracy, color realism, and whether the final image reflects the real product. That matters for trust, return rates, and marketplace compliance.
AcquireConvert is especially useful for store owners who want grounded image guidance without the usual hype. Giles Thomas brings a practitioner’s view as a Shopify Partner and Google Expert, which is helpful when you are planning assets that may eventually be reused across marketplaces, product pages, and paid acquisition channels.
Resizing Etsy listing photos (Canva workflow + no-quality-loss export tips)
A lot of sellers end up resizing in Canva because it is fast and it keeps your workflow consistent across different product types. The key is to resize without stretching the product, without exporting too small, and without compressing the file into a blurry mess.
A practical “resize in Canva” workflow for Etsy
This is a reliable way to create Etsy-ready images while keeping your aspect ratio consistent:
For products with text, labels, or engraving details, you usually want slightly more padding than you think. Text near the edge is one of the easiest ways to end up with a thumbnail that looks “cut off,” even if the full image is fine.
How to avoid the most common resizing mistakes
Resizing problems usually come from one of these situations:
The way this works in practice is simple: always keep a larger “master” image that you export down from. It is much easier to create crisp Etsy exports from a high-quality master than to keep re-editing smaller files and losing quality each time.
A simple file-handling system that saves time later
If you are creating lots of listings, organization matters more than people expect. A repeatable system helps you update old listings, run seasonal refreshes, and reuse images on Shopify or in ads without starting over.
This is not about being obsessive. It is about making your image workflow predictable, especially if you plan to grow beyond a handful of products.
Pros and Cons
Strengths
Considerations
Who this guide is for
This guide is for Etsy sellers, Shopify merchants expanding into marketplaces, and small ecommerce teams trying to build a cleaner product image workflow. It is especially relevant if you shoot products yourself, use a small home studio, or need one image system that can support Etsy now and other channels later.
If you are still tightening your image process, start with consistent framing, simple lighting, and a repeatable export method. That usually produces better results than chasing advanced editing tricks too early.
How to choose the right image setup
Choosing the right Etsy image setup comes down to four practical decisions.
1. Start with your thumbnail, not your full gallery
Your first listing photo is the click driver. Build it for thumbnail clarity first, then create supporting images around it. If the hero shot does not read clearly at small size, the rest of the gallery gets fewer chances to help.
2. Plan for cross-channel reuse
If you sell on Etsy today but may expand to Amazon, Shopify, or Google Shopping later, capture images at a quality level that supports reuse. You will still need channel-specific crops, but a strong master image set saves time.
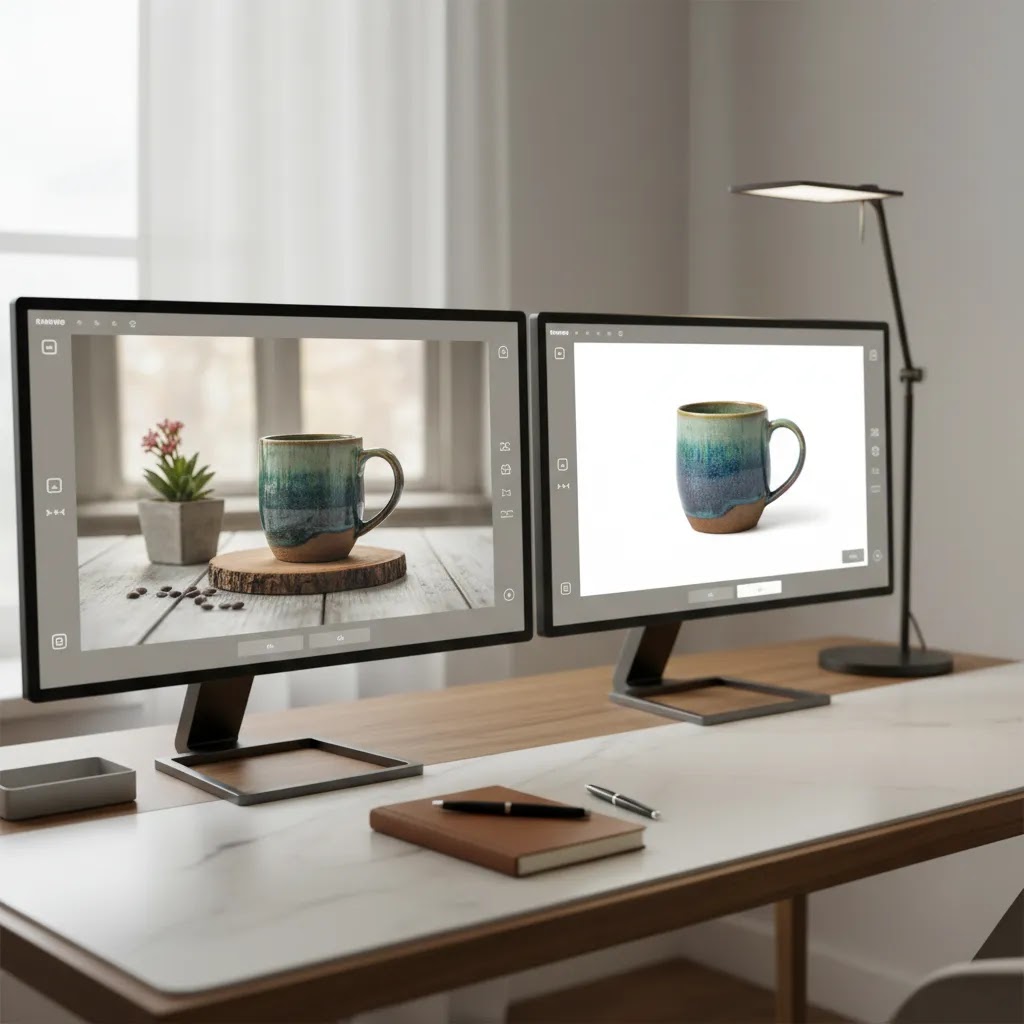
3. Match style to product type
Minimal, white-background images work well for many products, especially if shape and detail are the main selling points. Lifestyle imagery often helps more with products where fit, scale, or use context affects conversion. Handmade goods usually benefit from a mix of both.
4. Keep production realistic for your store size
A solo seller does not need the same workflow as a catalog-heavy brand. If you have a small SKU count, you can spend more time perfecting each listing. If you have hundreds of items, prioritize consistency and process. A repeatable setup usually beats occasional perfection.
5. Review images like a buyer would
Before publishing, check every image on mobile. Ask whether a first-time shopper can tell what the product is, how big it is, and whether the color looks believable. That simple review catches many common listing issues before they affect performance.
Frequently Asked Questions
What size for Etsy listing photos is best?
The best approach is to use high-resolution images that stay sharp while leaving safe space around the product for thumbnail crops. In practice, sellers usually do better with a larger master image and a consistent export process than by trying to optimize each listing from scratch.
What file format should I use for an Etsy listing photo?
JPG is usually the most practical choice for standard product photos because it balances image quality and manageable file size. PNG can work well for graphics or certain edited assets, but for most product listings, JPG is the simpler and more efficient option.
Why does my Etsy product picture size look cropped in search?
This usually happens when the product fills too much of the frame or sits too close to the top, bottom, or sides. Etsy’s thumbnail display can crop differently from the full listing view, so it helps to leave more margin around the subject in your first image.
Is Etsy photo sizing the same as Amazon product photo size requirements?
No. While both marketplaces need clear, high-quality images, Amazon often applies stricter standards to main images. Etsy allows more styling flexibility. If you sell on both, create separate crops or exports rather than assuming one image version will work equally well everywhere.
Can I use lifestyle photos as my main Etsy listing image?
Yes, in many cases you can, as long as the product remains obvious and the image is not visually confusing at thumbnail size. For some products, a cleaner hero image works better first, with lifestyle images used later in the gallery to support the buying decision.
Should I use white background images for Etsy?
White background images can work very well, especially if you want a clean, professional presentation and easier cross-channel reuse. They are particularly useful for products where detail and shape matter most. The main consideration is making sure the image still feels distinctive enough to attract clicks.
Can AI tools help prepare Etsy listing images?
They can help with background cleanup, resizing, and basic edits, especially for small teams. The important part is reviewing the result carefully. AI-assisted images should still reflect the real product accurately, including edges, proportions, color, and material appearance.
How many image styles should I include in one Etsy listing?
A balanced listing usually includes a clean hero shot, one or two alternate angles, detail images, a scale or in-use image, and any personalization or packaging views that reduce buyer uncertainty. The exact mix depends on the product, but variety should always support clarity.
What dimensions should Etsy listing photos be?
A solid baseline is 2000 px on the longest side, with a consistent aspect ratio across the full set. Many sellers standardize on 2000 x 2000 px for square images, or 2000 x 1500 px for a 4:3 rectangle, then frame the product with enough margin so Etsy’s thumbnail crop does not cut off important details.
What size to use for an Etsy listing?
Use one size consistently for your shop so your listings look cohesive and your workflow stays simple. In many cases, exporting at 2000 px on the longest side is a practical choice. What matters most is that the first image reads clearly as a thumbnail and stays crop-safe in grid views.
What image format does Etsy accept?
Most sellers use JPG or PNG. JPG is typically the default for product photos because it keeps file sizes manageable while still looking sharp. PNG is useful when you truly need transparency or crisp graphic elements, but it can create larger files, so it is usually not necessary for standard product photography.
How do I resize an image for Etsy?
Resize from a larger master image, not from a small original. Pick a consistent canvas size and aspect ratio, then re-crop so the product has some padding around the edges for thumbnail safety. Tools like Canva can work well for this if you keep proportions locked and export at high quality, then double-check the result on mobile before publishing.
Key Takeaways
Conclusion
Getting Etsy image sizing right is really about presentation, not just pixels. The strongest listings use clean, sharp images that survive thumbnail cropping, communicate the product quickly, and build buyer confidence. If you sell across multiple channels, it also pays to create a repeatable image workflow rather than editing each listing ad hoc. AcquireConvert is a useful resource if you want practical, ecommerce-focused guidance on product imagery, conversion, and store growth. You can explore more on ecommerce photography and related marketplace visuals to build a system that works for Etsy now and supports your wider store strategy later.
This article is editorial content for educational purposes and is not a paid endorsement unless explicitly stated otherwise. Marketplace requirements and platform policies may change, so verify current image specifications directly with Etsy, Amazon, or any relevant provider before implementation. Any tools mentioned should be evaluated for fit based on your store’s workflow, product type, and quality standards. Results are not guaranteed.

Hi, I'm Giles Thomas.
Founder of AcquireConvert, the place where ecommerce entrepreneurs & marketers go to learn growth. I'm also the founder of Shopify agency Whole Design Studios.