Kitchen Product Photography (2026 Guide)
Kitchen product photography sits in a tricky middle ground. Cookware, utensils, countertop appliances, and food prep tools all need to look functional, premium, and trustworthy at the same time. If you sell on Shopify, Amazon, or your own DTC site, weak images can make even a solid product feel generic. Good photography helps shoppers understand size, finish, controls, materials, and how the product fits into real kitchen routines. This guide breaks down what experienced ecommerce teams pay attention to when shooting cookware and appliances, from lighting and styling to AI-assisted edits and compliance with marketplace image rules. If you are mapping out your wider visual strategy, it also helps to review related ecommerce tools and how they support your photo workflow after the shoot.
Contents
What Kitchen Product Photography Needs to Do
Kitchen products sell on clarity. Your photos need to answer practical buying questions fast. For cookware, shoppers want to inspect material quality, handle shape, rim thickness, lid fit, interior coating, and scale. For appliances, they want to see buttons, displays, attachments, ports, cords, finishes, and countertop footprint.
That means kitchen product photography is rarely just about making the item look attractive. It has to reduce uncertainty. A saucepan should look durable and easy to handle. A blender should show capacity and controls. A toaster should communicate finish quality and slot size. If these details are vague, conversion friction tends to rise.
There is also a channel-specific layer. Marketplace listings often need plain-background hero shots, while your DTC store may benefit from lifestyle scenes, in-use images, and close-ups. If you sell on multiple channels, your image set should be planned in tiers instead of treated as one batch of photos. Our broader guide to ecommerce photography can help you think about those image roles more strategically.
For many store owners, the strongest approach is a mixed set: white-background core images, detailed close-ups, scale references, and a few styled contextual shots that show the product in a believable kitchen environment.
The Three Types of Product Photography (and How They Apply to Kitchenware)

Most kitchen product photography falls into three categories. If you plan these on purpose, you end up with an image set that works across marketplaces, Shopify product pages, ads, and email without constantly reshooting.
1. Studio or packshot photography (usually white background)
This is your compliance and clarity layer. For cookware and appliances, it should communicate the true finish, the overall form, and what is included in the box. It is the workhorse for marketplaces and often the first image on your Shopify PDP too.
For cookware, the key is shape and finish accuracy, especially for stainless steel, nonstick coatings, and enamel color. For appliances, the key is a clean product-dominant hero shot that does not hide the control panel, the spout, the handle, or the main user-facing side.
2. Lifestyle or in-use photography (context images)
This is where you show the product in a real kitchen routine. The goal is not to create a magazine shoot. It is to prove scale and make the product feel easy to imagine owning.
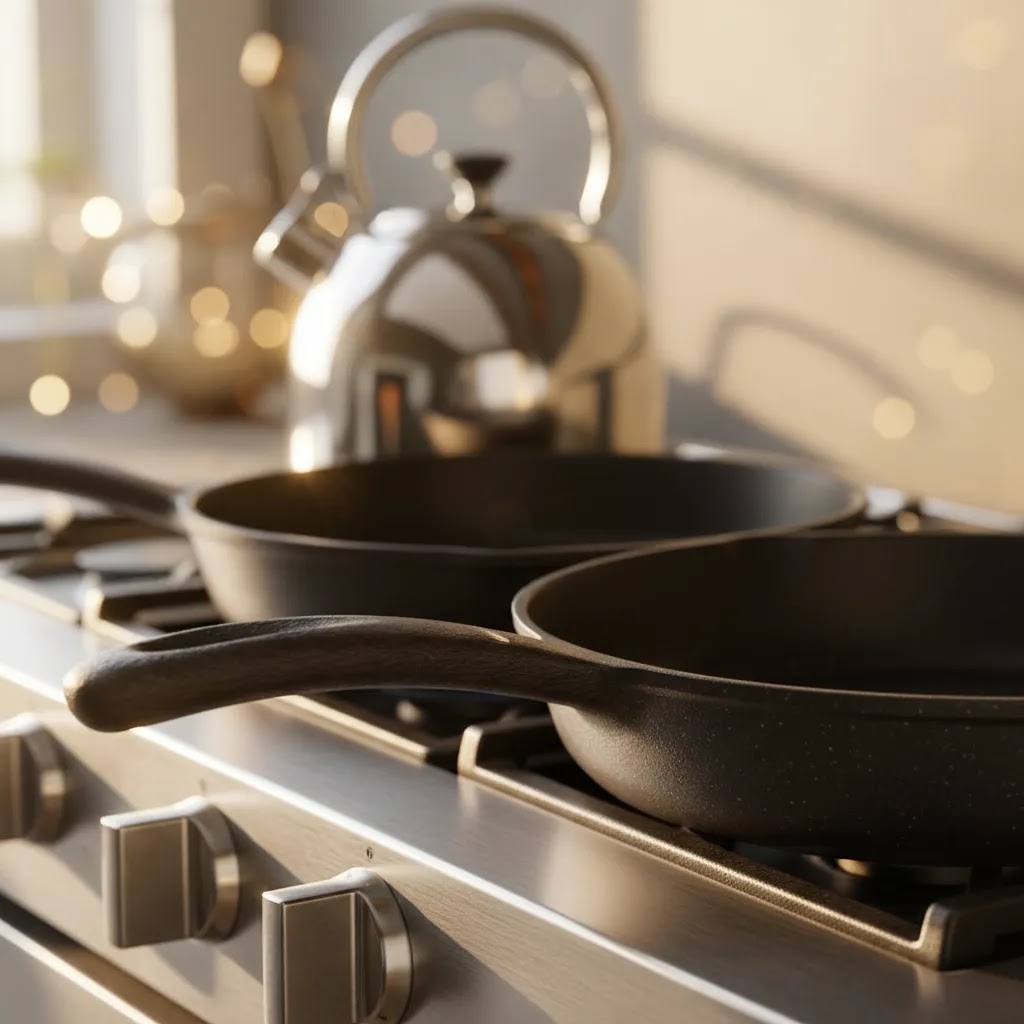
Cookware tends to benefit from simple in-use context, like a pan on a stovetop or a pot on a clean counter with the lid on and off. Appliances typically benefit from showing the product where it lives on the counter, with the main control panel visible, plus one image that shows the primary action, like blending, brewing, or toasting.
3. Detail or macro photography (features, materials, controls)
This is the conversion friction killer. Detail photos answer questions your product description might not resolve fast enough, like whether a handle looks comfortable, what the interior coating looks like up close, how a hinge mechanism works, or whether the buttons are labeled clearly.
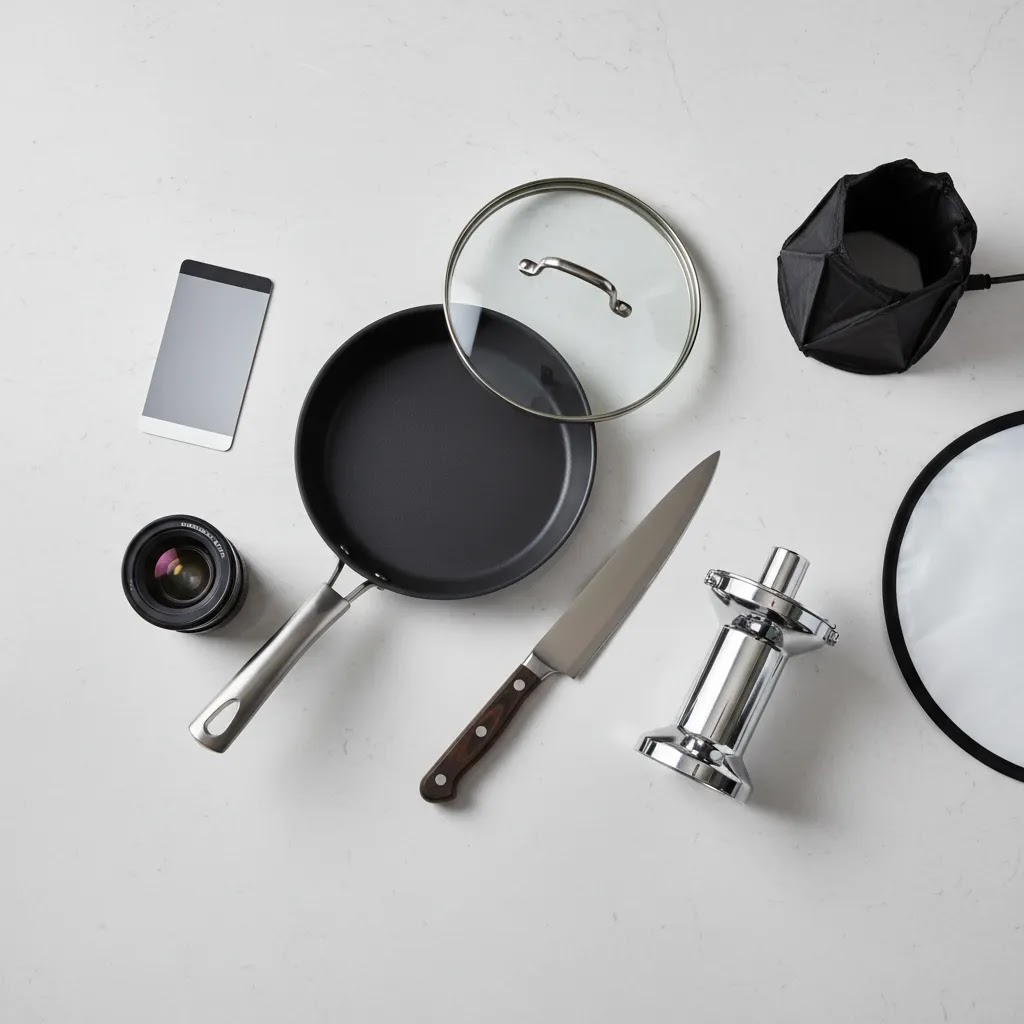
Cookware detail shots often focus on rivets, weld points, rim thickness, interior texture, and lid seal. Appliance detail shots typically focus on the control panel, attachment points, the plug and cord management, vents, and any removable parts.
How to prioritize the mix by channel
From a practical standpoint, prioritize studio images first because they are the most reusable and they often come with marketplace requirements. Then add detail shots because they pull a lot of weight on Shopify product pages. Lifestyle images come last, not because they are unimportant, but because they are easier to get wrong and easier to change later if your brand positioning evolves.
If you are running a DTC Shopify store, you usually want all three types. If you are also selling on marketplaces, build a single master set and export channel-specific selections and crops, rather than treating every channel as a separate shoot.
Key Features of Effective Cookware and Appliance Photos
1. Material accuracyStainless steel, matte enamel, ceramic, glass, cast iron, brushed aluminum, and plastic all reflect light differently. If your lighting setup flattens those surfaces, the product may look lower quality than it is. For cookware especially, buyers often use image quality as a proxy for product quality.
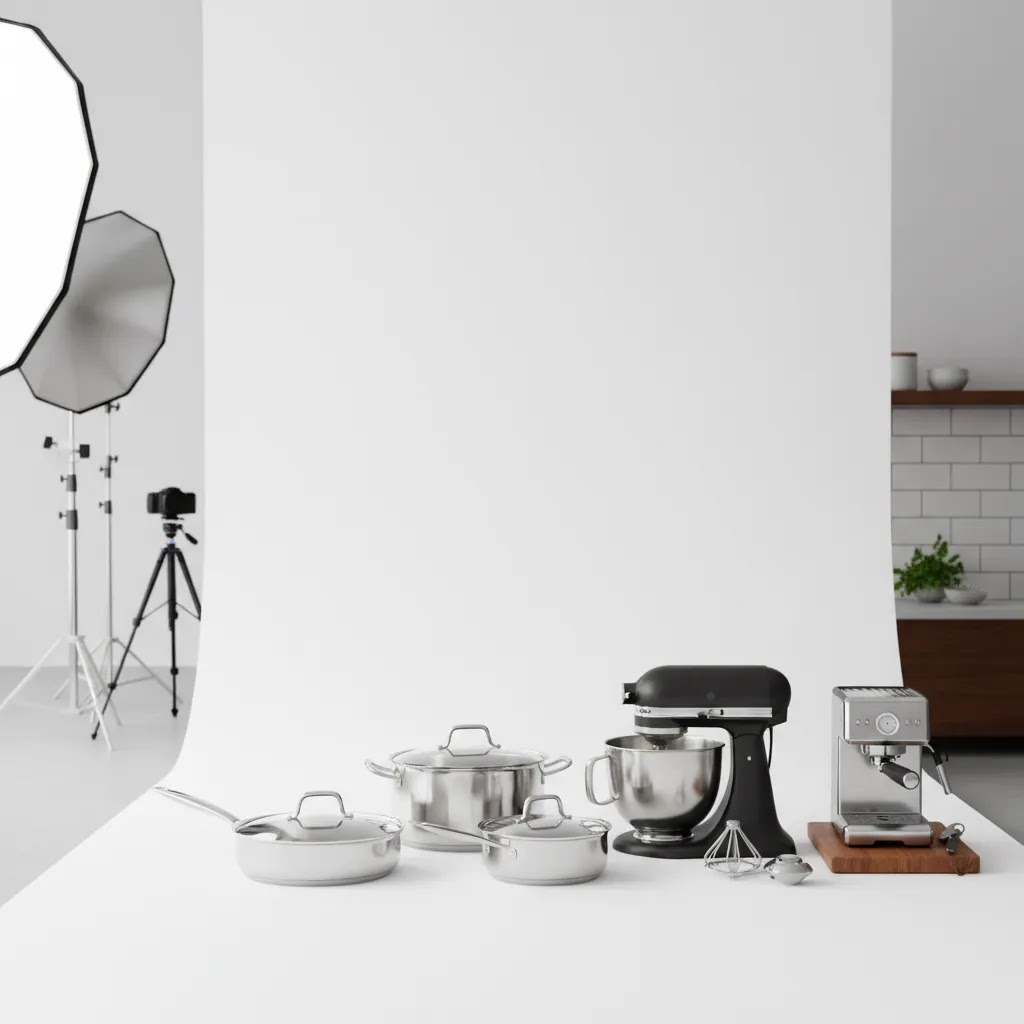
2. Clean reflections and controlled highlightsAppliances and polished cookware are reflective. That makes kitchen product photography technically demanding. You need soft, shaped light and clean surroundings, or you risk showing clutter, strange reflections, and inconsistent tones. Diffusion, flags, and careful camera angle adjustments usually matter more here than adding more lights.
3. Clear scale communicationA frying pan that looks large but turns out compact can lead to returns and disappointed buyers. Include side angles, overhead views, and in-use context so shoppers can judge volume and footprint. This matters even more for countertop appliances where kitchen space is limited.
4. Functional storytellingPhotos should show how the product is used. A stand mixer should show the bowl attached and controls visible. A food storage set should show lids on and off. A chef's knife should show handle grip and blade profile. These details help a shopper move from interest to consideration.
5. Editing that supports, rather than distortsPost-production matters, but over-editing can create trust issues. Background cleanup, shadow correction, dust removal, and exposure balancing are useful. Artificially changing product color, proportions, or finish is not. AI tools can speed up repetitive tasks, especially for background cleanup and variation creation, but they still need review by a human. Readers exploring AI-supported workflows may find value in categories like Background Removal & Editing and E Commerce Product Photography.
Useful tools in this workflow may include ProductAI options such as AI Background Generator, Free White Background Generator, Increase Image Resolution, and Background Swap Editor. These can help with alternate backgrounds, cleanup, and file prep, though they should not replace a solid base image captured with accurate lighting and angles.
Kitchen Product Photography Ideas (Shots and Scenes That Convert)
What many store owners overlook is that shoppers do not need more photos, they need the right photos. Kitchenware is practical, so your images should remove practical doubts: what is included, how big is it, how does it work, and what does it look like up close.
A shot menu you can reuse across SKUs
Here are image ideas that tend to do real work on Shopify product pages and in ads, especially for cookware and small appliances.
Simple lifestyle scene formulas that stay product-first
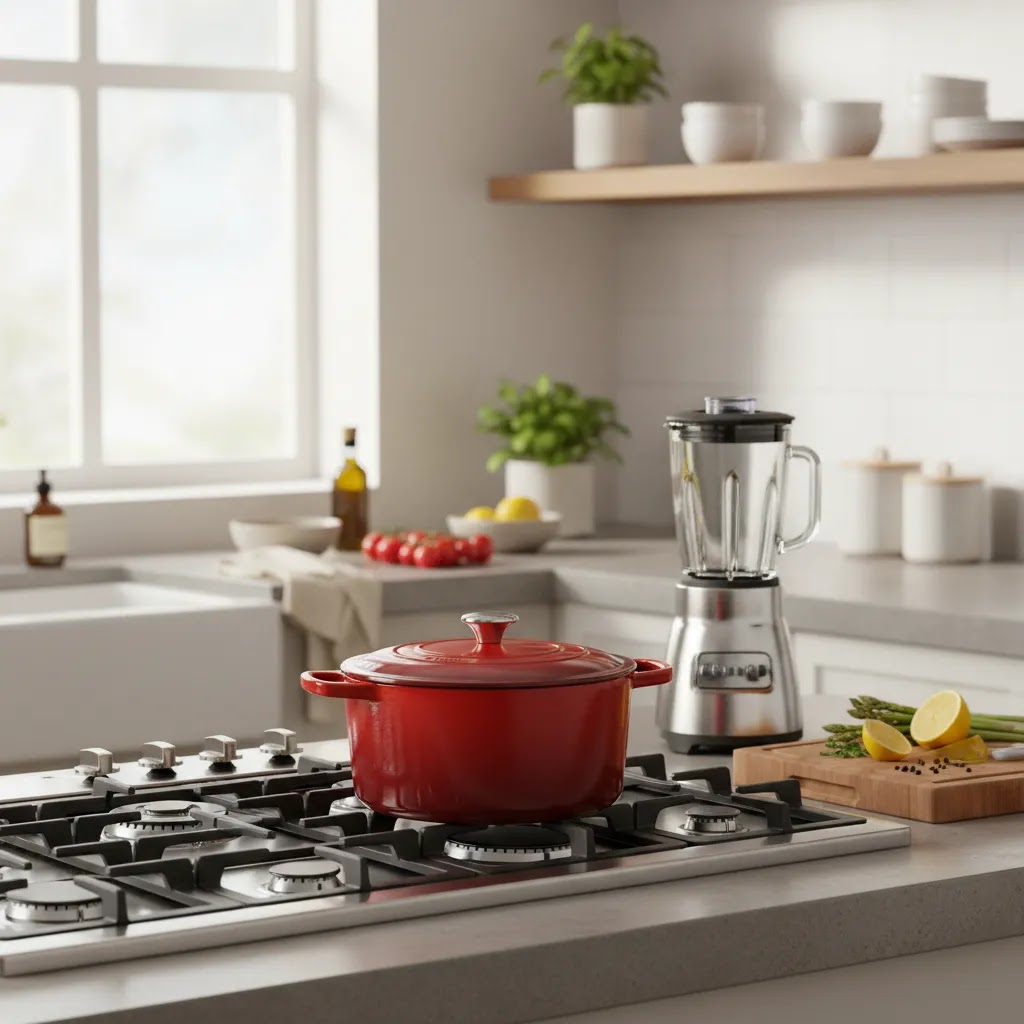
The way this works in practice is using a repeatable scene structure. You do not need a complex kitchen set. You need a believable counter, clean light, and controlled props.
Now, when it comes to food versus no-food scenes, use food when it clarifies the use case or scale. A pan with a simple dish can communicate size and cooking surface. An espresso machine with a cup can clarify output and cup clearance. Skip food if it makes the product harder to read, introduces messy color casts, or creates a styling distraction that pulls focus away from the item you sell.
Common kitchen scene traps that waste time
Consider this before you spend hours styling: some scenes look nice but do not help conversion, and they can introduce problems you have to retouch later.
Pros and Cons
Strengths
Considerations
Who This Approach Is For
This approach fits Shopify merchants, Amazon sellers, and multichannel brands selling cookware, utensils, food prep tools, coffee gear, storage products, or countertop appliances. It is especially useful if your products compete on material quality, design, functionality, or premium positioning rather than price alone.
If you are still validating a new SKU, a lean version of this workflow may be enough: one compliant hero image, two to three detail shots, one scale image, and one lifestyle image. If you are building a larger catalog or supplying wholesale partners, a more standardized process with studio documentation becomes more important. In that case, a dedicated product photography studio workflow may be the better long-term option.
AcquireConvert Recommendation
For most ecommerce brands, the best kitchen product photography strategy is not choosing between traditional photography and AI. It is using each where it makes sense. Capture the base images carefully, then use AI-assisted editing to speed up repetitive cleanup, background variants, or simple merchandising tasks. That balance tends to be more reliable than trying to generate everything from scratch.
AcquireConvert takes that practical view across its photography content. Giles Thomas brings a useful perspective here as a Shopify Partner and Google Expert, because image decisions affect more than aesthetics. They influence product page trust, feed quality, ad creative performance, and how clearly your store communicates value. If you are comparing channels, our article on amazon product photography is a smart next read. If you need lifestyle variants for ads or merch concepts after your core shoot, our mockup generator resource can help you evaluate that step without confusing mockups with primary product proof.
How to Choose the Right Setup and Workflow
If you are deciding how to photograph cookware and appliances, use these criteria.
1. Start with channel requirements
Your first decision is where the images need to appear. Amazon, Walmart Marketplace, Shopify PDPs, retail line sheets, Meta ads, and Google Merchant assets all have slightly different image expectations. Build your shot list around mandatory uses first, then add creative variations second.
2. Match the setup to the product surface
Glossy kettles, chrome espresso machines, and glass storage containers need more controlled lighting than matte cutting boards or silicone utensils. If the item is reflective, prioritize diffusion and environment control over buying more props. Many failed shoots come from underestimating reflections, not from camera limitations.
3. Plan for scale and detail
Kitchen products live in practical spaces. Shoppers want to know whether a mixer fits under cabinets, whether a pan is deep enough for family meals, or whether an air fryer basket is easy to remove. Build those concerns into your shot list. Include overheads, side views, open and closed states, and close-ups of controls or textures.
4. Decide what AI should and should not handle
AI can be useful for white-background cleanup, alternate scene versions, resolution enhancement, and draft creative concepts. It is less dependable for fully replacing accurate product capture when size, color, finish, or control layout matters. For many brands, AI works best after the shoot, not instead of it. That is especially true for premium cookware and appliances where trust depends on visual accuracy.
5. Build a repeatable production process
If you sell more than a handful of SKUs, document your process. Keep lighting notes, camera settings, styling standards, crop ratios, and retouching rules. Consistency across a cookware line or appliance collection improves the store experience and may help your catalog look more credible. Our Catalog Photography section is useful if you are moving from one-off product shoots to a repeatable brand system.
A practical workflow for most small and mid-sized stores looks like this:
This process is not flashy, but it is the one most likely to give you usable assets across PDPs, marketplaces, ads, and email without creating a lot of rework later.
Composition Rules for Kitchen Product Photography (20-60-20 and the 3/4 Angle)
Kitchen product photography gets harder when you are dealing with reflective surfaces, busy environments, and products that need to be understood fast. A couple of simple composition rules can help you avoid images that look styled, but do not actually sell.
The 20-60-20 rule (a quick product-first framing check)
Think of this as a framing guideline for ecommerce images, not a strict law. The goal is to keep the product as the clear subject, while still giving enough context to communicate use and scale.
If your props, backsplash, or styling are taking more visual weight than the product, the image may get likes on social, but it often creates shopping friction because the product is not immediately readable.
The 3/4 rule (why this angle is a reliable default)
A 3/4 angle means you are showing the product slightly from the side and above, so you can see both the front and the top surface. For kitchen products, it is often the safest default because it shows depth.
For cookware, 3/4 tends to show rim thickness, interior depth, handle attachment, and lid fit. For appliances, it can show the face and some of the top or side, which helps shoppers understand footprint and how the controls sit on the product.
Overhead works better when you need to show a set layout, included parts, or interior capacity. Straight-on works better when the key value is the control panel readability or the brand aesthetic of the front face, as long as it does not flatten the product and hide depth cues.
Quick implementation tips for reflective cookware and appliances
Reflective products make composition and camera position matter more than most store owners expect. Small shifts can change the entire feel of the photo.
Frequently Asked Questions
What is the best background for kitchen product photography?
For hero images, a white or very light neutral background is usually the safest option because it keeps focus on the product and works well across marketplaces and many ecommerce themes. Lifestyle scenes are useful too, but they should support, not replace, the core product images. Start with compliance and clarity, then add contextual photos where they help conversion.
How many images should I use for cookware or small appliances?
Most store owners should aim for at least five useful images per SKU: one hero shot, two detail shots, one scale or dimension-focused image, and one in-use or lifestyle image. More complex appliances may need extra views for attachments, controls, or internal components. The right number depends on how much visual explanation the product requires.
Can AI replace a real kitchen product photo shoot?
Sometimes AI can help create concept visuals or alternate scenes, but it is not a complete replacement for accurate product photography in most ecommerce situations. Buyers need to trust what they are seeing, especially with reflective finishes, specific controls, and exact proportions. AI is most useful as an editing and production aid after strong source images already exist.
What lighting works best for stainless steel cookware?
Soft, diffused lighting usually works best because it reduces harsh reflections and helps define the product shape cleanly. Large diffusers, light tents, or softboxes positioned carefully can help. The goal is not just brightness. It is controlled highlights and clean reflections. For polished surfaces, even small changes in angle can make a big difference.
Should I show kitchen products with food in them?
Yes, if it helps explain use and scale, but do it selectively. Food styling can make cookware feel more aspirational and easier to understand, especially in ads or PDP supporting images. Still, your main product images should remain product-first. Avoid scenes where garnish, props, or recipe styling distracts from the item you are actually selling.
How is kitchen product photography different for Amazon and Shopify?
Amazon usually requires a stricter hero image approach, often with plain backgrounds and product-dominant framing. Shopify gives you more flexibility to mix clean studio images with lifestyle, detail, and brand storytelling visuals. If you sell on both, create the image set once but structure it with channel-specific exports and ordering so each platform gets what it needs.
Do I need a professional studio for cookware and appliances?
Not always. Smaller brands can often produce solid results in-house with controlled lighting, careful styling, and a documented workflow. A professional studio becomes more valuable when you have reflective products, many SKUs, wholesale requirements, or a need for highly consistent catalog production. The decision depends on volume, quality expectations, and internal capacity.
What should I avoid in kitchen product photography?
Avoid cluttered styling, mixed color temperatures, inaccurate retouching, and angles that hide important details. Do not rely only on one front-facing image, especially for appliances. Shoppers want evidence of scale, controls, and product finish. It is also wise to avoid editing that changes the perceived material or color too much, since that can create trust issues later.
What is the 20 60 20 rule in photography?
The 20 60 20 rule is a simple composition guideline where the product takes up around 60% of the frame, supporting context takes about 20%, and the remaining 20% is clean breathing room. In ecommerce, it is useful because it keeps images product-first while still providing enough context for scale and use. Treat it as a check, not a strict formula.
What is the 3/4 rule in photography?
The 3/4 rule usually refers to photographing a product from a 3/4 angle, so you see both the front and one side, often with a slightly elevated camera position. For kitchenware, it is a reliable angle because it shows depth, shape, and usability details, like handle geometry on cookware or control layout on appliances.
What are the three types of product photography?
The three common types of product photography for ecommerce are studio or packshot images, lifestyle or in-use images, and detail or macro images. A strong kitchen product image set typically uses all three: packshots for compliance and clarity, detail shots for material and control proof, and lifestyle shots for scale and use-case context.
Key Takeaways
Conclusion
Good kitchen product photography helps shoppers trust what they are buying. For cookware and appliances, that means showing finish, function, and scale with enough clarity that the product feels dependable before it is ever held in hand. If you are selling online, the most effective approach is usually structured and repeatable: start with channel-compliant hero shots, add detail and use-case images, and use AI carefully where it saves time without compromising accuracy. AcquireConvert focuses on that kind of practical decision-making for ecommerce brands. If you want the next step, explore our photography resources, compare visual workflow options, and use Giles Thomas's Shopify and Google expertise as a guide for building product pages that communicate value more clearly.
This content is editorial and intended for educational purposes. It is not a paid endorsement unless explicitly stated otherwise. Pricing, features, and availability for third-party tools are subject to change, so verify current details directly with the provider. Product photography and AI-assisted editing may improve workflow efficiency or presentation quality in many cases, but results will vary by product type, store setup, and execution.

Hi, I'm Giles Thomas.
Founder of AcquireConvert, the place where ecommerce entrepreneurs & marketers go to learn growth. I'm also the founder of Shopify agency Whole Design Studios.