Packaged Food Photography for Ecommerce (2026)
If you sell snacks, coffee, sauces, supplements, or pantry products online, your images do a lot of the selling before a shopper reads a single word. Strong packaged food photography helps buyers judge quality, flavor cues, size, and trustworthiness fast. It also shapes how your products appear across Shopify collections, marketplaces, ads, and email campaigns. The challenge is that food packaging needs to look accurate, compliant, and appetizing at the same time. That balance gets harder when you are working with changing SKUs, seasonal promos, reflective packaging, or a lean team. This guide explains what good packaged food photography looks like, where AI can help, where traditional shoots still matter, and how store owners can choose the right workflow. If you are comparing tools and production methods, start with these broader ecommerce tools and photography options in context.
Contents
What packaged food photography needs to achieve
Packaged food photography is not just about making a product look nice. For ecommerce, it needs to do three jobs well. First, it must present the packaging clearly enough for a shopper to recognize the item, variant, and brand. Second, it needs to suggest taste, freshness, and quality without misleading the buyer. Third, it must work across multiple channels, from your product page to paid social to retail sell sheets.
For most Shopify brands, the baseline image set includes a clean front-of-pack shot, back or side label shots, scale references where useful, and a few merchandising or lifestyle images. If you sell on marketplaces too, your requirements may overlap with practices used in amazon product photography, where clarity, consistency, and compliance matter as much as visual appeal.
Good packaged food photography also supports conversion in quieter ways. It can reduce uncertainty around what is inside the package. It can improve merchandising consistency across collections. It can help returning customers find the right flavor or size faster. That does not guarantee more sales on its own, but it often removes friction that makes product pages harder to trust.
If you are building a broader visual system, it helps to think of food packaging within your full ecommerce photography strategy rather than as a one-off shoot.
Key features of effective packaged food photography
Legibility comes first. If shoppers cannot read the product name, flavor, or core benefit at thumbnail size, the image is not doing its job. This matters even more for mobile traffic, where most store visitors are scanning quickly.
Color accuracy matters. Food packaging often relies on color coding for flavor, variety packs, dietary claims, or product tiers. If your reds skew orange or your matte black pouch turns gray, you may create confusion and increase the chance of mismatched expectations.
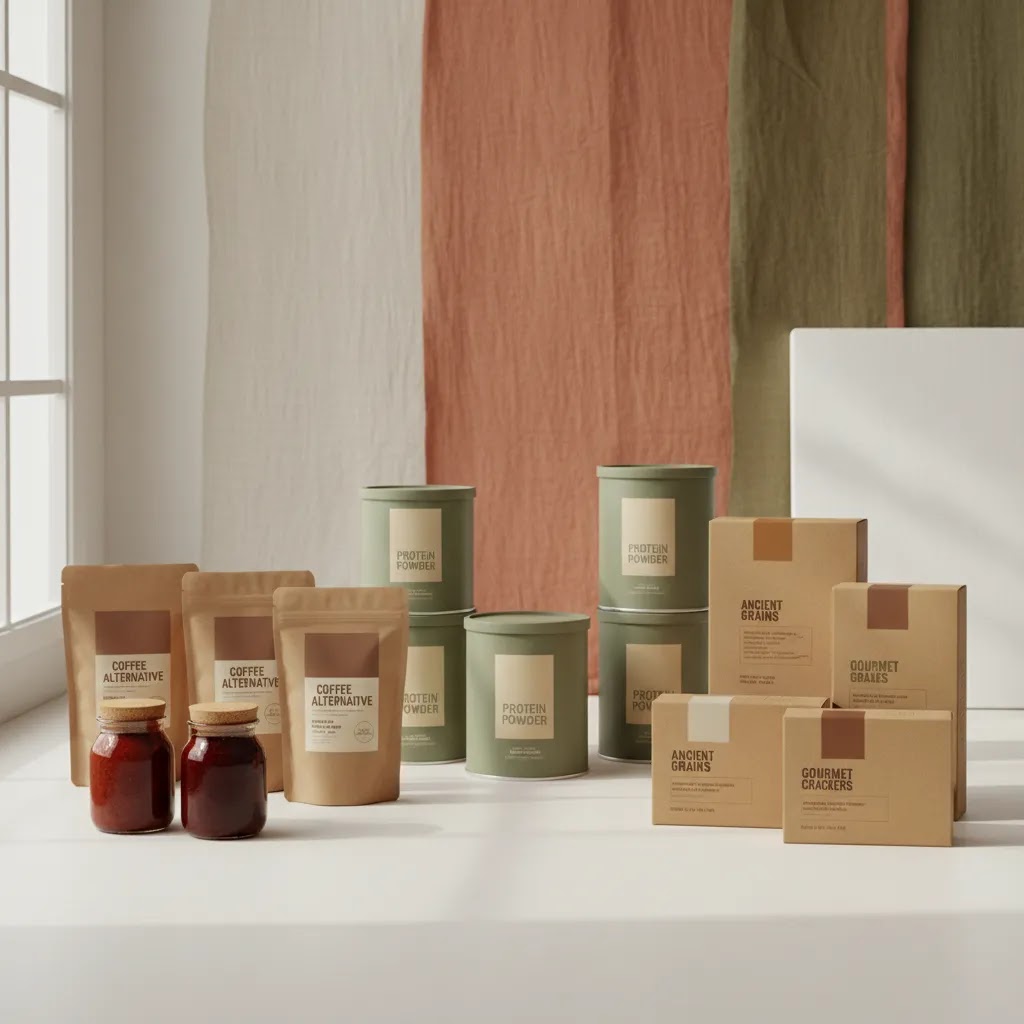
Material handling matters too. Packaged food is often sold in glossy pouches, reflective tins, glass jars, flexible plastics, or metallic wrappers. Each surface reacts differently to lighting. A flat setup that works for cardboard boxes may produce glare or wrinkles on flexible packs. This is where either careful studio work or post-production support becomes important.
Channel adaptability is part of the job. Your hero image may need a white background for marketplaces, a softer branded look for direct-to-consumer product pages, and resized social crops for ads. If your workflow cannot produce assets in multiple formats efficiently, content production can become a bottleneck.
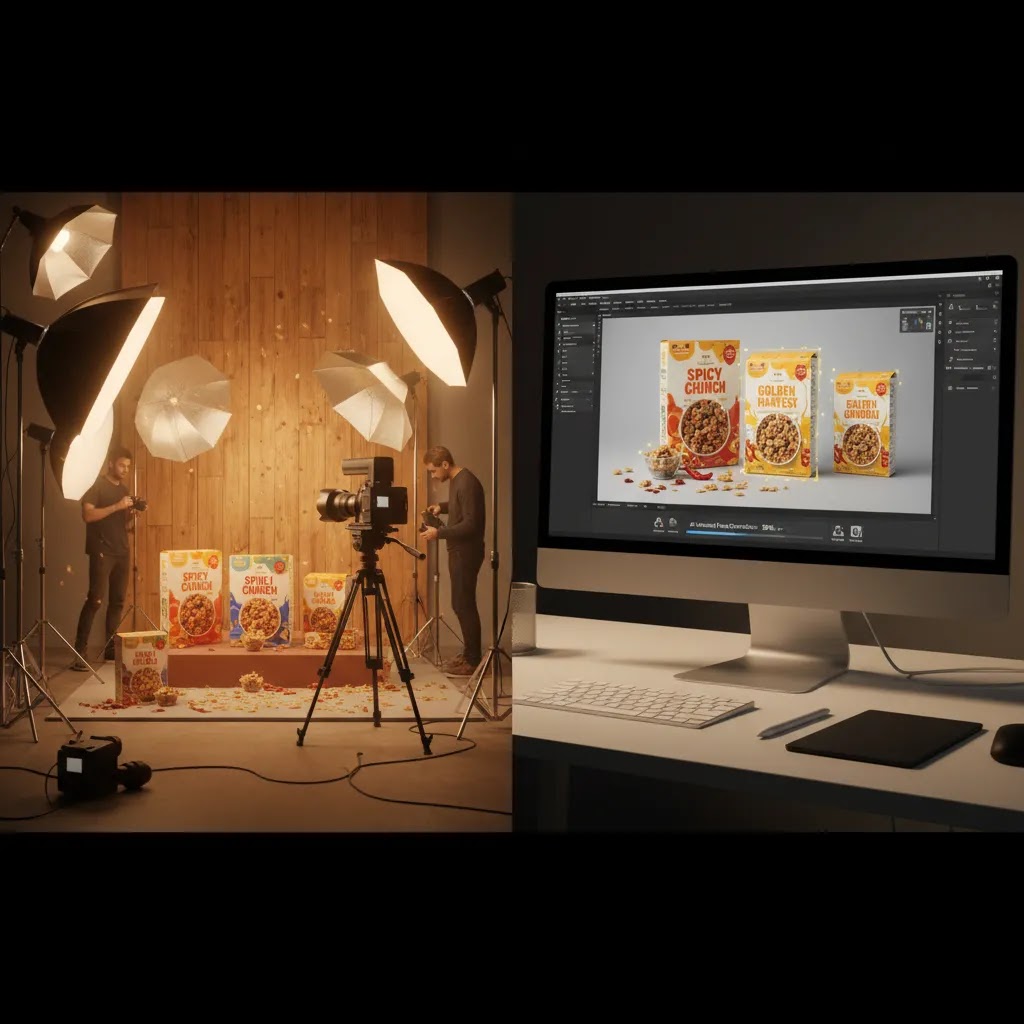
AI-assisted editing can help in a few specific areas. Tools like AI Background Generator and Free White Background Generator may speed up background cleanup for compliant marketplace-style assets. Increase Image Resolution can be useful when you need sharper exports for larger placements, while Background Swap Editor may help you test branded settings without reshooting. For more stylized assets, Magic Photo Editor and Creator Studio may help produce supporting visuals faster.
That said, AI generated food photography still needs human review. Packaging text, nutrition claims, serving depictions, and brand marks need extra scrutiny. For many brands, the strongest setup is a hybrid one: capture core pack shots accurately, then use AI selectively for background variants, layout testing, or campaign concepts.

Packaged food photography ideas: a practical shot menu
Most Shopify store owners do not need a huge number of concepts. You need the right concepts repeated consistently, so your collection grids stay clean and shoppable and your PDP galleries answer real questions.
Consider this a simple shot menu you can apply across SKUs, flavors, and multipacks.
1) Hero pack shot (your “grid” image)
This is the front-of-pack image that will do the most work in Shopify collection thumbnails, search results, and ads. Keep it simple: clean background, clear label, consistent crop. If you change angles, distance, or lighting from SKU to SKU, it becomes harder for shoppers to compare flavors quickly.
2) Secondary angle for shape and depth
A straight-on image can make pouches and boxes feel flat. A second angle, usually a slight turn, helps show thickness, structure, and real-world presence. The key is consistency: choose one secondary angle and repeat it across the catalog.
3) Label detail images that answer trust questions
For packaged goods, shoppers often want to verify ingredients, supplement facts, nutrition, allergens, or preparation instructions. A clean back label shot, plus one or two close-up crops, can reduce uncertainty. From a practical standpoint, also test whether the text is readable on mobile. If not, add a close-up rather than hoping people pinch to zoom.
4) “What’s inside” context without misleading
Shoppers want to understand format: whole bean vs ground, powder texture, portion size, bar thickness, cookie count, tea sachets, capsule size, or sauce consistency. You can show this with careful, honest setups. Open packaging shots should represent what a customer actually gets, and you should avoid styling that suggests extra items are included if they are not.
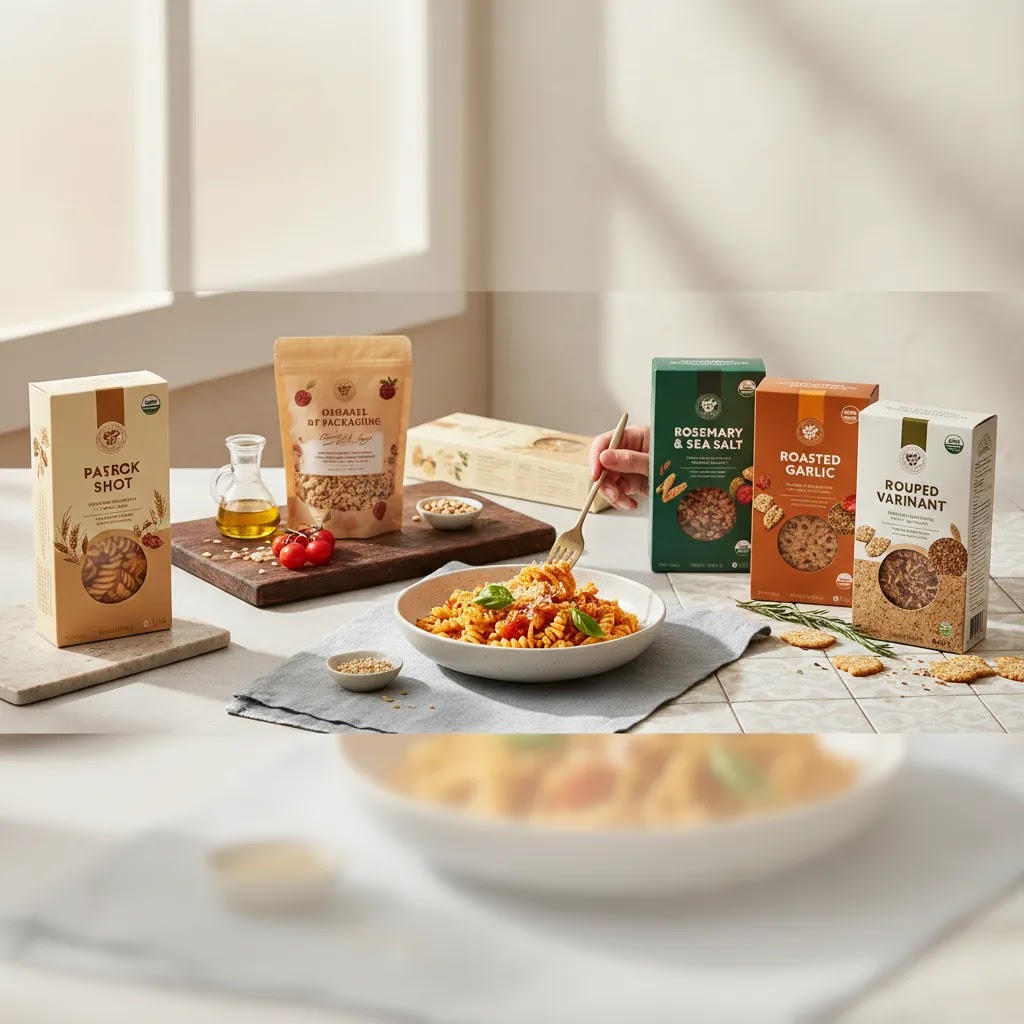
5) Preparation or serving suggestion, done safely
Lifestyle images help, but only when they stay clear. A simple serving suggestion can work well for snacks, sauces, coffee, and pantry items, as long as the photo does not confuse the included contents. Keep the package visible, keep the product identity obvious, and avoid overly elaborate scenes that turn the shot into a recipe editorial.
6) Bundle or group shots that clarify what is in the pack
If you sell variety packs, bundles, or subscriptions, group shots can reduce “what am I getting” hesitation. The way this works in practice is simple: show every included unit clearly, keep label fronts facing camera, and keep the composition consistent so customers can compare bundle tiers quickly.
7) Size and scale cues
Packaged products can be deceptively small or large in photos. When size is a common objection, a scale cue image can help. That might be the product held in a hand, next to a standard mug, or near a bowl. Keep it consistent and unambiguous, and make sure the product is still the focus.
Keeping variant sets consistent (so Shopify stays shoppable)
What many store owners overlook is that great images are not just about a single SKU, they are about the set. For flavors and multipacks, your collection page is basically a comparison grid. If one flavor is shot darker, closer, or at a different tilt, it can look like a different brand.
A simple rule: lock your hero shot angle, crop, and lighting first. Then apply the same framing to every variant. If you want to add creativity, do it in the later images of the gallery, not the main thumbnail image.
Common missteps to avoid
Props can help add context, but they can also overpower the pack. If a lifestyle scene is so busy that the shopper cannot instantly identify the product, it is hurting conversion. Another common issue is inconsistent camera height, which makes packages look distorted and harms label readability. The last big one is confusion around what is included. If you show loose ingredients, bowls, scoops, or serving setups, keep the packaging visible and make sure the visual story matches what a customer receives.
Pros and Cons
Strengths
Considerations
How much packaged food photography costs (and how to budget it)
Photography quotes can vary a lot, and that is usually because the scope is unclear. A photographer might be pricing a clean set of pack shots for a few SKUs, or they might be pricing a full day with food styling, prop sourcing, and complex retouching. Same category, very different workload.
Pricing varies by market and experience level, but it helps to understand the main cost drivers so you can budget without guesswork.
What typically drives the cost
Number of SKUs. Ten flavors is not one product. It is ten products, and each needs consistent framing, color, and label clarity.
Number of final images per SKU. A minimum set might be hero front, back label, and a secondary angle. A fuller PDP set might include ingredient context, a serving suggestion, scale cues, and bundle images.
Packaging complexity. Reflective tins, glossy jars, metallic films, and flexible pouches tend to increase lighting time and retouching needs. Small creases, glare bands, and label warping are common, and they take time to fix properly.
Retouching and file preparation. Clean backgrounds, consistent shadows, accurate color, and straightened verticals can be labor-intensive. If you need multiple crops for Shopify, marketplaces, and ads, that is also part of production.
Usage and licensing scope. Some photographers price based on where images will be used, for how long, and in what volume. Be specific about ecommerce, paid ads, marketplaces, and wholesale use so there are no surprises later.
A practical way to scope a shoot for a Shopify catalog
Think in deliverables, not “a shoot.” Decide what each SKU needs to sell and to reduce support questions. For most Shopify store owners, a clear tiered plan helps.
Minimum viable set: a consistent hero pack shot, a back or side label shot, and one secondary angle. This is often enough to fix “I cannot tell what it is” problems across a catalog.
Full PDP set: add “what’s inside” context, a serving suggestion image, and a scale cue. If you sell bundles or variety packs, add one clear bundle image per bundle configuration.
Now, when it comes to keeping budgets under control, the biggest lever is standardization. If every SKU follows the same shot list and framing rules, production and editing become predictable.
DIY vs hire: how to decide
DIY can work when you have a small catalog, simple packaging, and you can control lighting and consistency. Hiring a pro usually makes more sense when label legibility is critical, packaging is highly reflective, or you have compliance-sensitive categories where accuracy matters. It can also be the safer route when you need multi-channel assets, especially if you sell through marketplaces or wholesale where image requirements can be strict.
A hybrid approach is common: you hire a photographer to lock in accurate core pack shots, then you use AI-assisted editing for background variants, seasonal creative, and format testing. That can keep quality high without forcing you to reshoot every time you need a new crop or setting.
Who this approach is for
This approach fits ecommerce brands that sell packaged consumables and need images that can support both conversion and operations. If you run a Shopify store with multiple flavors, bundle packs, subscription products, or wholesale outreach, investing in a structured photography workflow usually makes sense. It is especially useful for brands where packaging does a lot of the selling, such as coffee, supplements, protein snacks, sauces, tea, candy, and pantry goods.
If you are still validating demand with a small catalog, you may not need a full custom shoot for every use case. A lean setup with accurate pack shots plus selective AI-supported variants can be enough. If you are expanding into retailer outreach, packaging refreshes, or richer PDP storytelling, you may need a more formal product photography studio process.
AcquireConvert recommendation
For most store owners, the best decision is not AI versus traditional food photography as an absolute choice. It is deciding which part of the workflow needs precision, and which part needs speed. Core product images should prioritize packaging accuracy, readable labels, and consistency across your catalog. Supporting visuals for campaigns, mockups, and testing can often be produced faster with AI-assisted editing.
That practical split is how AcquireConvert approaches the category. Giles Thomas, as a Shopify Partner and Google Expert, focuses on workflows that help merchants create better assets for real selling environments, not just prettier images in isolation. If you are comparing production methods, review broader guidance in E Commerce Product Photography and Catalog Photography. If your next step is testing presentation options before committing to a full shoot, a mockup generator can help you validate layouts, packaging hierarchy, and channel fit with less upfront effort.
How to choose the right photography workflow
1. Start with your sales channel requirements. If most of your revenue comes from your Shopify store, you have more flexibility to mix clean studio shots with branded lifestyle images. If you also sell through marketplaces or distributors, create a channel matrix first. List the image specs, background expectations, cropping needs, and label visibility requirements for each channel.
2. Separate hero images from supporting content. Your hero image has one job: show the product clearly. Your second and third images can handle context, ingredients, scale, and flavor cues. This helps prevent one overloaded image from trying to do everything. It also makes it easier to slot AI editing into the process without risking your primary image quality.
3. Audit packaging complexity. A matte paper bag is far easier to photograph than a reflective pouch or clear jar with liquid inside. If your products have difficult surfaces, custom labels with small text, or frequent design changes, plan for either better studio lighting or more retouching time. A weak setup here can make your whole catalog feel inconsistent.
4. Decide where AI genuinely helps. AI for food photography can be useful for background replacement, cleanup, concept generation, and resizing. It is less reliable where detail accuracy is critical, especially on text-heavy labels. Use AI to speed up repetitive production tasks, not to invent product truths that are not in the packaging. For ecommerce, trust matters more than novelty.
5. Build a repeatable SKU workflow. The brands that handle product photography food well usually have naming conventions, shot lists, export rules, and folder systems in place. Document your angles, lighting references, aspect ratios, and file naming. That makes future launches easier and helps external photographers, editors, or internal team members produce consistent results.
If you are unsure whether to invest in new assets, review your current catalog like a shopper would. Can you quickly tell flavors apart? Is the pack front readable on mobile? Do bundles look cohesive next to single SKUs? Are nutrition-led products trustworthy at first glance? Those answers usually tell you where the actual gap is.
Packaged food photography rules that keep images shoppable
Good packaged food photography is not just taste and style. It is composition rules that keep the package readable, the product identity obvious, and the catalog consistent. These rules apply whether you shoot with a DSLR, a smartphone, or a hybrid workflow that includes AI-assisted editing.
What is the 20-60-20 rule in photography, and how does it apply to packaged products?
The 20-60-20 rule is a simple composition framework: about 60% of the frame is your main subject, about 20% is supporting context, and about 20% is negative space. Think of it as a fast way to control attention.
For a packaged food hero shot, the “60%” is the packaging front. The “20% context” might be a subtle shadow, a small ingredient cue, or a secondary element that supports the product story without competing with the label. The remaining “20%” is clean space that keeps the image from feeling cramped, and makes crops easier for different channels.
For lifestyle shots, the same framework keeps scenes from turning into clutter. Your package should still be the clear focal point. Supporting props should explain usage, not steal attention.
Three rules that matter for packaging more than most people expect
Control glare before you “fix it in post.” Reflective packaging can look cheap fast if it is covered in hotspots. From a practical standpoint, diffused light, careful angles, and consistent setup usually beat heavy editing later.
Keep verticals straight. Pouches and boxes look wrong when camera tilt is inconsistent. Straight lines also help maintain brand consistency across your Shopify collection grids.
Design for thumbnail legibility. Many shoppers will first see your product at small sizes. If your product name and variant are not readable at that scale, the image is not doing its job. This is where a consistent crop and a slightly larger product-in-frame can beat a more “artistic” composition.
How these rules translate to Shopify outputs
Composition is not separate from ecommerce implementation. Shopify collections reward consistent framing because it makes scanning easier. PDP galleries reward clarity because shoppers want quick answers. Plan your cropping so your hero image stays consistent across flavors, and push more creative context into later gallery images where it will not disrupt comparison shopping.
One more reality check: serving depictions should not create the impression that extra items are included. If you show a bowl, a mug, or ingredients, keep the package visible and make sure the story remains accurate to what ships.
Frequently Asked Questions
What is food photography in an ecommerce context?
In ecommerce, food photography is the set of product images used to help shoppers evaluate what they are buying online. For packaged products, that usually means accurate pack shots, label visibility, variant clarity, and a few supporting visuals that suggest taste or usage. The goal is not editorial styling alone. It is helping a shopper make a confident purchase decision.
What makes packaged food photography different from general food photography?
General food photography often focuses on plated presentation, atmosphere, and appetite appeal. Packaged food photography needs that visual appeal, but it also has to present the packaging itself clearly. Brand marks, product names, claims, and flavor variants matter more. For ecommerce, packaging accuracy is usually more important than a highly stylized look.
Can AI generated food photography replace traditional shoots?
Not fully for most brands. AI can help create variations, backgrounds, and concept visuals quickly, but it is less dependable for exact label detail, regulated claims, and precise packaging appearance. Many merchants get better results with a hybrid workflow: traditional or controlled product capture for the core pack shot, then AI-assisted editing for secondary assets.
Is food photography with AI safe for product pages?
It can be, if you use it carefully. AI-generated or AI-edited visuals should not misrepresent the package, included contents, serving size, or product claims. For Shopify product pages, use human review before publishing anything customer-facing. The safest use cases are background cleanup, mockups, and supplementary creative, rather than fully synthetic hero images.
What are the best food photography backdrops for packaged goods?
For ecommerce, the best backdrop depends on the channel. White backgrounds work well for clean, compliance-friendly hero images. Neutral stone, wood, or paper surfaces can support lifestyle shots without distracting from the package. The key is consistency. If each SKU uses a different styling direction, your catalog may feel fragmented and harder to shop.
Do I need a food photography app or a full studio setup?
That depends on your catalog complexity. A smaller brand with a handful of SKUs may get acceptable results using a smartphone, controlled lighting, and editing support. A larger catalog with reflective packaging, frequent launches, or wholesale needs usually benefits from a more formal setup. What matters most is repeatability, not whether the image came from a phone or a studio camera.
How many images should a packaged food product page have?
Most stores benefit from at least four to six useful images per SKU. Start with a front-of-pack hero shot, then add another angle, a back or side label image, a scale or in-use image, and a branded lifestyle shot if relevant. If ingredients, format, or preparation matter, use images that answer those questions clearly rather than adding filler content.
What food photography rules matter most for Shopify stores?
The biggest rules are clarity, consistency, and accuracy. Make sure text is readable, crop ratios are consistent, colors reflect the real packaging, and each variant is easy to distinguish. Shopify merchants should also think about collection page thumbnails, mobile presentation, and how images work with product media galleries. Good visuals should support navigation as well as persuasion.
What is the 20 60 20 rule in photography?
It is a composition guideline where roughly 60% of the frame is the main subject, roughly 20% is supporting context, and roughly 20% is negative space. For packaged food photography, it helps keep the package as the focal point while still leaving room for clean crops and subtle context. It can be a useful mental model for hero shots and lifestyle scenes, especially if your images tend to get cluttered.
How much does a food photographer cost?
Pricing varies based on scope and market, but the biggest cost drivers are usually the number of SKUs, the number of final images per SKU, packaging complexity, retouching needs, and usage or licensing expectations. If you want a realistic quote, define your deliverables first, for example hero pack shot plus label images, then optionally lifestyle and bundle images. Clear scope usually leads to clearer pricing.
How profitable is food photography?
For ecommerce brands, photography can be profitable in the sense that it may reduce confusion, improve trust, and produce reusable assets across Shopify, ads, email, and wholesale. Results vary, and it is not a guaranteed lever on its own. Many stores see the best ROI by upgrading images on top sellers first, then expanding coverage once the workflow is working.
What is the photography of food called?
It is usually called food photography. When the focus is on the package itself rather than plated food, you will also hear it described as product photography for food, packaged product photography, or ecommerce product photography for food brands.
Is food photography profitable for small ecommerce brands?
It can be a worthwhile investment if better images reduce confusion, improve brand trust, and give you more reusable assets across channels. That does not mean every store needs an expensive shoot immediately. Small brands often do best by improving the highest-traffic products first, measuring engagement and conversion signals, then expanding the workflow as the catalog grows.
Key Takeaways
Conclusion
Packaged food photography works best when it is treated as a selling system, not just a creative task. Your product images need to build trust, clarify variants, and support consistent merchandising across every channel where shoppers discover you. For many ecommerce brands, that means combining accurate product capture with selective AI support where it genuinely saves time. The right mix depends on your packaging, channel mix, and catalog size. AcquireConvert is built for store owners working through decisions like these in practical terms. If you want the next step, explore more on E Commerce Product Photography or compare production options across related workflows on AcquireConvert using guidance shaped by Giles Thomas’s Shopify and ecommerce experience.
This article is editorial content and not a paid endorsement unless explicitly stated otherwise. Any tool capabilities mentioned should be verified directly with the provider before use. Pricing and product details are subject to change. Results from photography, AI editing, or merchandising changes are not guaranteed and will vary by store, product type, traffic quality, and execution.

Hi, I'm Giles Thomas.
Founder of AcquireConvert, the place where ecommerce entrepreneurs & marketers go to learn growth. I'm also the founder of Shopify agency Whole Design Studios.