How to Remove Background in Photopea (2026)

If you run an ecommerce store, clean product cutouts matter more than most merchants expect. Transparent PNGs help your product pages look consistent, improve ad creatives, and make it easier to reuse images across email, marketplaces, and social posts. If you want a browser-based editor without paying for Photoshop, Photopea is one option many store owners try first. This guide shows you exactly how to remove background in Photopea, where the workflow works well, and where it can slow you down. If you are still comparing methods, our guide to choosing a background remover can help you understand the broader options before you commit to a process.
Contents
What Photopea is good at
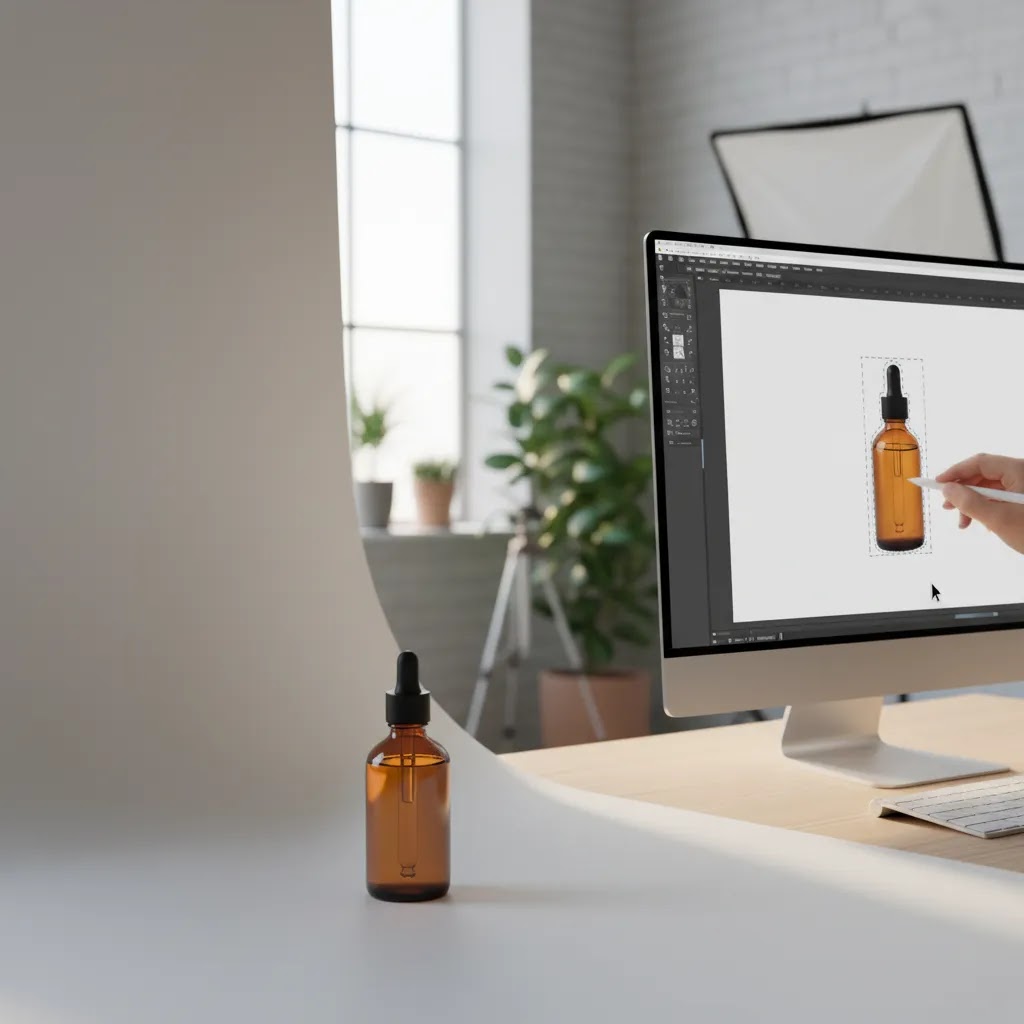
Photopea is a browser-based image editor that looks familiar to anyone who has used Photoshop. For ecommerce merchants, its main appeal is control. You can manually select a subject, refine edges, add layer masks, and export transparent files without installing desktop software.
That makes it useful for one-off edits, test projects, or situations where your product photo has enough contrast to separate the item from the background cleanly. If you are editing a simple packshot, a product on a plain backdrop, or a single hero image, Photopea can be a practical option.
It is less ideal when you need to process a large catalog quickly. Manual editing takes time, especially with hair, glass, reflective packaging, or uneven shadows. If your goal is speed first, you may want a more automated remove background workflow. For a broader view of the topic, AcquireConvert also has a dedicated Transparent Background section and a Background Removal & Editing category with related resources.
How to remove a background in Photopea step by step
Here is the simplest workflow for most ecommerce product images.
If you are completely new to this type of image work, a simpler beginner path may be useful before Photopea. Our article on how to make background transparent in paint covers a more basic editing route.
A faster manual method: Photopea Magic Cut for tricky edges
Here is the thing, most Photopea background removal tutorials focus on Magic Wand and Quick Selection. Those are fine when the background is clean and the edge is obvious. But if you are working with hair, fur, low contrast edges, transparent packaging, or glass, Photopea can turn into a slow zoom-in, zoom-out cleanup loop.
In those situations, Photopea’s Select menu gives you a more targeted option: Magic Cut. Think of it as a guided selection workflow where you tell Photopea what to keep and what to remove, instead of trying to “paint” a perfect selection in one go.
When Magic Cut is the better choice
Use Select > Magic Cut when your product edge is hard for normal selection tools to read. That typically includes:
If the photo is a clean packshot on white, Magic Wand is usually still faster. If the background is busy but the edge is still clear, Quick Selection can be a good middle ground.
A practical Magic Cut workflow you can repeat
From a practical standpoint, the goal is not a perfect first pass. The goal is to get a strong cutout quickly, then convert it into a layer mask so you can clean it up without damaging the original pixels.
Common failure points and quick fixes
Magic Cut can still leave imperfections. The good news is that most of them are predictable.
A simple sanity check before export is to create a solid color layer underneath the product (any bold color works). If you can see halos, leftover background, or jagged edges against the solid color, you will almost certainly see it on a Shopify product page too, especially on mobile.
Key features for ecommerce image editing
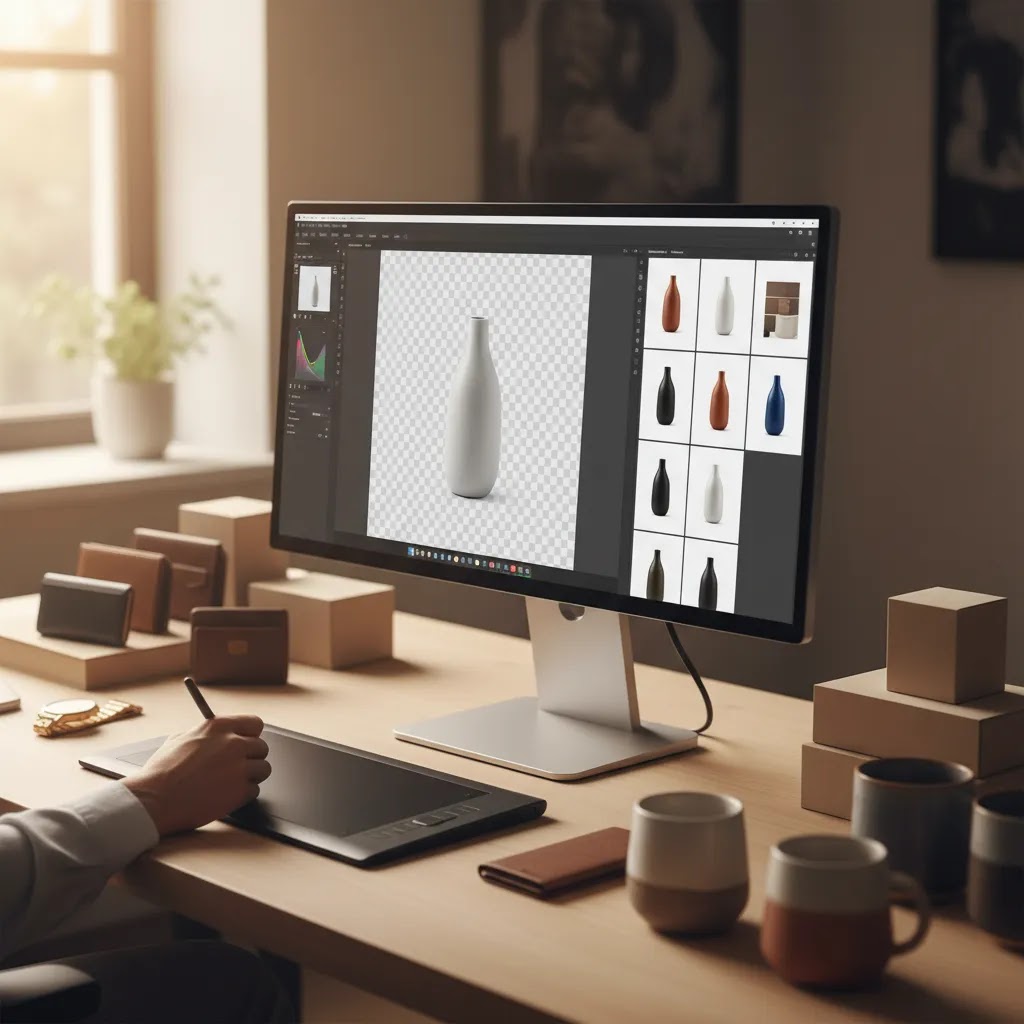
Photopea is not built only for background removal, but several features make it usable for online store image prep.
For ecommerce, the real question is not whether these features exist. It is whether the time cost makes sense for your store. If you have 10 hero images to clean up for a landing page, Photopea may be fine. If you have 300 SKUs and need visual consistency before a seasonal launch, manual editing can become a bottleneck.
That is where purpose-built tools can help. ProductAI offers several image utilities relevant to store owners, including AI Background Generator, Free White Background Generator, and Increase Image Resolution. If you want more hands-on editing after background removal, there is also Magic Photo Editor. These may suit merchants who value speed and repeatability over manual control. Pricing was not provided in the available product data, so check the provider directly for current costs and plan details.
How to make the background transparent in Photopea (and confirm your PNG exported correctly)
Most “my background is still white” problems happen for one of two reasons. Either the background layer is still visible, or the file was exported in a format that cannot store transparency.
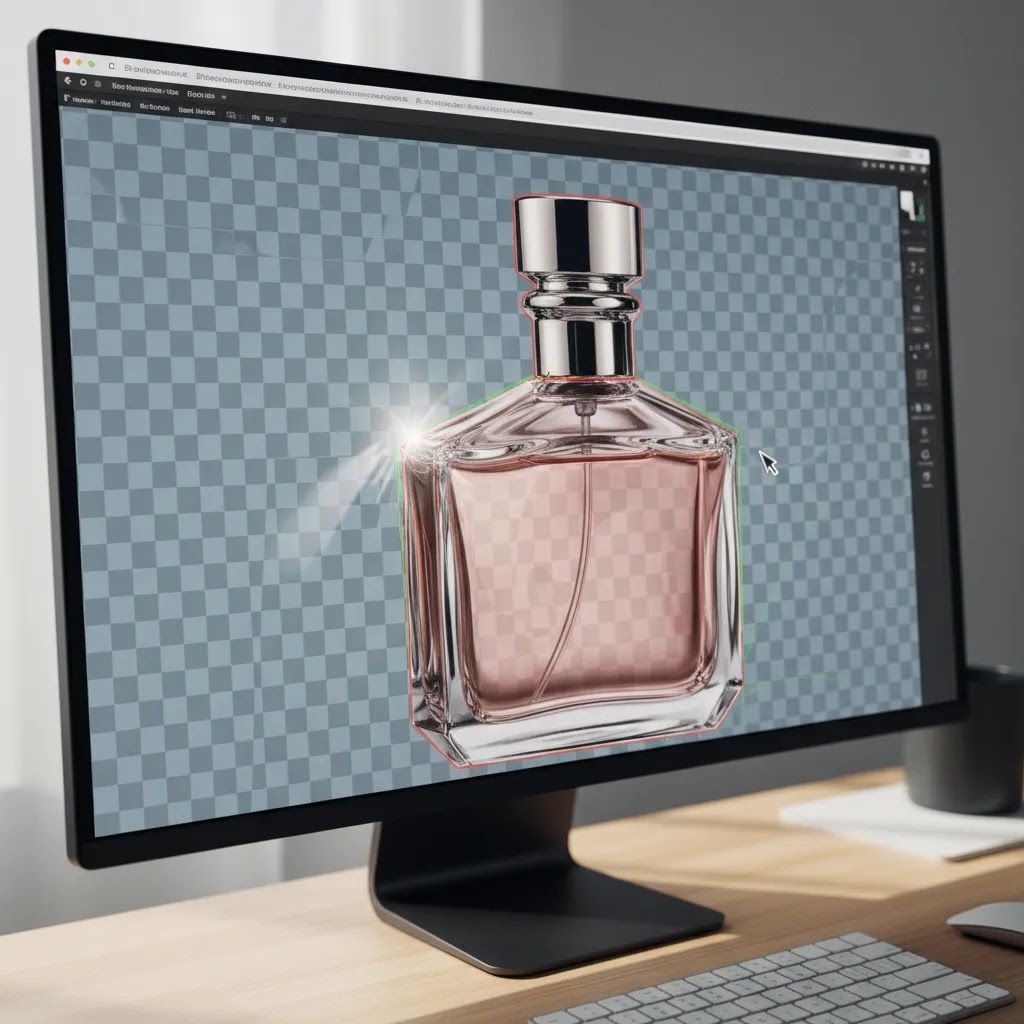
How to tell if your background is actually transparent
In Photopea, transparency shows as a gray-and-white checkerboard pattern. If you still see solid white, that usually means you are looking at a visible layer, not transparency.
Export settings that prevent surprises
To export a transparent file for Shopify, use File > Export As > PNG. JPEG files do not support transparency, so exporting as JPG will always fill the background with a solid color.
What many store owners overlook is that you can also “lose” transparency if you flatten the image onto a background layer. If you merged everything while a white layer was visible, Photopea will bake that white into the final pixels. The result looks like a transparent cutout while you are editing, but exports as a white box.
A quick QA check before you upload to Shopify
After export, open the PNG and test it on a few different background colors. This is the fastest way to catch edge halos and leftover background that can be hard to see on the checkerboard.
This extra minute of checking can save you from uploading a full batch to Shopify, then realizing the edges look messy when your theme background color changes across sections.
Pros and Cons
Strengths
Considerations
Who Photopea is best for
Photopea is best for ecommerce merchants who want decent control over image cleanup and do not mind spending time on manual edits. It can work well for Shopify store owners updating a few featured products, testing new product page layouts, or preparing occasional social assets with transparent cutouts.
It is a weaker fit for stores with large product ranges, frequent launches, or lean teams where image production already slows down merchandising. In those cases, speed often matters more than editing flexibility. If you are building cleaner visuals for a new product photography studio setup, Photopea can be part of the workflow, but it usually works best after you have already improved your lighting and source image quality.
Using Photopea on mobile and Android: what works, what is painful, and a practical workaround
Photopea runs in a mobile browser, so technically you can remove backgrounds on Android or iPhone. The reality is that precise selection work is much harder on a small screen, especially if you are using your finger instead of a mouse.
What is realistic on mobile
On a phone or tablet, Photopea is usually fine for quick, simple tasks like cropping, resizing, basic color correction, or a rough Magic Wand selection on a high-contrast background. If your product is on pure white and has hard edges, you can sometimes get to an acceptable cutout.
What tends to be frustrating is anything that requires careful edge refinement, like hair, fur, soft fabric edges, jewelry, glass, or detailed packaging. Zooming and panning constantly slows you down, and tiny mask brush work is easy to mess up.
A practical workflow for store owners who get stuck away from a computer
If you need a cutout urgently while traveling or during a photoshoot, do a rough cutout on mobile, then finish the edges later on desktop where you can be more accurate. Another option is to use a faster automated remover when you are away from your computer, then bring the result into Photopea later only if it needs manual correction.
For most Shopify store owners, the best outcome comes from treating mobile as a “triage” step, not a full production workflow.
Mobile input and file handling tips
A faster alternative for store owners
If your main goal is simply to remove backgrounds fast, Photopea is not always the most efficient path. Many merchants start with it because it is accessible, then move to tools built specifically for background tasks once catalog volume grows.
One route is to compare automated editors and specialty tools before committing. AcquireConvert's remove.bg reviews article is useful if you are weighing a dedicated remover against a manual editor. That kind of comparison matters because the right tool often depends on your image mix. Flat-lay apparel, boxed goods, cosmetics, and reflective products all create different editing challenges.
From the available product data, ProductAI's background-focused tools stand out for merchants who need quick variations and ecommerce-ready outputs. The Free White Background Generator may help when marketplace or catalog standards require a clean white backdrop. The Background Swap Editor is relevant if you want lifestyle or campaign variations after the initial cutout. For stores selling fashion, beauty, or giftable products, that can save time during campaign production.
The trade-off is control. Automated tools are usually faster, but manual editors like Photopea can still be better when the cutout needs careful hand correction.
How to choose the right workflow
If you are deciding between Photopea and a more automated alternative, use these criteria.
1. Image volume
If you only edit a handful of photos per month, Photopea may be enough. If you launch products weekly or manage many variants, manual editing time adds up quickly. A catalog-driven store usually benefits from a workflow that reduces repeated handwork.
2. Background complexity
Plain backgrounds and simple product edges are manageable in Photopea. Textured scenes, low contrast shots, and transparent objects are more difficult. In those cases, you may need either better source photography or a more specialized tool plus manual cleanup.
3. Team skill level
A solo merchant with some design experience can get good results in Photopea. A merchandising assistant or founder with no editing background may find the workflow slower than expected. Your best process is the one your team can repeat consistently, not the one with the most controls on paper.
4. Output requirements
Think about where the image will go. Shopify product pages, collection cards, Google Shopping creatives, email banners, and social ads all need slightly different treatments. Transparent PNGs are useful, but they are only part of the workflow. You may also need white-background versions, resized crops, or image enhancements for retina displays.
5. Conversion impact through consistency
Background removal is not only a design task. It affects how polished your storefront looks. Consistent product imagery can reduce visual friction and make collection pages easier to scan. It may also help your brand look more trustworthy, especially for first-time visitors. That said, better image editing alone does not guarantee higher conversion rates. It works best alongside stronger product pages, clearer value propositions, and solid merchandising.
As a practical rule, use Photopea if you need control and can spare the time. Use automated tools if speed, repeatability, and team efficiency matter more.
AcquireConvert generally approaches this from the store owner's perspective. Giles Thomas's work as a Shopify Partner and Google Expert is useful here because image decisions connect directly to merchandising, search visibility, and ad creative quality. If you are comparing methods rather than just following a tutorial, explore the wider Transparent Background resources to see how other workflows fit different store setups.
Frequently Asked Questions
Is Photopea good enough for Shopify product images?
Yes, it can be good enough for many Shopify product images, especially if the source photo is clean and the product stands out clearly from the background. The main limitation is time. For a few hero images, it works well. For larger catalogs or frequent product launches, the manual workflow may become inefficient.
Can I export a transparent PNG from Photopea?
Yes. After removing the background and checking that the transparent area is visible, you can export the file as PNG. That format is commonly used when you need transparent product cutouts for ecommerce design, overlays, or custom merchandising graphics across your storefront and marketing channels.
What is the fastest way to remove a background in Photopea?
The fastest method is usually selecting a plain background with Magic Wand, inverting the selection if needed, and applying a layer mask. This works best on product images shot against clean white or evenly lit backdrops. More complex photos often need manual refinement around edges and shadows.
How do I remove the background image in Photopea?
Open your image, select the background (Magic Wand is often the quickest on white), then add a layer mask so the background is hidden instead of deleted. If your photo has tricky edges, try Select > Magic Cut, then convert the result into a layer mask and clean up the mask with a small brush.
How to set background to transparent in Photopea?
Make sure the background layer is hidden or masked out, and confirm you can see the checkerboard transparency behind your product. Then export using File > Export As > PNG. If you export as JPG, the background will not stay transparent.
How do I remove the background from a pic?
The basic process is: select your subject (or select the background and invert), apply a layer mask, then refine the mask edges at a higher zoom level. For ecommerce product photos, it helps to preview the cutout on a solid color layer so you can spot halos and missed gaps before exporting.
Is there an eraser tool on Photopea?
Yes, Photopea has an eraser tool, but for background removal it is usually safer to use a layer mask instead. Erasing permanently deletes pixels, while a mask lets you fix mistakes later. If you want to “erase” part of the background, paint black on the mask. If you erase too much product, paint white on the mask to bring it back.
Is Photopea better than a one-click background remover?
It depends on what you value. Photopea gives you more control, which can be useful for difficult edges or branded image compositions. One-click removers are usually faster and easier for teams handling lots of product photos. Many store owners end up using both, depending on image complexity and production deadlines.
Does background removal improve ecommerce conversion rates?
It can help indirectly by making product pages look cleaner and more consistent, which may improve shopper trust and product comparison. Still, background removal alone does not guarantee better conversion. Results depend on the full page experience, including photography quality, product copy, pricing, reviews, and page speed.
Should I keep product shadows after removing the background?
Usually, a subtle natural shadow is worth keeping if it helps the product look grounded and realistic. Removing every shadow can make some items look flat. The right choice depends on your brand style, product type, and whether the image is meant for a product page, marketplace listing, or promotional graphic.
What kinds of products are hardest to edit in Photopea?
Hair-like fibers, glass, reflective packaging, jewelry, and translucent materials are often harder to clean up manually. These products tend to have delicate edges or background reflections that require more patience. Better source photography usually makes more difference than any software shortcut when these items are involved.
Do I need a white background or a transparent background?
It depends on where the image will be used. White backgrounds are often helpful for marketplaces, catalog consistency, and certain ad formats. Transparent backgrounds are better when you want flexibility across website sections, promotional designs, or layered creative. Many ecommerce teams keep both versions ready.
Are there alternatives if Photopea feels too slow?
Yes. If manual editing is taking too long, compare dedicated background removal tools and AI-assisted editors. AcquireConvert's coverage of background editing options can help you evaluate the trade-offs. The best alternative is usually the one that balances acceptable cutout quality with a workflow your team can repeat quickly.
Key Takeaways
Conclusion
Photopea can absolutely handle background removal for ecommerce, especially if you want a no-install editor and do not mind a bit of manual work. For solo merchants, designers, or small stores updating a limited number of product images, it is a reasonable option. For larger catalogs, tighter launch cycles, or teams that need repeatable outputs quickly, a dedicated background tool may be the better fit. If you want a more practical store-owner view of your options, AcquireConvert is a useful next stop. Giles Thomas brings a Shopify Partner and Google Expert perspective to ecommerce image workflows, so the advice stays grounded in what actually helps merchants ship cleaner visuals faster. Explore the related guides above to compare methods and choose the right process for your store.
This article is editorial content for informational purposes only and is not a paid endorsement unless explicitly stated otherwise. Tool features and pricing are subject to change, so verify current details directly with the provider before making a decision. Any references to conversion, merchandising, or workflow improvements describe potential outcomes only and do not guarantee results.

Hi, I'm Giles Thomas.
Founder of AcquireConvert, the place where ecommerce entrepreneurs & marketers go to learn growth. I'm also the founder of Shopify agency Whole Design Studios.