Camera for Product Photography (2026 Guide)
Choosing the right camera for product photography is less about chasing the most expensive body and more about matching your store’s workflow, product type, and content goals. If you run an ecommerce brand, you may need one setup for white background product shots, another for styled social content, and a different approach again for 360 product views. That is why the best camera for product photography depends on what you sell, where you sell it, and how fast you need to produce assets. If you are still shaping your visual style, it helps to start with a broader understanding of lifestyle photography and how it supports conversion-focused ecommerce imagery.
Contents
What Matters Most in a Product Photography Camera
If your goal is clean ecommerce imagery, the camera body is only one part of the result. Lighting, lens choice, stability, and editing workflow often matter just as much. Many store owners overspend on a camera and then underinvest in the pieces that actually improve consistency, such as a tripod, controlled lighting, and a repeatable shooting space.
For most ecommerce brands, a good camera for product photography should do four things well. It should capture accurate detail, allow manual control, work reliably on a tripod, and fit the way your team creates content. If you shoot products for your website, marketplaces, paid ads, and social media, you also need a setup that can switch between studio-style product images and more styled shots without slowing production.
Your decision changes based on what you sell. Small reflective items like jewelry need different capabilities than apparel, furniture, or cosmetics. If your team is producing styled content, your camera needs to work well with different scene background choices and lighting conditions. If you are building a stronger visual identity, it should also support the kind of imagery used in branding photography.
For many Shopify merchants, the best option is not “the best camera” in general. It is the one that gives you dependable, repeatable images that make products easier to understand and easier to buy.
Key Camera Features to Evaluate
1. Manual controlsYou need full control over aperture, shutter speed, ISO, and white balance. This matters for product photography camera settings because consistency across a collection is hard to maintain if the camera keeps making automatic exposure decisions. For white background work especially, manual control helps you avoid image-to-image variation that makes category pages look uneven.
2. Sensor quality and detailA larger or newer sensor can help with sharpness, color accuracy, and low-noise files. That does not mean every store owner needs a high-end full-frame camera. Many APS-C and Micro Four Thirds models are perfectly capable for product photography for website use, especially when paired with good lighting and a sharp lens.
3. Lens compatibilityThe lens often influences the final result more than the camera body. A macro lens is valuable for small products and texture detail. A standard prime or zoom works well for larger products. If you are comparing what camera to buy for product photography, always check the lens ecosystem before you buy the body.
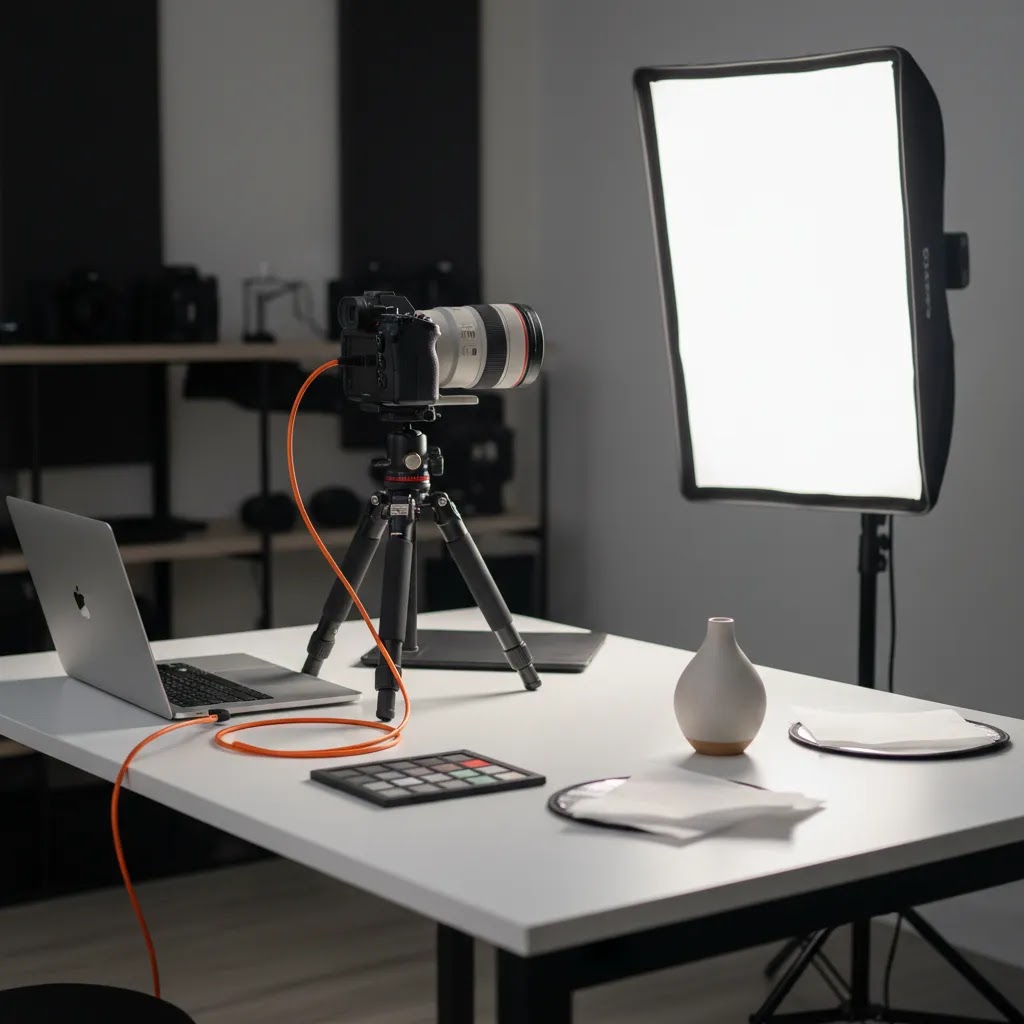
4. Tethering and workflow supportIf you shoot products regularly, being able to review images on a computer during the session can save time. Tethered shooting helps you catch focus issues, dust, and framing mistakes before you upload images to Shopify or send them into editing.
5. Video and 360 content needsSome stores need more than still photos. If you plan to create spins, reels, or product demos, a camera with strong video features may be worth the extra cost. For a 360 camera for product photography or a 360 degree camera for product photography workflow, the camera is only part of the equation. You may also need a motorized turntable for product photography or a 360 rotating camera stand for product photography to create smooth, consistent rotations.
6. Smartphone compatibility and AI-assisted editingFor some brands, the best smartphone camera for product photography is enough for fast content creation, especially for social assets and lighter website use. If your workflow includes image cleanup after the shoot, tools like AI Background Generator, Free White Background Generator, and Increase Image Resolution may help improve efficiency. These tools can support production, but they should not replace good source photography where detail, color accuracy, and trust matter most.
Camera Types for Product Photography (DSLR vs Mirrorless vs Compact vs Phone)
Most “what camera should I buy” decisions get easier once you pick the right camera type for your workflow. Specs matter, but ecommerce photography is really about repeatability. You want a setup you can set on a tripod, light consistently, and use week after week without fighting it.
DSLR cameras
DSLRs are a solid choice for controlled studio work. They are typically comfortable to hold, have long battery life, and the used market is deep, which can matter if you are trying to build a kit without overspending. The trade-off is size and weight, and in many product teams, DSLRs are less convenient for fast content days where you are shooting stills, quick video, and social clips back to back.
Choose a DSLR if you want interchangeable lenses, mostly shoot on a tripod, and you are happy with a more traditional photography workflow.
Mirrorless cameras
For many Shopify store owners, mirrorless hits the sweet spot. You get interchangeable lenses, strong image quality, and in many cases better autofocus and video features for the money. They are also lighter, which helps if your “product photography” sometimes turns into a half-day lifestyle shoot for ads.
Choose mirrorless if you want a modern upgrade path, you expect to shoot both stills and video, or you want a smaller kit that still supports serious catalog consistency.
Compact cameras
Compact cameras can work well when you need something simple and portable, and you do not want to manage lenses. The reality is that most compacts are limited by their fixed lens. That can be fine for larger products and general content, but it can be restrictive for detail work where a macro lens would make your life easier.
Choose a compact camera if you want something more capable than a phone, but you still want a lightweight setup that stays simple.
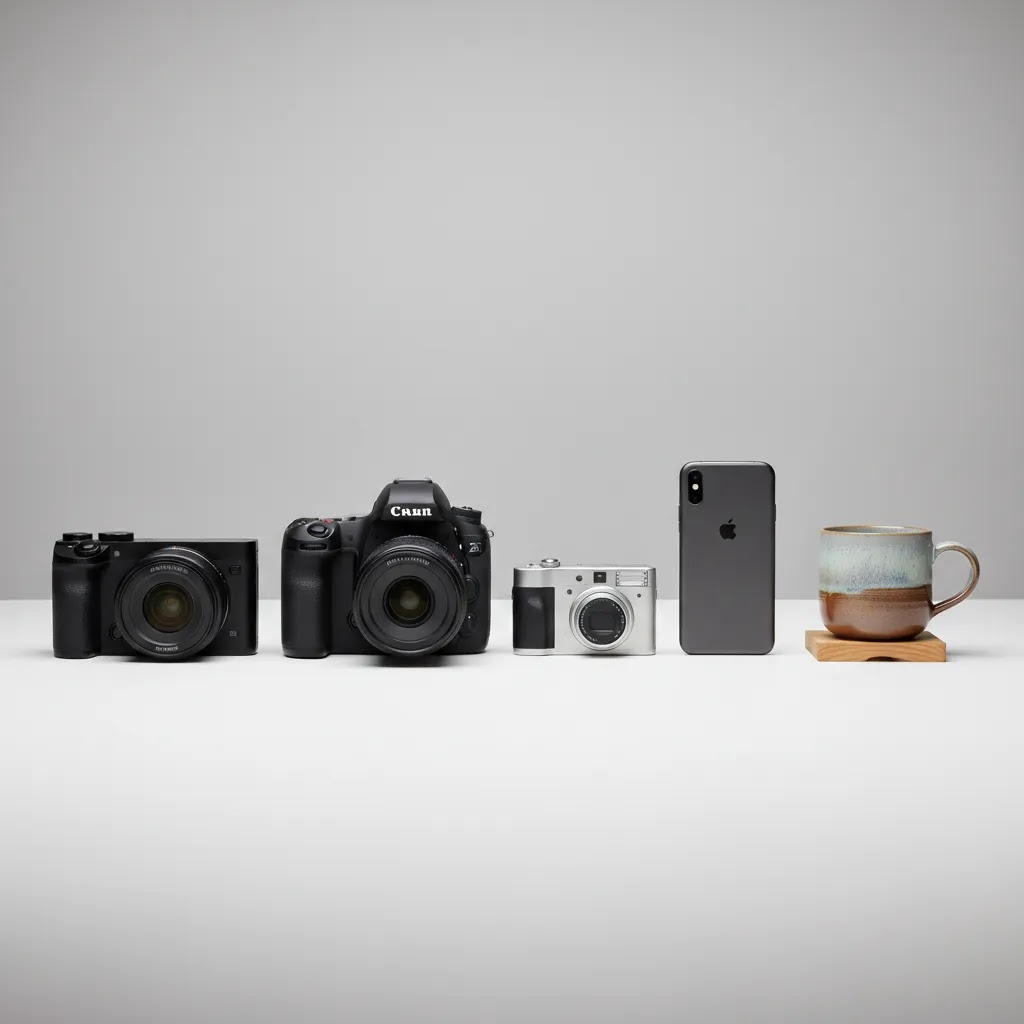
Smartphone cameras
Phones are often underestimated for ecommerce, especially if your first priority is speed. A smartphone with a tripod and consistent lighting can handle a lot of product photography for website use, particularly for larger products and early-stage stores testing offers and landing pages. The main limitations are lens flexibility, manual control depth, and consistency when you are shooting a large catalog with tight framing standards.
Choose a smartphone if you need fast output, you are creating a lot of social-first content, or you are not ready to manage lenses, tethering, and a more complex studio workflow yet.
From a practical standpoint, think of it this way: if your product pages demand consistent framing across dozens or hundreds of SKUs, an interchangeable-lens camera usually makes that easier. If your main goal is rapid content for ads and social, a phone or compact camera could be the right starting point, as long as you control light and stabilize the shot.
Pros and Cons
Strengths
Considerations
Who This Buying Approach Is For
This guide is for ecommerce store owners, Shopify merchants, and in-house marketers who need better product images but want to make a sensible equipment decision. It is especially useful if you are choosing between a smartphone, entry-level mirrorless camera, or more advanced interchangeable-lens system.
It also fits brands that are moving from casual content creation into a more structured workflow. If your store now needs cleaner product pages, more consistent catalog images, or better conversion-focused visuals for ads and email, choosing a camera based on actual production needs is usually smarter than buying based on spec sheets alone.
AcquireConvert Recommendation
At AcquireConvert, the goal is to help store owners make practical choices that support better visuals and stronger ecommerce performance. Giles Thomas brings the perspective of a Shopify Partner and Google Expert, which matters because product photography is not just an aesthetic decision. It affects product page clarity, feed quality, ad creative, and how confidently shoppers assess what you sell.
If you are refining your workflow, start with the fundamentals of Product Photography Fundamentals and then look at the wider Lifestyle Product Photography category for styling and composition ideas. If your next step is creating more variants of the same product scene without repeated reshoots, our guide to an ai scene generator is a natural follow-on. For brands building a more controlled in-house setup, it also helps to understand what a product photography studio actually needs.
How to Choose the Right Camera for Your Store
1. Start with your product typeIf you sell small products with surface detail, such as jewelry, watches, beauty items, or tech accessories, prioritize close-focus capability and lens options. A macro-friendly setup matters more than headline resolution. If you sell apparel or home goods, flexible framing and reliable color performance may matter more.
2. Decide where the images will be usedProduct photography for website use usually requires consistency first. Marketplace listings, Shopify collection pages, and Google Shopping feeds benefit from clean, standardized visuals. Social content may need more dynamic framing, motion, and mixed environments. If your needs are mostly catalog-based, buy for repeatability. If you produce more campaigns and styled shoots, buy for versatility too.
3. Be realistic about your team’s workflowIf one person handles photography, editing, uploads, and merchandising, a simpler setup may outperform a technically stronger but slower one. Many growth-stage brands do well with a mid-range mirrorless camera, one reliable lens, and a controlled lighting setup. A strong workflow beats a complicated kit that gets used inconsistently.
4. Plan around accessories, not just the bodyThe best low cost camera for product photography is often the one that leaves room in your budget for a tripod, lights, triggers, and background materials. If you want spin imagery, factor in a turntable for product photography from the start. If you want to test 360 content, remember that smooth product rotation often depends more on the stand and capture process than on buying a specialized 360 camera immediately.
5. Match editing needs to image source qualityIf you are shooting large product ranges, post-production efficiency matters. Tools such as Background Swap Editor, Magic Photo Editor, and Creator Studio can help support batch creative workflows after the shoot. Still, source images should be well lit and sharply captured first. An ai camera for product photography workflow is strongest when AI is assisting cleanup, formatting, and scene variation, not fixing avoidable capture problems.
6. Consider smartphone-first if speed matters mostIf your store is early stage, the best smartphone camera for product photography may be enough to get moving. This is especially true if you sell larger products, do short social videos, or mainly need decent images for testing pages and offers. Once your visual standard and volume rise, moving to a dedicated camera often gives you better consistency and more control over camera settings for product photography white background setups.
7. Do a trial workflow before you commitBefore buying, map out a real shoot: hero image, detail shot, scale shot, styled image, and if relevant, one 360 sequence. That test will tell you more than feature comparisons. The right setup is the one that lets you repeat that workflow cleanly every week, not just once on launch day.
Recommended Starter Kits by Budget (Under $500, Mid-Range, Pro)
A lot of store owners searching for a camera for product photography are really searching for a starter kit plan. The camera body matters, but the kit is what determines whether you can produce consistent images on demand. The goal here is not to pick a specific model. It is to show what to prioritize at each budget level so you do not spend everything on the body and end up stuck shooting handheld with bad light.
Under $500 starter kit (focus on used gear and consistency)
At this level, the smartest approach is often a used interchangeable-lens camera body with manual controls, plus one sharp lens that fits your product size. Put the rest into stability and light. For most Shopify stores, clean, consistent lighting will do more for conversion-focused product photos than incremental sensor upgrades.
Priorities for this tier: a used body that can shoot manual, a sharp standard lens (or a budget macro option if you shoot small items), a stable tripod, and a simple continuous lighting setup with diffusion. If you are shooting white backgrounds, a basic background roll or sweep matters more than premium camera features.
Mid-range kit (best balance for most ecommerce workflows)
Mid-range budgets usually allow for a newer mirrorless body, better autofocus, and a more reliable tethering workflow. This is where many stores land once they are producing weekly content for product pages, email, and paid ads. You can build a kit that is fast enough for lifestyle days and consistent enough for catalog days.
Priorities for this tier: a current or recent interchangeable-lens body with good manual controls, one high-quality general-purpose lens, and a lens that matches your primary product need (macro for detail, or a versatile zoom for larger products). Add controlled lighting that you can repeat, plus a background system you can leave set up.
Pro kit (built for volume, speed, and higher-end output)
A pro budget makes sense when you have real production volume, a clear visual standard, or a team that needs faster throughput. Here, you are paying for durability, faster workflow, better tethering reliability, and more lens options. That can matter if you are shooting large catalogs, multiple angles per SKU, and frequent campaign refreshes.
Priorities for this tier: a more advanced body, pro-level lenses that match your product range, and lighting you can control precisely for consistent color. This is also the tier where it is easier to justify dedicated support gear for 360 capture, or a more complex studio setup that stays assembled.
A buying checklist to keep your kit practical
Consider this before you spend heavily on the camera body: do you have a tripod that does not drift, lighting that stays consistent, and a repeatable background? If not, allocate budget there first. In many cases, store owners get more immediate quality gains by upgrading the “boring” parts of the kit, then choosing the camera that fits what is left.
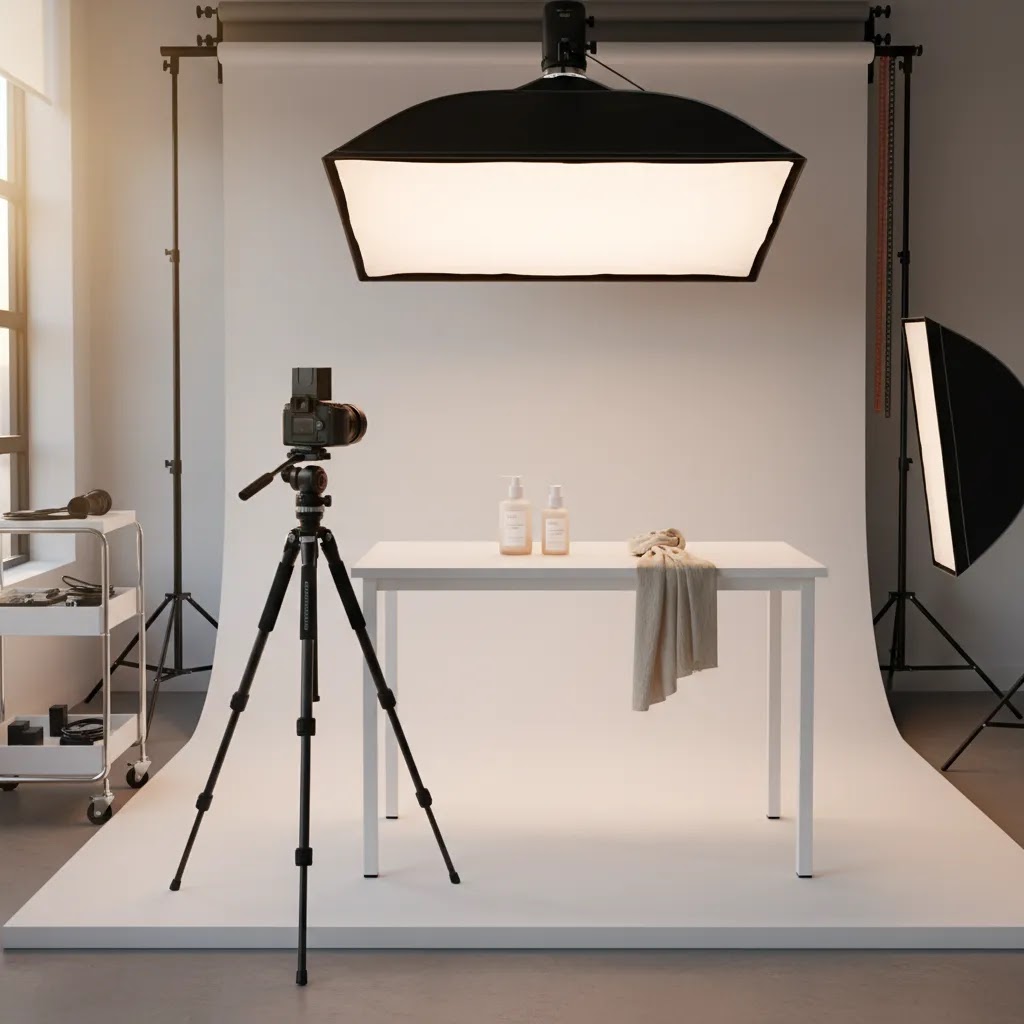
Product Photography Setup Basics: What You Need to Start (Beyond the Camera)
What many store owners overlook is that product photography is a system. A camera can capture great files, but your setup is what makes those files consistent. If you want your Shopify collection pages and product pages to look clean and cohesive, you need a simple shooting station you can repeat.
The minimum viable setup for clean ecommerce photos
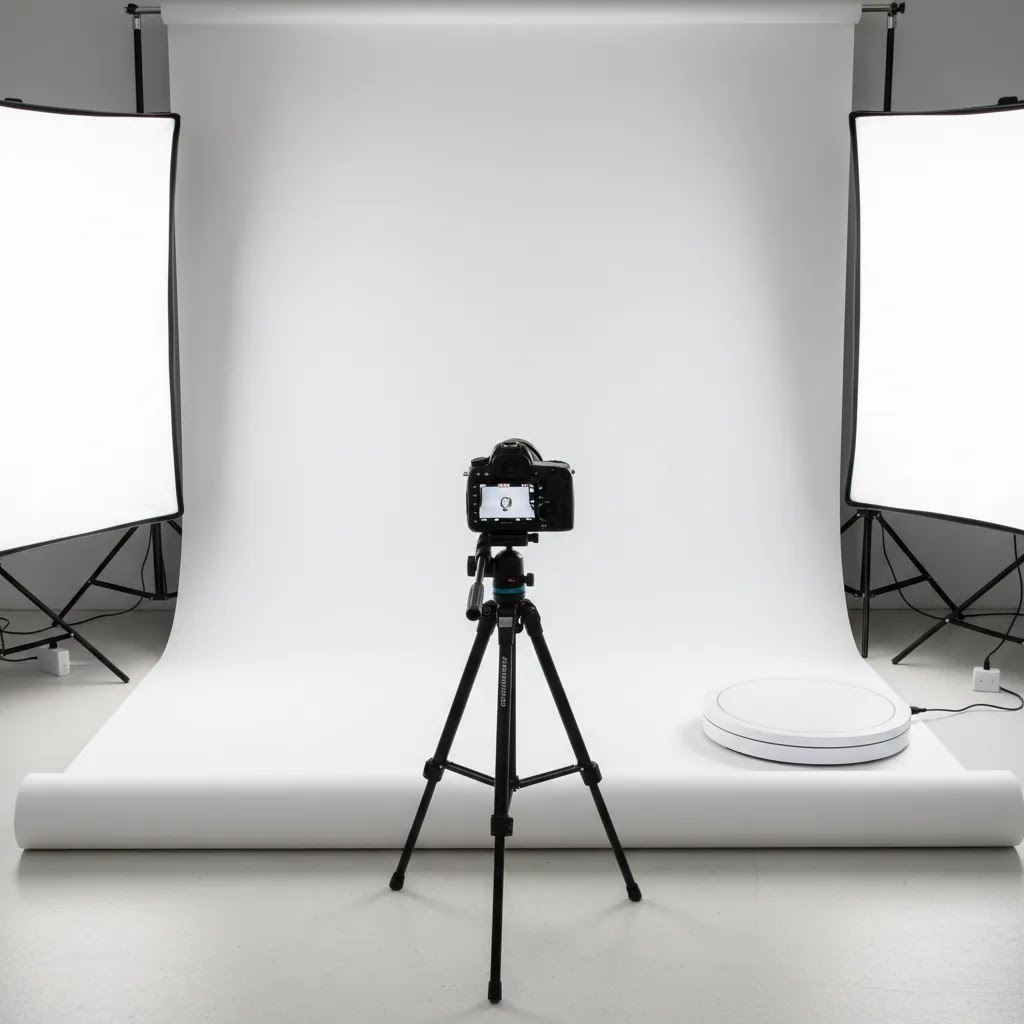
Start with controlled lighting, a stable tripod, and a background you can keep consistent. Continuous lights are often easier for beginners because you can see what you are doing in real time. Add diffusion to soften shadows and reduce harsh reflections, especially for glossy packaging and reflective products. If you are shooting on a phone, a tripod and consistent light still matter because they reduce blur and keep framing consistent across SKUs.
For white background work, your background and light placement matter as much as the camera settings for product photography white background results. Your goal is separation: light the product for detail and color, and manage the background so it stays clean without washing out product edges.
A simple first-shoot workflow you can repeat
The way this works in practice is straightforward. Clean the product, remove dust, and make sure labels are aligned. Lock your camera on a tripod and set manual exposure so it does not drift between shots. Set white balance based on your lighting so colors stay consistent across the full collection. Focus carefully, take a test shot, zoom in to check sharpness, then capture your full angle set before you move anything.
After the shoot, do basic edits consistently: straighten, crop to a standard framing, correct white balance, and export at the sizes you actually use on Shopify. If you use AI-assisted cleanup tools, review outputs before uploading so you do not introduce strange edges or inconsistent shadows from product to product.
Common setup mistakes that hurt conversion-focused imagery
Shaky handheld shooting is the big one. It causes soft images and inconsistent framing, which makes product pages look less trustworthy. Mixed color temperatures are another. If you combine daylight from a window with warm indoor lights, your product colors will drift and editing becomes a time sink. Inconsistent distance and angle is also common. Your hero image should look like it belongs next to every other product in the collection, especially if you want your catalog to feel premium.
Now, when it comes to improving results, the fastest wins usually come from standardizing the station: mark product placement, mark tripod position, and keep lighting fixed. That is how you turn “a good photo day” into a repeatable process.
Frequently Asked Questions
What is the best camera for product photography?
The best camera for product photography depends on your products, content volume, and level of control you need. For most ecommerce stores, a mirrorless camera with manual settings and interchangeable lenses is a strong choice. If you are just starting, a good smartphone plus solid lighting and a tripod can still produce useful results for many store types.
Do I need an expensive camera for product photography for website use?
No. For product photography for website use, consistency matters more than buying the most expensive body. Good lighting, a tripod, the right lens, and repeatable camera settings usually have a bigger impact than premium camera specs. Many store owners get better results by improving workflow and lighting before upgrading camera hardware.
What product photography camera settings should I start with?
A common starting point is low ISO, a mid-range aperture for sharpness, and a shutter speed appropriate for tripod-based shooting. Manual white balance also helps maintain consistency. Your exact product photography camera settings will vary by lighting setup, lens, and product size, so test and standardize them for each shoot type rather than relying on auto mode.
What are good camera settings for product photography white background shoots?
For camera settings for product photography white background sessions, start with manual mode, low ISO, and an aperture that keeps the product sharp from front to back. Expose for the product first, then control the background with separate lighting if needed. This usually gives you cleaner edges and more reliable post-production than trying to overexpose everything in-camera.
Is a smartphone good enough as a camera for product photography?
It can be. The best smartphone camera for product photography is often good enough for newer brands, especially when products are larger and lighting is controlled. Smartphones are also useful for social content and quick testing. The trade-off is less lens flexibility, less manual control, and sometimes less consistency across larger product catalogs.
Should I buy a 360 camera for product photography?
Not always. A 360 camera for product photography can make sense if interactive product views are central to your sales process. But many ecommerce teams create spin content with a standard camera plus a turntable for product photography. If you are still validating demand for 360 assets, start with the simpler setup before investing in a specialized system.
What is a turntable for product photography used for?
A turntable for product photography rotates the product in controlled increments so you can capture consistent angles. It is useful for 360 degree camera for product photography workflows, video loops, and comparison views. For many stores, the turntable matters as much as the camera because it improves consistency and reduces manual repositioning during shoots.
Does AI replace the need for a good camera?
No. AI can help with background cleanup, resizing, scene generation, and creative variation, but it works best when the original photo is well shot. An ai camera for photography workflow should be seen as a production aid, not a substitute for accurate focus, lighting, and color. Strong source images still build more shopper trust.
What camera should I buy for product photography if I am on a tighter budget?
If you are asking what camera to buy for product photography on a tighter budget, prioritize manual controls, tripod use, and access to good lenses over advanced features. A capable entry-level mirrorless or used interchangeable-lens camera may serve you well. Keep room in your spending plan for lights, a tripod, and background materials because they often improve results more than body upgrades.
What do I need to start product photography?
At minimum, you need a camera with manual control (or a phone with manual control options), a tripod, controlled lighting, and a consistent background. From there, add diffusion to soften light, and create a simple shooting station so your angles and framing stay consistent across products. If you want ecommerce images that look trustworthy on Shopify collection pages, consistency is the real goal.
What is the 20 60 20 rule in photography?
The 20 60 20 rule is a composition guideline some photographers use to balance a frame. It is typically described as placing the subject in a way that roughly allocates visual weight, for example keeping about 60 percent of the frame focused on the subject and supporting elements, with the remaining space used for negative space and context. For product photography, the practical takeaway is to be intentional about how much “space” you leave around the product, then keep it consistent across your catalog so your Shopify grid does not look chaotic.
What is the 400 rule in photography?
The 400 rule is commonly used in astrophotography to estimate a maximum shutter speed before stars start to blur due to Earth’s rotation. It is not a product photography standard. For ecommerce product photos, you will usually get sharper results by using a tripod and choosing a shutter speed that matches your lighting, rather than trying to follow a rule meant for night sky shooting.
What is the 500 or 300 rule in photography?
The 500 rule and 300 rule are also astrophotography guidelines used to estimate the longest shutter speed you can use before star trails appear. They do not really apply to product photography. If you are shooting products on a tripod, you can use whatever shutter speed your lighting allows, as long as the product is stable and there is no vibration. For handheld product shots, the more useful guideline is to keep shutter speed high enough to avoid motion blur, or switch to a tripod and controlled lighting for consistency.
Key Takeaways
Conclusion
The right camera for product photography is the one that helps you create clear, consistent, trustworthy images your customers can act on. For ecommerce, that usually means buying for workflow, not prestige. Think about product size, required detail, white background needs, styled content, and whether 360 or video is truly part of your current strategy. If you want practical guidance beyond gear selection, AcquireConvert is built for store owners making these decisions in the real world. Explore more of our photography and ecommerce content to see how visual choices connect to conversion, merchandising, and store growth, with practitioner-led insights shaped by Giles Thomas’s experience as a Shopify Partner and Google Expert.
This article is editorial content and not a paid endorsement unless explicitly stated otherwise. Pricing and product details for third-party tools are subject to change, so verify current information directly with the provider. Any performance outcomes discussed are illustrative only and not guaranteed. AI tools may support image production workflows, but they should be evaluated carefully for quality, consistency, and fit with your brand requirements.

Hi, I'm Giles Thomas.
Founder of AcquireConvert, the place where ecommerce entrepreneurs & marketers go to learn growth. I'm also the founder of Shopify agency Whole Design Studios.