Professional Food Photography (2026 Guide)
Professional food photography matters more in ecommerce than many store owners expect. If you sell snacks, supplements, packaged foods, coffee, sauces, meal kits, or kitchen products, your images do much of the selling before a shopper reads a single line of copy. Strong food visuals help customers judge freshness, texture, portion size, ingredients, and brand quality. Poor visuals can make even a good product look flat or untrustworthy. This guide explains what professional food photography actually involves, how to light and style food for sales-focused images, and where AI editing can help without replacing sound photography basics. If you want a broader visual strategy beyond food-specific shots, start with this guide to lifestyle photography to see how merchants build image systems that support both product pages and ads.
Contents
What professional food photography means for ecommerce
Professional food photography is not just attractive food styling. For ecommerce, it is a structured process for creating images that help shoppers feel confident enough to buy. That usually means a mix of hero shots, ingredient close-ups, packaging images, white background product photos, and lifestyle scenes that show use or occasion.
For most online stores, the goal is not editorial perfection. The goal is image consistency, visual trust, and conversion support. Your photography should answer practical questions: What is the product? How big is it? What does the texture look like? What comes in the pack? Is it premium, healthy, indulgent, handmade, or functional?
Food brands often need two image types working together. First, clean product images for marketplaces, collection pages, and comparison shopping. Second, styled images for ads, email, and social. That is where choices around branding photography matter, because the colors, props, and composition should reflect your positioning rather than just looking nice.
If you are building a repeatable system, think of food photography as part of your store’s visual conversion funnel. Product pages need clarity. Campaign assets need appetite appeal. Category pages need consistency. Your best setup often combines a simple product photography studio workflow with selective lifestyle scenes for top-selling products.
Light, style, shoot: the core workflow
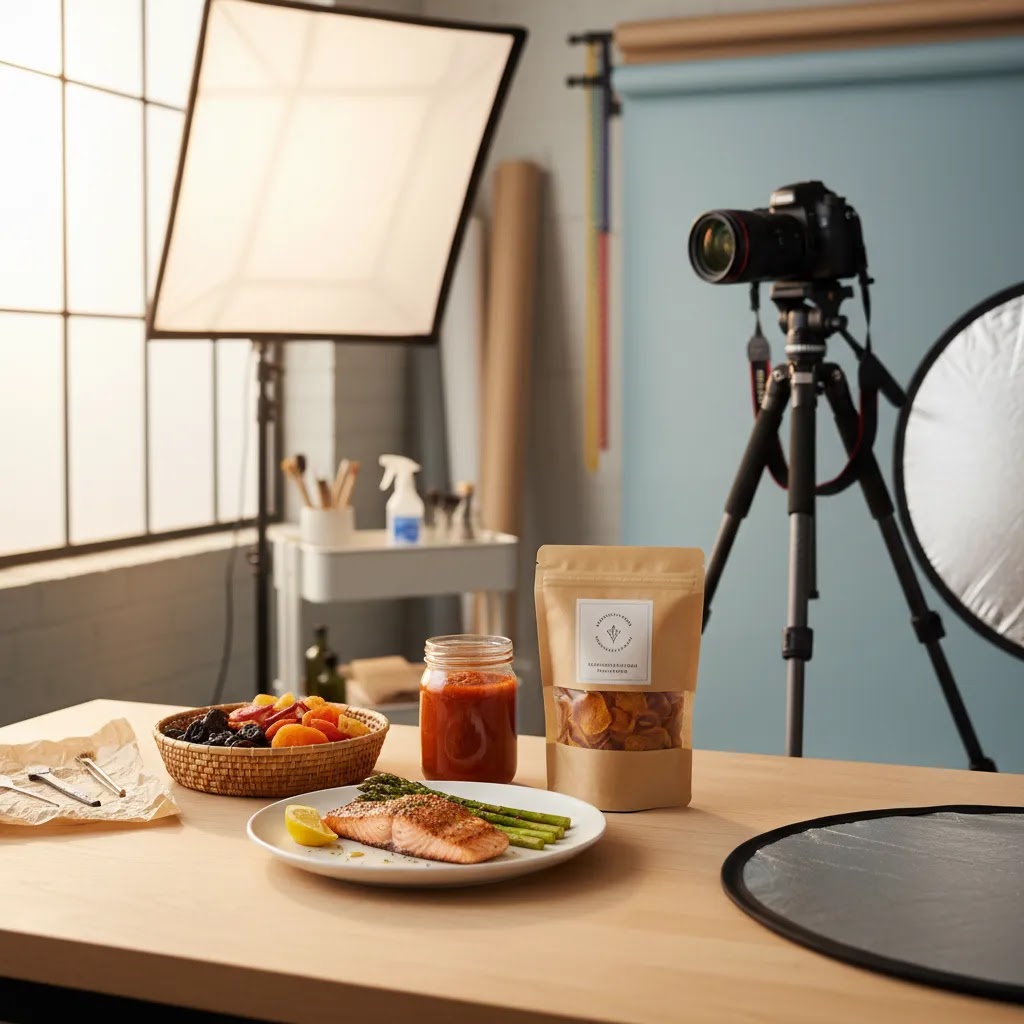
The simplest way to approach professional food photography is to break it into three parts: lighting, styling, and shooting. That keeps your process manageable whether you are working with an in-house team, a freelance photographer, or doing early-stage content yourself.
1. Start with light
Lighting shapes texture more than almost anything else. Side light or back-side light often works well for food because it reveals surface detail, steam, gloss, crumbs, and layers. Front light can flatten food and make it feel less dimensional, although it may work for some packaging-led shots.
If you are shooting for ecommerce, aim for consistent light before dramatic light. A professional photography studio setup does not need to be elaborate. One dependable soft light source, diffusion, reflectors, and a repeatable camera position will usually beat an inconsistent creative setup. For merchants producing ongoing content, this matters more than one-off perfection.
2. Style for the product promise
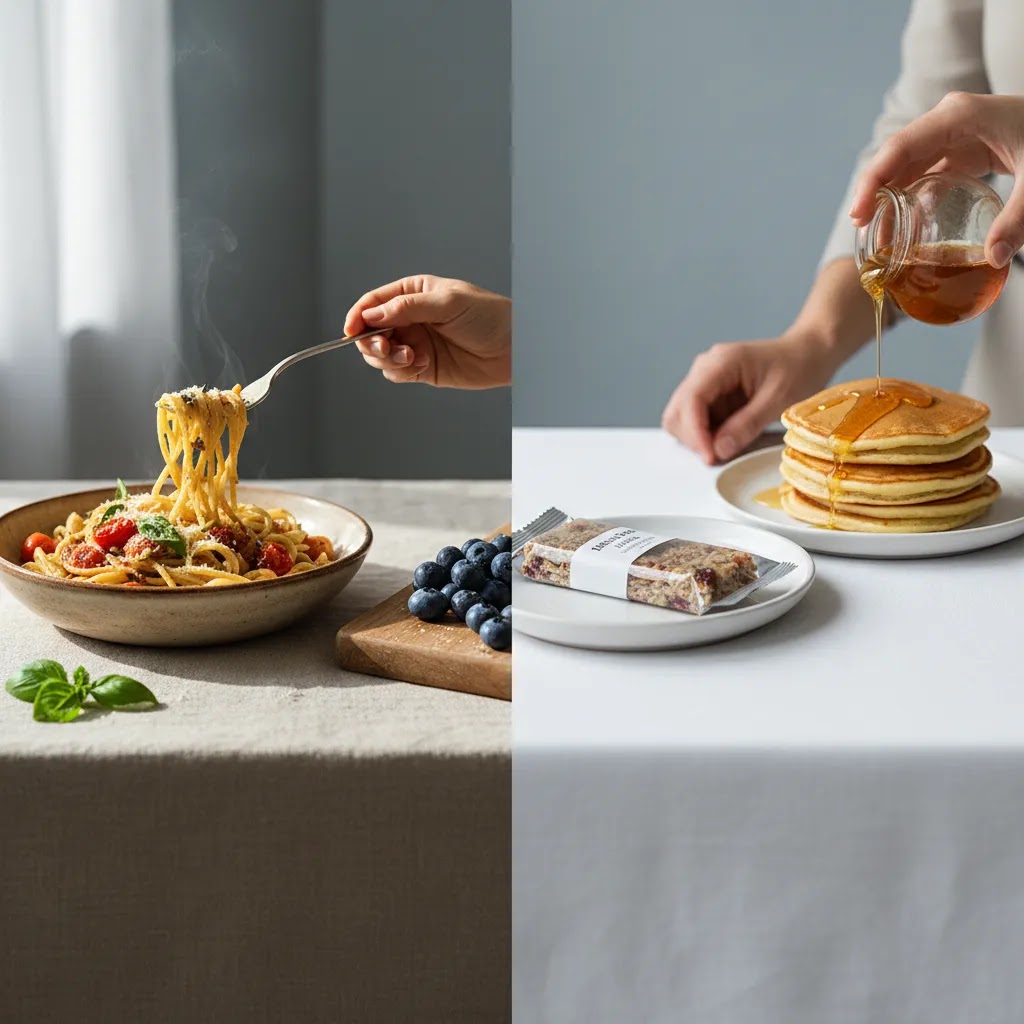
Food styling should support what you sell. A premium chocolate brand may need rich shadows and tight close-ups. A healthy snack brand may benefit from brighter tones, cleaner props, and ingredient cues. A meal kit may need plating that shows prep simplicity.
Your props and scene background choices should not distract from the product. Good food photography backdrops usually create contrast in color and texture without competing with packaging or garnish. In ecommerce, less is often better because the product still needs to read clearly on mobile screens and in ad thumbnails.
3. Shoot for multiple placements
Do not shoot one image and call it done. Plan for your actual use cases:
This is where experienced ecommerce operators save time. They brief the shoot around channels first, not aesthetics first. That approach tends to create more usable assets and fewer reshoots.
Food photography composition that sells (not just looks good)
Here’s the thing: composition is not an art-school add-on for ecommerce. It is a readability tool. Your best-lit, best-styled set can still underperform if the product is not instantly recognizable in a thumbnail, or if the eye does not land on the right cue first.
For most Shopify store owners, composition should be judged by two questions. Can the product be understood in one second on mobile? And does the image guide attention to the thing you actually sell, not the prop or garnish?
Core composition principles that matter for ecommerce
These are classic photography concepts, but they have very practical ecommerce applications:
From a practical standpoint, treat every composition choice as a way to reduce confusion. Clarity tends to beat cleverness on product detail pages.
Shot patterns that work well on Shopify product pages and ads
If you want a repeatable system, use shot patterns that map to how people shop:
Consider this: you do not need every image to be dramatic. You need the set to be predictable. Predictability is what makes your catalog feel trustworthy.
Composition mistakes that can hurt conversions
Most conversion-killing composition problems come down to one issue: the shopper is not sure what they are looking at.
The way this works in practice is simple: build your compositions around recognition first, appetite second. You can always add mood with styling and background once the product reads clearly.
Useful AI tools for food image editing
AI can support professional food photography, but it works best after you understand the base image requirements. It is most useful for editing, cleanup, background control, and asset variation. It is less useful as a substitute for accurate product representation, especially if your images must match what the customer receives.
From the currently available tools, a few are especially relevant for food brands:
For ecommerce teams, the practical value of AI in food photography is speed and asset management. You may be able to create cleaner variants for ads, seasonal banners, and collection pages without rebuilding every set. If you are exploring more creative scene generation, this AcquireConvert guide to an ai scene generator is a useful next step.
Still, use caution. AI-generated food scenes can introduce inconsistencies in garnish, packaging proportions, reflections, or ingredient realism. That is usually fine for conceptual campaign art, but less ideal for product detail pages where trust matters most.
For more topic-specific visual guidance, AcquireConvert also has dedicated sections on Lifestyle Product Photography and White Background Photography.
Pros and Cons
Strengths
Considerations
Who this approach is for
This approach fits ecommerce brands that sell food directly to consumers, through subscriptions, or via retail-ready packaging online. It is especially relevant if your store depends on visual trust to communicate freshness, craftsmanship, ingredients, or premium positioning.
If you run a Shopify store, the biggest benefit is usually operational. You can create a more consistent image system across collection pages, product templates, bundles, email flows, and paid campaigns. If your catalog is growing, a documented food photography workflow often matters more than chasing one perfect shoot style. For newer merchants, that may mean starting with clean white background product images first, then layering in lifestyle and branded scenes once your core PDP assets are solid.
How to choose the right setup
Not every store needs a fully outsourced studio process. The right professional food photography setup depends on your product type, sales channel, and operational pace. Here are the main criteria worth using.
1. Channel requirements
If most of your sales come through your own Shopify store, you have more flexibility with mood, angles, and scene styling. If you also sell through marketplaces or retail partners, you may need cleaner pack shots and stricter white background compliance. Start by listing every image placement you need before planning creative direction.
2. Product behavior on set
Some foods photograph easily. Packaged granola, canned drinks, and sealed supplements are relatively stable. Ice cream, sauces, cooked meals, and fresh produce are harder because they change quickly under lights. The more time-sensitive your product is, the more important prep and shot sequencing become.
3. In-house vs outsourced production
An in-house workflow can work well if your product is stable, your volume is high, and you need frequent updates. Outsourcing may be better if your brand needs elevated art direction or your team lacks time. Many merchants use a hybrid model: in-house for routine product updates, external help for hero campaigns.
4. Editing needs
If you regularly need alternate scenes, white background exports, or channel-specific crops, editing capacity matters almost as much as the shoot itself. AI tools can help here, especially for background changes and cleanup. Just keep your source images accurate and high quality.
5. Brand fit
Your photography should match your price point and customer expectations. A premium gourmet brand may need more styling nuance than a functional pantry staple. A bright wellness brand may need cleaner surfaces and ingredient-led compositions. This is why food photography and brand direction should be reviewed together rather than handled as separate tasks.
As a practical rule, start with the minimum viable system that supports trust: consistent lighting, accurate color, clear pack shots, and a few strong lifestyle images. Then expand based on what channels actually drive revenue and where your team needs more asset variety.
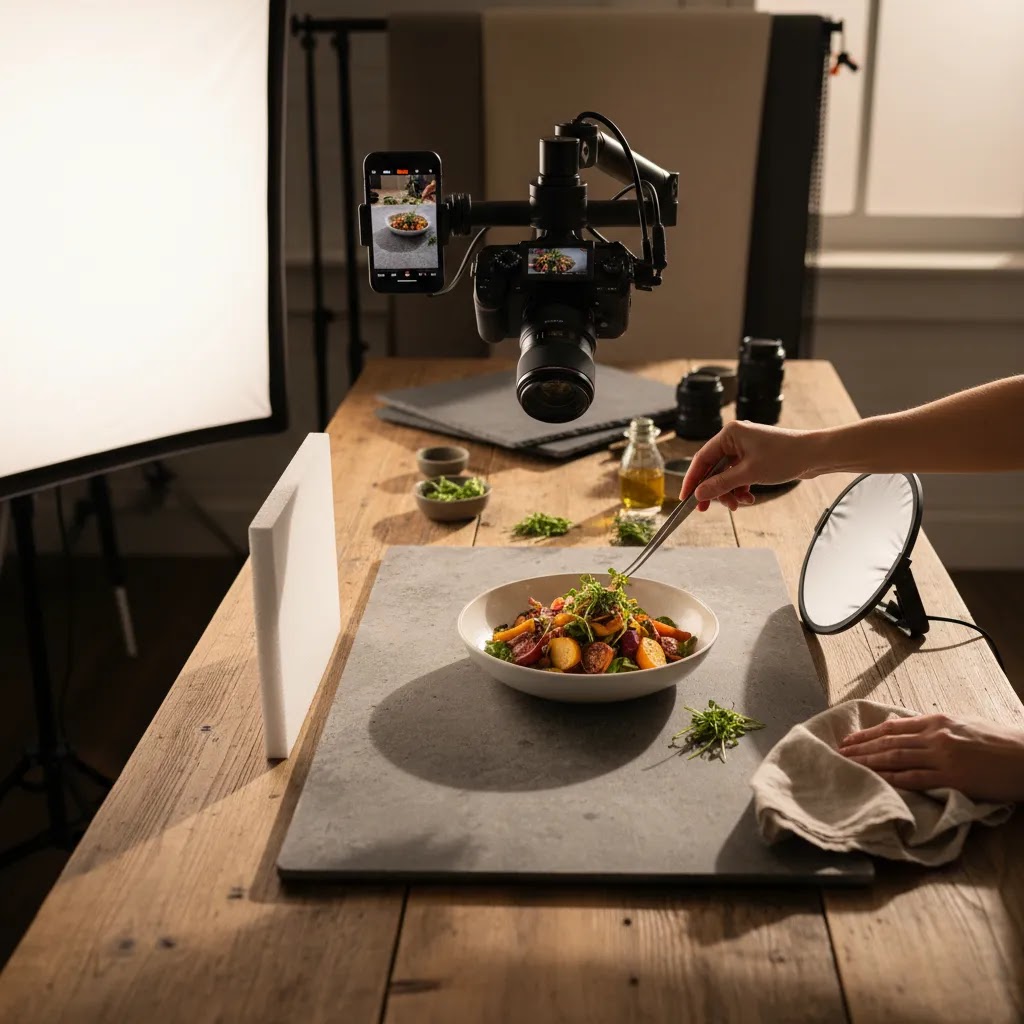
A phone-based professional food photography workflow (for in-house teams)
For most Shopify store owners, a modern smartphone can be enough to produce “professional” ecommerce images, especially for packaged products and stable foods. The key is not the phone. The key is repeatability, controlled light, and consistent capture settings so your catalog does not look like a mix of random shoots.
Think of your phone workflow as a lightweight studio. Same angles, same distance, same lighting, same background surfaces. That is what creates consistency across a collection page grid.
Capture settings that make phone photos look consistent
What many store owners overlook is that auto settings can change shot to shot, even within the same set. That is usually where the “why do these products look like they were shot in different rooms” problem starts.
A minimal gear checklist that supports repeatability
You do not need a full studio, but a few small pieces of gear can make your workflow much more consistent:
If you shoot food that changes quickly, batching becomes the difference between “we can do this weekly” and “this is a nightmare.” Pre-build your set, then shoot all items that use the same surface and lighting angle before you change anything. For plated foods, shoot the hero first, then the close-up texture shot, then any wider lifestyle. The product is often at its best at the start.
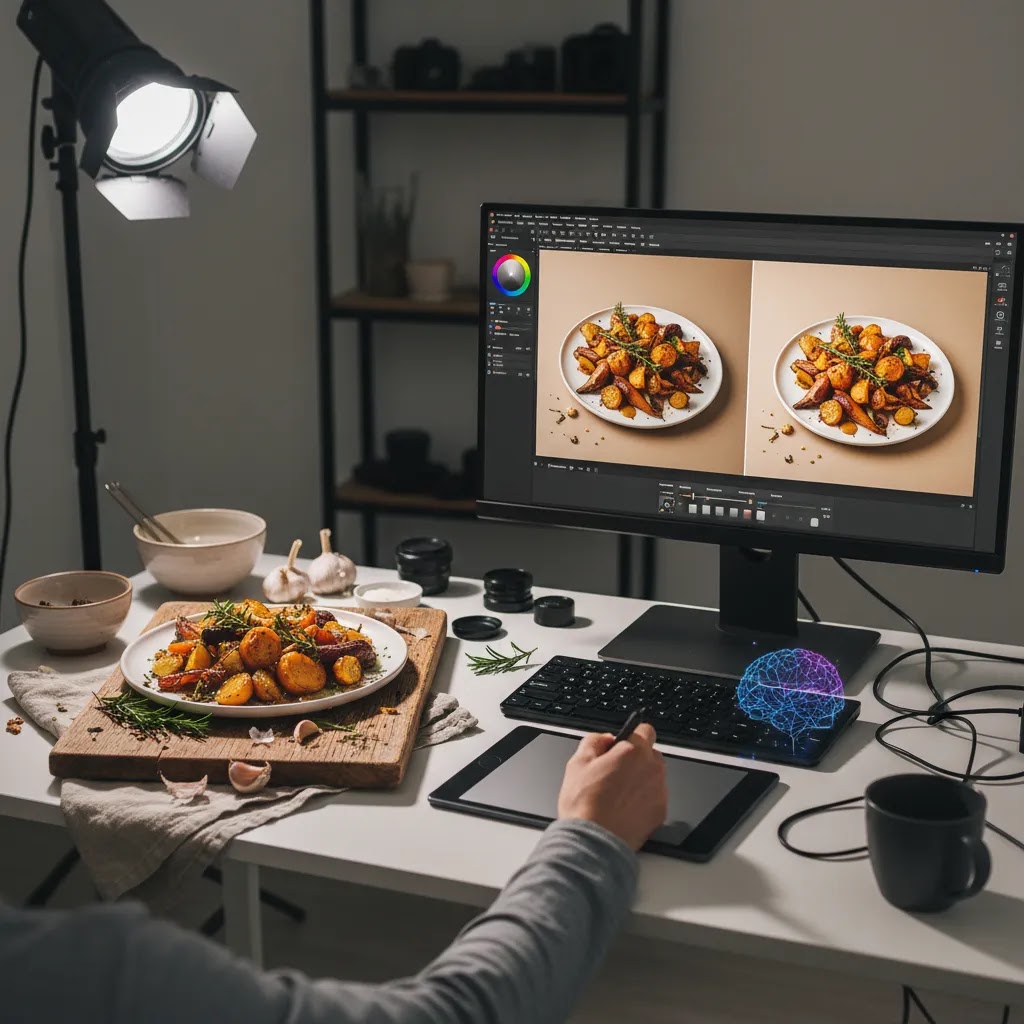
Editing guardrails for ecommerce accuracy
Editing is where phone photos can go from “credible” to “suspicious” fast. For ecommerce, accuracy tends to win, even if it is not as dramatic as editorial food photography.
If you need white background exports or background cleanup, AI tools can help, but the source capture still has to be clean. Good light and stable framing reduce how much you have to “rescue” later.
AcquireConvert recommendation
If you are weighing whether to invest in professional food photography, the best move is to treat it as a conversion asset rather than a purely creative expense. In many ecommerce stores, stronger imagery helps reduce uncertainty, supports price perception, and makes campaign creative more usable across channels.
AcquireConvert’s content is especially useful if you are building this system inside a Shopify workflow. Giles Thomas brings a practitioner perspective as a Shopify Partner and Google Expert, which matters when your image decisions affect product pages, feed quality, paid traffic, and conversion paths at the same time.
For next steps, review the broader lifestyle photography pillar, compare your visual direction against this guide to branding photography, and use the scene background article to refine props and surfaces before your next shoot. If your product shots are still inconsistent, it also helps to revisit your ideal product photography studio setup before adding more advanced AI editing.
Hiring and budgeting for professional food photography (costs and briefing)
If you are considering outsourcing, the reality is you are not only paying for someone to press the shutter. You are paying for a process: planning, styling, lighting, set building, capture consistency, retouching, file delivery, and often usage rights. Understanding what drives cost helps you budget, and it also helps you avoid paying for the wrong thing.
What professional food photography typically costs, and why it varies
Pricing models vary by photographer and market, but most ecommerce shoots land in one of these structures:
From a practical standpoint, these factors tend to drive cost the most:
Pricing varies widely, so it is worth asking what is included in the quote. “Professional” often includes pre-production planning, lighting setup, styling support, tethered review, and retouching, not only the shoot day.
How to write a brief that reduces reshoots
A good brief saves money because it reduces ambiguity. It also makes it more likely you get assets that actually fit Shopify templates, collection grids, and ad placements.
Your brief should usually include:
If you already have a visual direction that is working, share examples from your own catalog so the photographer can match it. Consistency across a set is often more valuable than a single standout image that looks like it belongs to a different brand.
How to evaluate photographers for ecommerce fit
Not every great food photographer is a great ecommerce photographer. You are looking for someone who can produce a repeatable set, not just a handful of beautiful editorial frames.
If you are spending on photography to support acquisition as well as conversion, also think about ad use. You want images that can crop cleanly, stay readable in thumbnails, and still look consistent on a Shopify product page.
Frequently Asked Questions
What is food photography in an ecommerce context?
Food photography for ecommerce is the process of creating product images that help shoppers understand what they are buying. That includes pack shots, ingredient close-ups, serving suggestions, and lifestyle images. The focus is not only visual appeal but also clarity, consistency, and trust, especially on product pages where images directly support purchase decisions.
Do I need a professional photographer for food products?
Not always. Some packaged food brands can produce solid in-house images with a repeatable setup, controlled lighting, and clear shot list. A professional photographer becomes more valuable when products are time-sensitive, highly styled, reflective, or premium-positioned. If your current images feel inconsistent or undercut your pricing, outside expertise may be worth considering.
What lighting works best for professional food photography?
Soft side light or back-side light often works well because it reveals texture and shape. The best setup depends on whether you are emphasizing packaging, ingredients, or plated food. For ecommerce, consistency matters as much as drama. A controlled setup that produces repeatable results is usually more valuable than a highly creative setup that changes from shot to shot.
What are the best food photography backdrops?
Good backdrops support the product without overpowering it. Neutral stone, wood, matte painted surfaces, and subtle textured backgrounds are common choices. The right backdrop depends on your brand colors, packaging, and price point. For online stores, contrast and readability are especially important because many shoppers first see your images on mobile screens.
Should food products be photographed on a white background?
Usually yes for at least part of your image set. White background images are useful for collection pages, marketplaces, comparison shopping environments, and clean product detail layouts. They help shoppers focus on shape and packaging. Styled images still matter, but most food brands benefit from having both clean white background assets and more expressive lifestyle photography.
Can AI help with professional food photography?
Yes, mainly in post-production. AI can help with background cleanup, white background generation, resizing, resolution improvement, and scene variations. It is most useful when your original image is already strong. AI can save time, but it should be used carefully on food products because unrealistic ingredients, textures, or proportions can reduce trust.
Is AI-generated food photography safe to use on product pages?
It can be, but accuracy should come first. AI-assisted edits such as cleanup or background replacement are generally lower risk than fully synthetic product scenes. If the final image changes packaging shape, serving size, ingredient appearance, or overall realism too much, it may create customer confusion. Keep your PDP images grounded in the actual product customers will receive.
What equipment do I need for a simple professional photography studio setup?
A workable starter setup often includes one soft light or reliable window light, diffusion, a reflector, tripod, camera or modern smartphone, and a few background surfaces. You do not need a large studio to create effective ecommerce images. What matters most is consistency in lighting, angle, color, and framing across your product catalog.
How many food photos should a product page have?
Most stores benefit from a mix of 4 to 8 useful images rather than a large gallery of near-duplicates. Include a front-facing hero image, packaging detail, close-up texture or ingredient shot, size or scale cue, and one or two lifestyle uses if relevant. The right number depends on how much visual information the shopper needs to feel confident.
How do I know if my food photography is working?
Review it against actual store behavior. Look at click-through rate from collection pages, engagement with product galleries, add-to-cart rates, and performance differences in ad creative. You may also spot issues through customer questions about size, ingredients, or pack contents. Good product photography often reduces confusion and makes your merchandising more effective.
How much does a food photographer charge?
It depends on your market, the complexity of the food styling, and what the deliverables include. Many photographers price by day rate, per final image, or on a retainer for ongoing work. Costs are often influenced by usage rights, prop and styling needs, revision rounds, and the amount of post-production required. The most reliable way to compare quotes is to confirm exactly what is included, not just the headline number.
How to photograph food professionally?
Start with controlled, consistent light, then style for clarity and brand fit, and shoot with a planned set of angles and crops for your real placements. For ecommerce, a stable setup, consistent white balance, and repeatable composition often matter more than artistic variety. If you use AI editing or cleanup tools, review outputs carefully so textures, colors, and packaging proportions stay accurate to the product you ship.
What is the 20 60 20 rule in photography?
The 20 60 20 rule is a simple planning idea some photographers use to balance a shoot. It typically means aiming for a mix such as 20% safe, predictable shots, 60% core shots that match the brief and will be used most often, and 20% more experimental shots for creative options. For ecommerce, this can be a helpful way to make sure you get the essential Shopify product page images first, before spending time on more styled variations.
How many photographers are making over $300,000 a year?
There is not a single public number that applies to all photography categories and markets. Income varies widely based on niche, licensing, client mix, location, and whether a photographer runs a larger production business. If you are hiring for ecommerce, it is usually more useful to evaluate a photographer based on fit, consistency, and process than to try to infer quality from income levels.
Key Takeaways
Conclusion
Professional food photography can shape how customers judge quality, freshness, and brand credibility long before they read your copy. For ecommerce merchants, the smartest approach is usually practical rather than overly elaborate: build a reliable shooting workflow, create clear white background assets, and add styled images where they support merchandising or ad performance. AI can help with editing and scene variation, but it should support accuracy rather than replace it. If you want to sharpen your visual strategy further, explore AcquireConvert’s guides on lifestyle product imagery, branded scenes, and studio setups. Giles Thomas’s Shopify Partner and Google Expert perspective makes these resources especially useful when your photography choices affect both conversion and customer acquisition.
This article is editorial content created for educational purposes and is not a paid endorsement unless explicitly stated otherwise. Tool availability, features, and pricing are subject to change, so verify current details directly with the provider before making a decision. Any discussion of performance outcomes is general in nature and does not guarantee specific business results.

Hi, I'm Giles Thomas.
Founder of AcquireConvert, the place where ecommerce entrepreneurs & marketers go to learn growth. I'm also the founder of Shopify agency Whole Design Studios.