Studio Lighting Photography Setups (2026 Guide)
If you run an online store, your lighting setup affects more than image quality. It shapes how professional your products look, how consistent your catalog feels, and how much editing work your team has to do after a shoot. For most ecommerce brands, the real question is not whether studio lighting photography matters. It is whether a one, two, or three-light setup gives you the best balance of cost, control, and speed. This guide breaks down each option in practical terms so you can choose the right setup for your products, team, and growth stage. If you want a broader foundation first, start with our guide to loop lighting photography, then come back here to compare studio configurations with a clearer eye.
Contents
What one, two, and three-light setups actually do
Studio lighting photography is really about controlling shadows, color, texture, and consistency. That matters a lot in ecommerce because shoppers compare products visually before they read details. If your photos look uneven across collections, your store can feel less trustworthy even when the products are solid.
A one-light setup uses a single key light, often softened through a softbox or umbrella. It is the simplest option and often works well for test shoots, small catalogs, and brands just building a repeatable process. You get fewer variables, but also less control over shadows and background separation.
A two-light setup adds either fill or background control. For many store owners, this is the practical sweet spot. You can brighten shadows, clean up white backgrounds, and produce a more polished look without turning your shoot into a full production. If you are still choosing your gear, our guide to photography lighting equipment can help you match modifiers and stands to the setup you want.
A three-light setup usually adds a dedicated background light, rim light, or accent light. This is useful when you need better product separation, more accurate texture rendering, or a more premium brand look. It is common in a product photography studio workflow where image consistency and throughput matter across dozens or hundreds of SKUs.
Studio lighting photography basics (and why it matters for ecommerce)
Here’s the thing: when people say “studio lighting,” they often picture a big rented space with expensive strobes and a crew. In practice, studio lighting photography simply means controlled, repeatable light. You create that control using artificial lights (strobes or continuous) plus modifiers like softboxes, umbrellas, diffusion, reflectors, and flags.
That word “controlled” is the whole point for ecommerce. It means you can intentionally manage:
Shadow depth: how dark your shadows are, and whether they make your products look premium and dimensional or flat and underexposed.
Highlight roll-off: how your bright areas fade across curved or glossy surfaces, so labels stay readable and reflections look clean instead of blown out.
Background tone: whether your background is true white, clean light gray, or something moodier, and whether it stays consistent across your catalog.
What many store owners overlook is that consistency is a conversion lever, not a photography detail. If your first 20 SKUs were shot on a bright white background, then your next 20 look slightly darker with different shadow direction, customers notice. Your store starts to feel stitched together, even if your products are great. Good studio lighting reduces that risk because you can repeat the same setup next week, next month, or after a packaging refresh.
Now, when it comes to “studio” vs “home studio,” the difference is usually not the room, it is the repeatability. You can do studio lighting in a spare bedroom, garage, or corner of a warehouse. The way this works in practice is simple: block uncontrolled window light, keep your product and backdrop positions consistent, and document your light placement and power so you can recreate it. A dedicated studio space can make that easier, but you do not need a fancy space to get the benefits of studio lighting.
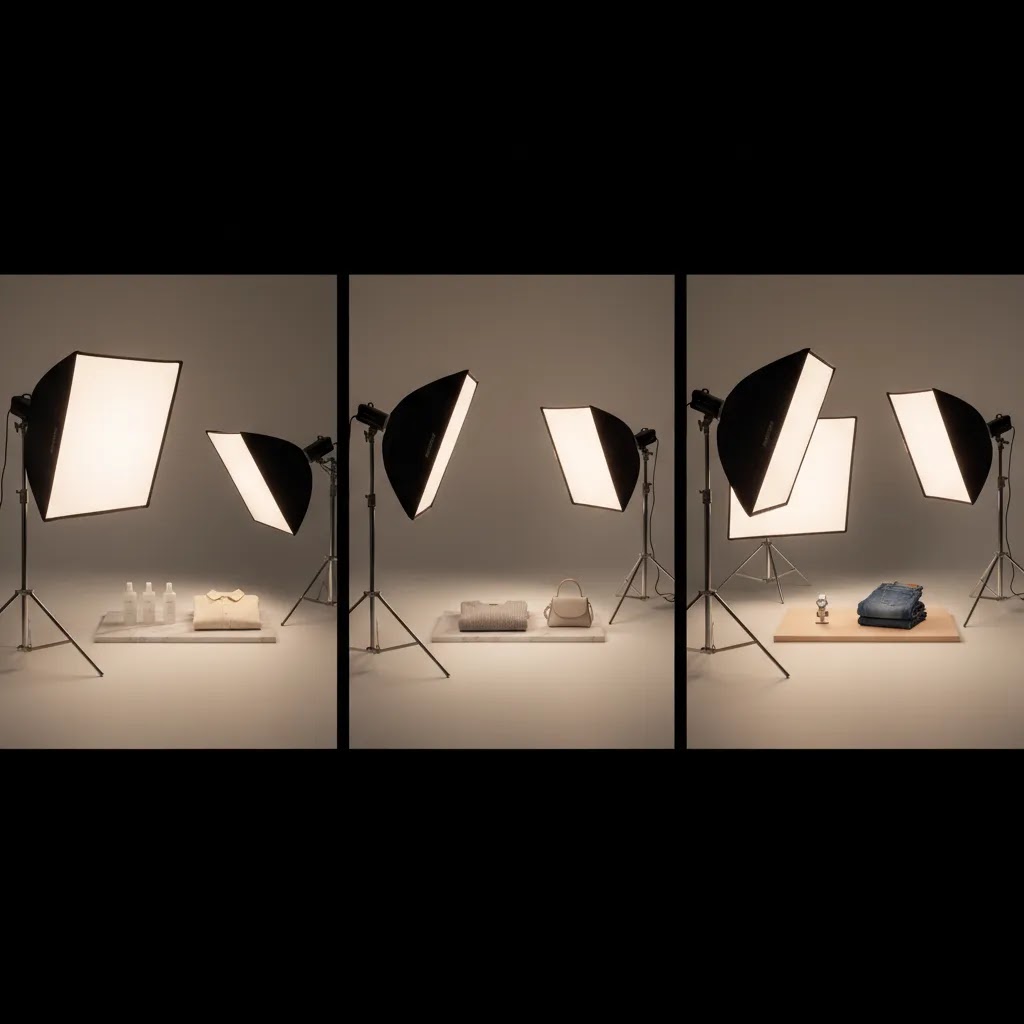
How each setup works for ecommerce photography
One-light setup: This is best viewed as a control-first setup. You place one main light at an angle to the product and shape the look with distance, diffusion, and reflectors. For simple items like mugs, skincare bottles, books, or boxed goods, one light can produce clean results if you are patient about positioning. The trade-off is that shadows can become harder to manage, especially on reflective packaging or products with deep texture.
Two-light setup: This setup usually means a key light plus a fill light, or a key light plus a background light. For ecommerce, that extra light often reduces editing time because you can get cleaner edges and more even exposure in-camera. It is especially useful for flat lays, apparel on mannequins, cosmetics, and medium-size products where shadow detail matters. If your team is shooting for category pages, ads, and marketplace listings, two lights usually improve consistency enough to justify the extra gear.
Three-light setup: With three lights, you gain more creative and technical separation. A common arrangement is key, fill, and background. Another is key, fill, and rim. This gives you more control over white backgrounds, glass, metallic surfaces, and products that need a premium finish. It also helps if you are creating a mix of clean product shots and more stylized brand images from the same session.
The best setup depends on the product and sales channel. A Shopify merchant shooting basic pack shots for collection pages might be fine with one or two lights. A brand selling jewelry, beauty, or apparel may benefit from three lights sooner because texture, shape, and color accuracy influence conversions. If you want a wider view of product photography lighting choices, it helps to assess not just image quality but how much time your workflow can absorb.
For many ecommerce teams, the real cost is not the fixture itself. It is the labor involved in fixing bad lighting later. More lights do not always mean better photos, but the right number of lights can reduce retouching, improve catalog consistency, and make it easier to maintain a visual standard as your store grows.
5 minimal-gear studio lighting setups you can copy (one product, multiple looks)
Consider this: you can get a surprising range of “looks” from the same one, two, or three lights. Most Shopify store owners do not need a different kit for every product line. They need a few reliable setups they can repeat, plus small tweaks to handle matte vs glossy surfaces.
Below are five copyable studio photography lighting techniques that work well for ecommerce. They are written in a product-first way so you can apply them whether you shoot with strobes or continuous lights. Treat the placements as starting points, then fine-tune with quick test shots.
Setup 1: Clean packshot with one soft key plus a reflector
Light placement: put your key light 45 degrees to the left or right of the product and slightly above it, angled down so the front face stays bright. Keep the light relatively close to the product for softer falloff and fewer harsh shadows.
Modifier: a softbox is the usual choice. If you only have an umbrella, add diffusion if you can, or move the umbrella back slightly to reduce spill.
Fill: place a white reflector or foam board on the opposite side of the key light, just out of frame. This lifts the shadow side without flattening the product.
Best for: boxed goods, supplements, skincare bottles, books, and most matte packaging. It is also a strong baseline look to standardize a catalog quickly.
Setup 2: Shape and contrast using negative fill (one light, more premium depth)
Light placement: same as setup 1, key light at 45 degrees and slightly above. The difference is what you do on the shadow side.
Modifier: a softbox or diffused umbrella still works, but keep the light a little farther away if you want a slightly punchier shadow edge.
Negative fill: instead of a white reflector, put a black card or black foam board on the shadow side, close to the product. This absorbs stray light and deepens the shadow for more shape.
Best for: premium packaging, textured products, darker labels, and items where you want more depth. It can also help glossy products by reducing messy ambient reflections, though you still need to watch for specular hotspots.
Setup 3: White background control with a key plus a dedicated background light (two lights)
Light placement: keep your key light on the product, 45 degrees to one side and slightly above. Add a second light aimed at the background, not the product. Try placing it low behind the product pointing up at the sweep, or off to one side pointing across the background for even coverage.
Modifier: for the key, use a softbox. For the background light, a standard reflector can work, but diffusion can help prevent hot spots. The goal is even background tone, not more light on the product.
Distance: separate the product from the background if you can. Even a small gap helps reduce background spill bouncing back onto the product edges.
Best for: true white ecommerce backgrounds, marketplaces with strict image requirements, and catalogs where consistency matters more than mood. This is often the practical upgrade that reduces editing time for cutouts and background cleaning.
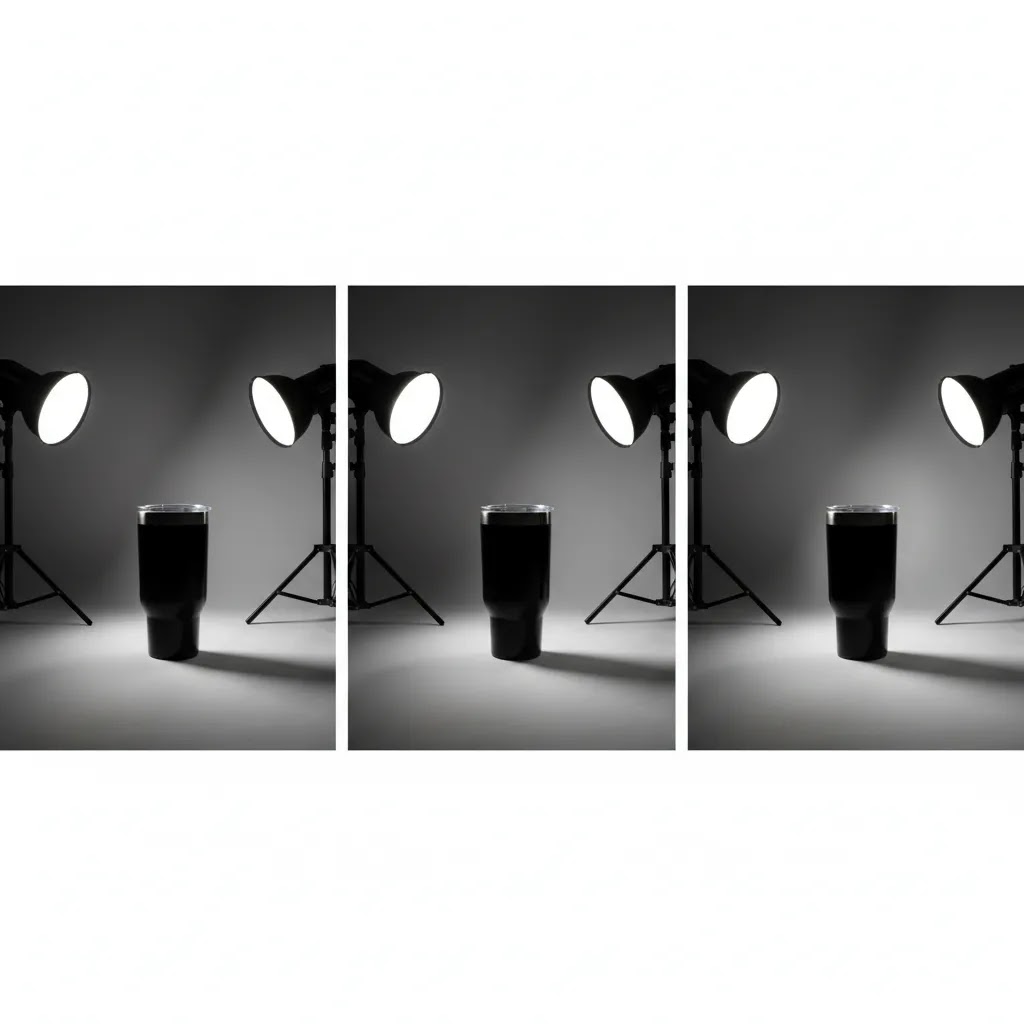
Setup 4: Rim or accent separation for shiny packaging and dark products (two or three lights)
Light placement: set your key light first. Then place an accent light behind and to the side of the product, aimed so it skims the edge facing the camera. Keep it higher than the product for a cleaner rim line on taller items.
Modifier: a strip softbox is ideal, but you can also use a smaller softbox with careful flagging to keep the light off the front label. If you do not have a strip modifier, move a small soft source farther back and narrow it using flags.
Power: keep the rim light subtle. You want separation, not a bright outline that looks artificial.
Best for: dark bottles, glossy labels, metallic tins, and any product that tends to blend into a darker background. It also helps when you want a “premium” edge highlight without changing the whole catalog style.
Setup 5: Overhead soft light for flat lays (one or two lights)
Light placement: place a diffused light directly above the shooting surface so the light falls evenly across the layout. If the product has height (like bottles), raise the light higher to keep shadows from getting too hard.
Modifier: use your largest diffusion option here. The larger the apparent light source, the cleaner and more even the shadows. If you see harsh shadow edges, add diffusion or increase the distance between the light and the product while keeping exposure consistent.
Optional fill: add white boards around the flat lay, especially on the side where labels look darker. This is often enough that you do not need a second light at all.
Best for: apparel flat lays, kits, bundles, and compositions for social and email. It is also a good way to keep a consistent look across product types when your store sells both single items and sets.
For most Shopify store owners, the minimal-gear takeaway is simple: you get “more setups” by moving the same light, changing distance, swapping diffusion, and using reflectors and flags. You do not always need to buy a third fixture to get a different look. You need repeatable placements and a clear target for what you want the product to look like in-camera.
Pros and Cons
Strengths
Considerations

Who each setup is for
A one-light setup is usually right for newer ecommerce brands, solo founders, or small teams shooting simple products in batches. It works best when speed and affordability matter more than total lighting control.
A two-light setup is often the best fit for growth-stage Shopify stores that want stronger consistency across product pages, ads, and email assets. It suits merchants who shoot regularly and want a cleaner workflow without building a full studio.
A three-light setup is a stronger option for established brands, agencies, or in-house content teams producing large catalogs or premium visuals. If your products rely on texture, detail, or polished presentation to justify price point, three lights may be worth the extra effort.
AcquireConvert recommendation
For most ecommerce brands, a two-light setup is the most practical starting point. It gives you enough control to improve consistency and reduce editing pressure without making every shoot feel overly technical. That matters if you are a Shopify store owner managing product launches, refreshes, and promotional campaigns with a lean team.
At AcquireConvert, we look at photography decisions through a revenue and workflow lens, not just an image-making lens. Giles Thomas brings that practitioner perspective as a Shopify Partner and Google Expert, which is useful when your product photos need to work across storefront, Shopping ads, and landing pages. If you are comparing options, check our guide to the best lighting for photography and browse the wider Product Photo Lighting hub for setup-specific advice you can apply right away.
How to choose the right setup
1. Start with product type, not gear envy. A clothing photography studio has different needs from a small tabletop setup for supplements or cosmetics. Apparel often needs wider, softer coverage and better shadow management. Hard goods with matte packaging are usually more forgiving. Reflective products such as glass, metal, and glossy labels demand more control, which may push you toward two or three lights faster.
2. Think about editing time as part of total cost. Store owners often focus on the cost of lights, stands, and modifiers. The bigger expense may be the time spent cleaning shadows, correcting exposure, and standardizing image sets after the shoot. If a second light cuts post-production time across 200 SKUs, it could be the smarter investment even if the upfront spend is higher.
3. Match the setup to your publishing channels. If you only need straightforward white-background product images, a one or two-light setup may be enough. If you also create homepage banners, paid social creatives, email assets, and marketplace listings, the consistency benefits of a more controlled setup become more valuable. This is where store owners should compare visual needs by channel, not just by product.
4. Consider your space. A small room limits modifier size, light placement, and background distance. That can make a three-light setup harder to use well. In tighter spaces, two well-placed lights and reflectors often beat three cramped fixtures. If you are still building your process, the fundamentals in Product Photography Fundamentals are a better investment than adding unnecessary gear.
5. Build for repeatability. The best photography studio lighting setup is the one your team can reproduce every week. Document light position, power, camera settings, and product placement. Save reference images. Mark floor positions if you shoot regularly. For ecommerce teams, consistency usually matters more than complexity.
If you are unsure where to begin, test one hero SKU with all three approaches: one light, two lights, and three lights. Compare not only the final images but the full workflow. How long did setup take? How much retouching was needed? Did the product look true to life? Did the images feel on-brand? Those answers will tell you more than any gear list.
The “20-60-20” lighting rule (what it is and how to use it)
Some photographers refer to a “20-60-20” rule as a simple way to think about balancing your lights. There is not one universal standard behind it, but the practical idea is consistent: treat your scene like a set of exposure “shares,” then distribute them across the key, fill, and background so you do not accidentally flatten the product or blow out highlights.
Think of it this way: 60% is your key light contribution, the light that defines the look and sets the main exposure on the product. The two 20% contributions are the supporting elements, typically fill (to control shadows) and background or accent (to control background tone or separation).
From a practical standpoint, the value of the rule is not the exact numbers. It is the reminder that your key should do most of the work, and the other lights should be used with restraint.
How to apply it to ecommerce product photography
If you shoot for Shopify product pages, you usually want the product exposure to stay consistent across SKUs, even when the background changes slightly. A ratio mindset helps you do that. Set the key first until the product is exposed correctly. Then bring in fill just enough to open shadows without removing shape. If you are lighting a white background, bring up the background light last, watching for spill that wraps around the product edges.
This matters even more with reflective packaging. If your “support” lights get too strong, glossy labels can clip highlights, metallic tins can lose texture, and clear bottles can turn into a mess of bright reflections. Keeping the key dominant often produces a cleaner, more controllable reflection pattern.
Use it as a starting point, then verify with test shots
The reality is that ratios are only a starting point. Products vary a lot. A matte cardboard box behaves differently than a glass dropper bottle. The way this works in practice is:
Take a test shot with the key only, then add fill, then add background or accent. Check your histogram and zoom in on labels and highlights. If you see important details clipping, lower the support lights first before you change the key. If your catalog needs consistent outputs, keep notes so the next session starts from the same baseline rather than trial and error.
Frequently Asked Questions
Is one light enough for product photography?
Yes, in many cases it is. One light can work well for simple products, especially if you use diffusion and reflectors carefully. It is often enough for early-stage brands creating basic catalog images. The limitation is control. Once you start shooting reflective items, apparel, or larger product ranges, a second light usually makes the process more consistent.
What is the best studio lighting setup for ecommerce beginners?
For most beginners, a two-light setup is the most sensible place to start. It gives you more control than a one-light arrangement without adding too much complexity. You can use one light as your key and the second for fill or background support. That usually helps create cleaner images for product pages and ads with less editing afterward.
When should I move from two lights to three?
You should consider three lights when your current setup struggles with background consistency, product separation, or detail rendering. This often happens with reflective packaging, glass, beauty products, and premium merchandise where texture and shape are important. It also makes sense if your brand needs both standard catalog images and more polished marketing visuals from the same shoot.
Does three-point lighting always produce better ecommerce photos?
No. Three-point lighting offers more control, but it only helps if the lights are positioned well and matched to the product. In a small studio or with limited experience, three lights can create confusion and slow the shoot. Many merchants get better results from a simple two-light setup they understand well than a three-light setup they cannot repeat consistently.
How do I set up studio lighting for photography on a white background?
A common approach is to use one key light on the product and a second light aimed at the background, or one key light plus reflectors if the product is straightforward. In a three-light setup, you can add fill or background separation for cleaner edges. White-background work depends heavily on distance and modifier control, not just the number of lights.
What type of products need more lighting control?
Reflective, transparent, glossy, and highly textured products usually need more control. Glass bottles, metallic packaging, jewelry, and some beauty products are common examples. Clothing can also benefit from more careful lighting because folds, fabric texture, and color consistency matter. These product categories often reward the move from one light to two or three lights.
Can I use these setups in a small home studio?
Yes, but space affects what works well. In a small room, a one or two-light setup is often easier to manage because you have limited distance between the product, background, and lights. Larger softboxes and extra fixtures can become awkward quickly. If you are building a home-based workflow, start simple and focus on repeatable positioning before adding more gear.
How does lighting affect conversions on an ecommerce store?
Lighting does not guarantee better conversion rates, but it can influence how trustworthy, clear, and premium your products appear. Better-lit images may help shoppers evaluate color, materials, shape, and detail more confidently. In many stores, that supports stronger product presentation, which can improve the overall buying experience alongside pricing, copy, reviews, and page design.
What if I cannot afford a full studio buildout yet?
Start with the smallest setup that gives you repeatable results. For many stores, that means one good key light, diffusion, and reflectors, then upgrading to two lights when you hit workflow limits. You do not need a large commercial studio to create strong ecommerce images. What matters more is consistency, product fit, and a process your team can maintain.
What is studio lighting in photography?
Studio lighting in photography means using controlled, repeatable light sources, plus modifiers like softboxes, umbrellas, diffusion, reflectors, and flags, to shape how your subject looks. In ecommerce, the main benefit is consistency. You can keep shadow direction, background tone, and color rendering stable across shoots, which helps your catalog look cohesive.
What lighting is best for studio photography?
The best lighting is the lighting you can control and repeat. For most ecommerce product photos, soft, diffused light is a reliable default because it reduces harsh shadows and makes retouching simpler. A two-light setup is often the best balance: one key light for the product, and a second light for fill or background control, depending on what you shoot.
How to light a studio photoshoot?
Start by setting one key light and getting the product exposure right. Then add control one step at a time: use a reflector for fill, add negative fill to deepen shadows, or add a second light for the background or an accent edge. Take test shots as you go, and document your light positions and power so you can repeat the setup for future SKUs.
What is the 20 60 20 rule in photography?
The “20-60-20” rule is a simple ratio concept some photographers use to balance key, fill, and background or accent light. The key does most of the work (60%), while fill and background or accent contribute smaller amounts (20% each). For ecommerce, it is a helpful starting point for keeping the product exposure consistent while controlling shadows and background tone, but you still need test shots to avoid blown highlights on reflective products.
Key Takeaways
Conclusion
Choosing between one, two, and three-light studio lighting photography setups is really about fit. The right answer depends on your product mix, workspace, content volume, and how polished your brand visuals need to be. For many ecommerce store owners, two lights are the practical middle ground. You get more control than a one-light setup without the added friction of a full three-light arrangement. If your products are reflective, premium, or visually detail-heavy, three lights may be worth the added complexity.
If you want more hands-on guidance, explore AcquireConvert’s resources on product photography lighting and related lighting setups. Giles Thomas’s Shopify Partner and Google Expert perspective keeps the advice grounded in what actually helps online stores create stronger product presentation and more efficient content workflows.
This article is editorial content created for educational purposes and is not a paid endorsement unless explicitly stated otherwise. Any tools, workflows, or setup recommendations should be evaluated against your own store needs, product type, and production constraints. Results are not guaranteed and may vary by niche, team skill, and implementation. If pricing or product offers are referenced elsewhere on AcquireConvert, they are subject to change and should be verified directly with the provider.

Hi, I'm Giles Thomas.
Founder of AcquireConvert, the place where ecommerce entrepreneurs & marketers go to learn growth. I'm also the founder of Shopify agency Whole Design Studios.